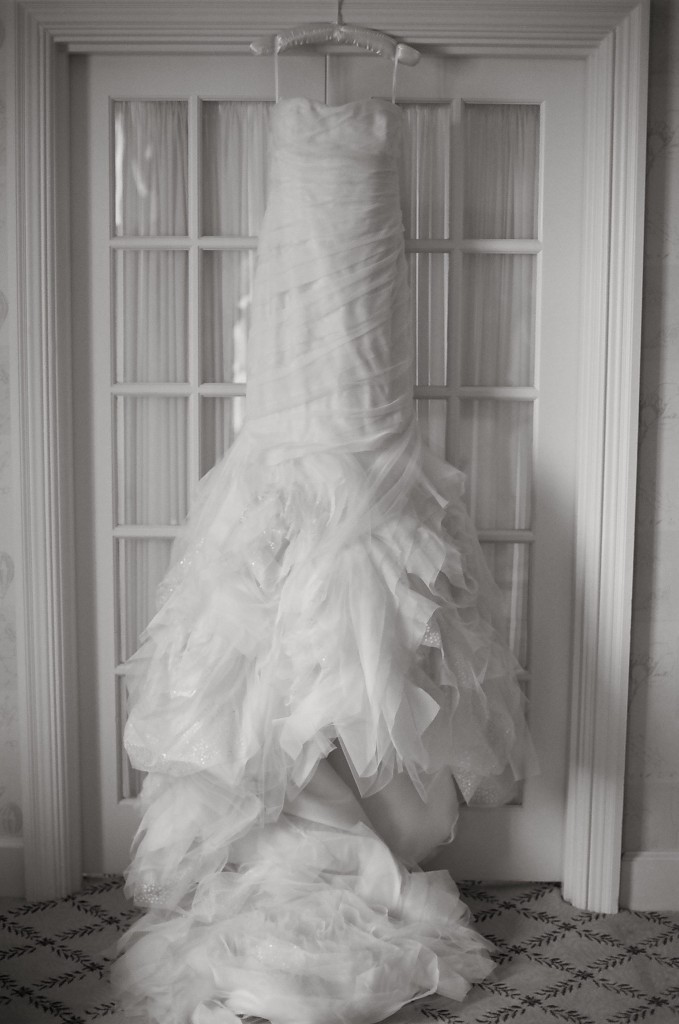
We couldn’t think of a better way to spend Wedding Wednesday than with this pink and white floral affair that celebrated the couples’ love of golf. After a wedding ceremony at First Baptist Church in downtown Charleston, the couple welcomed friends and family (including her cousin, who is a former bride of ours) at Runnymede Plantation outside of town and Adrienne Page photographed the day. Dress is by Vera Wang
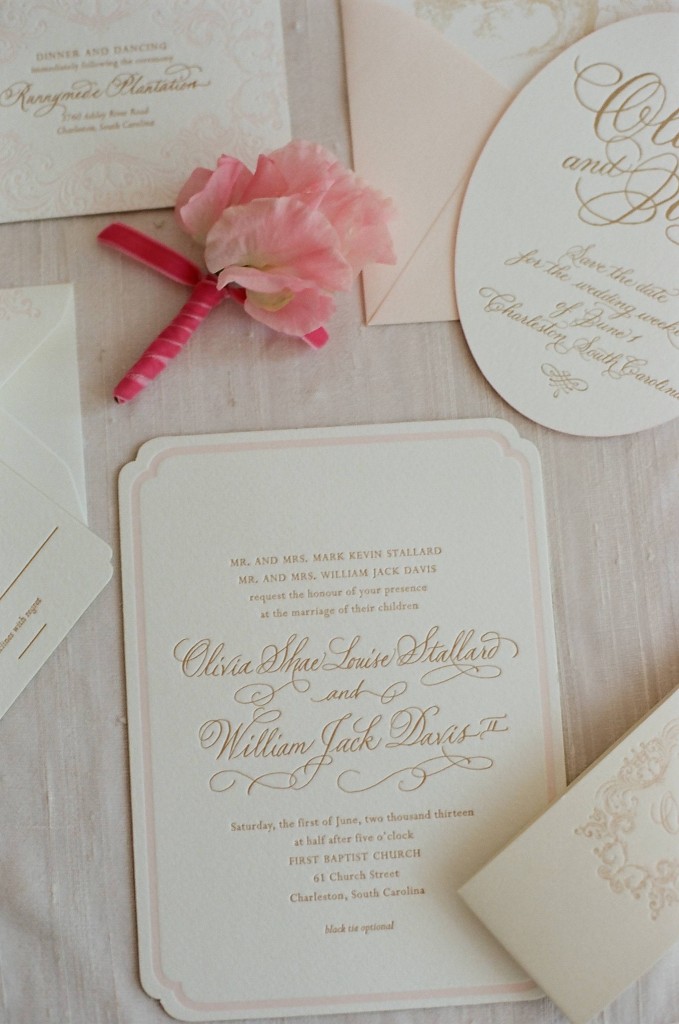
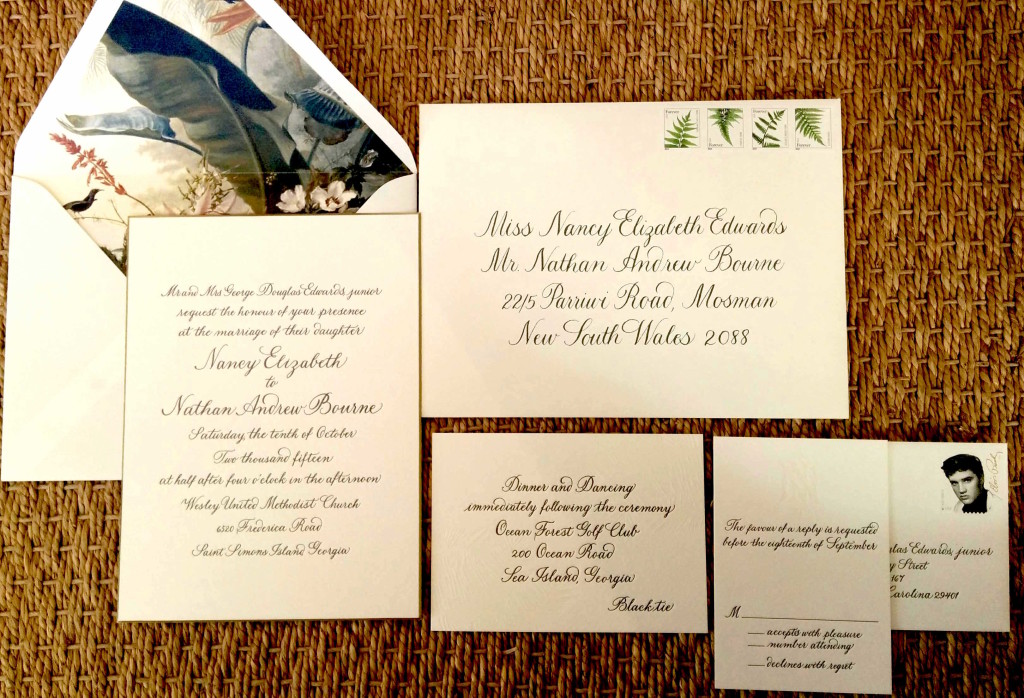
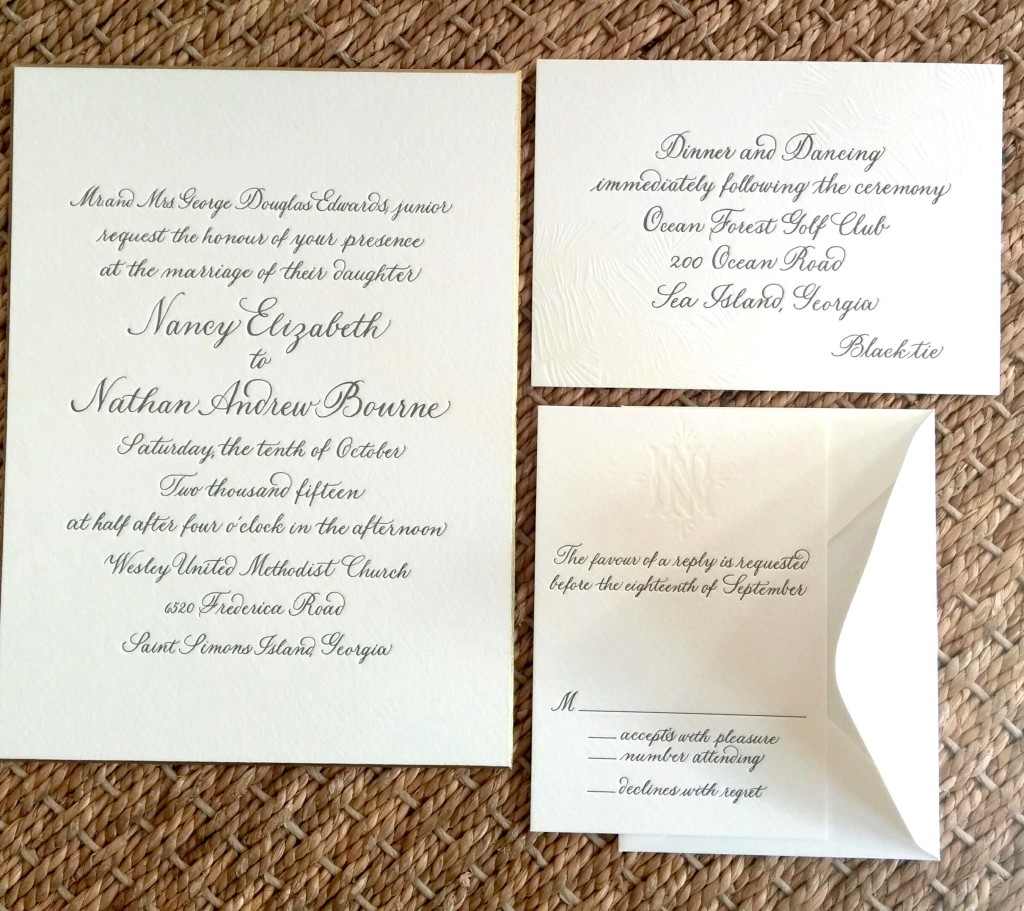
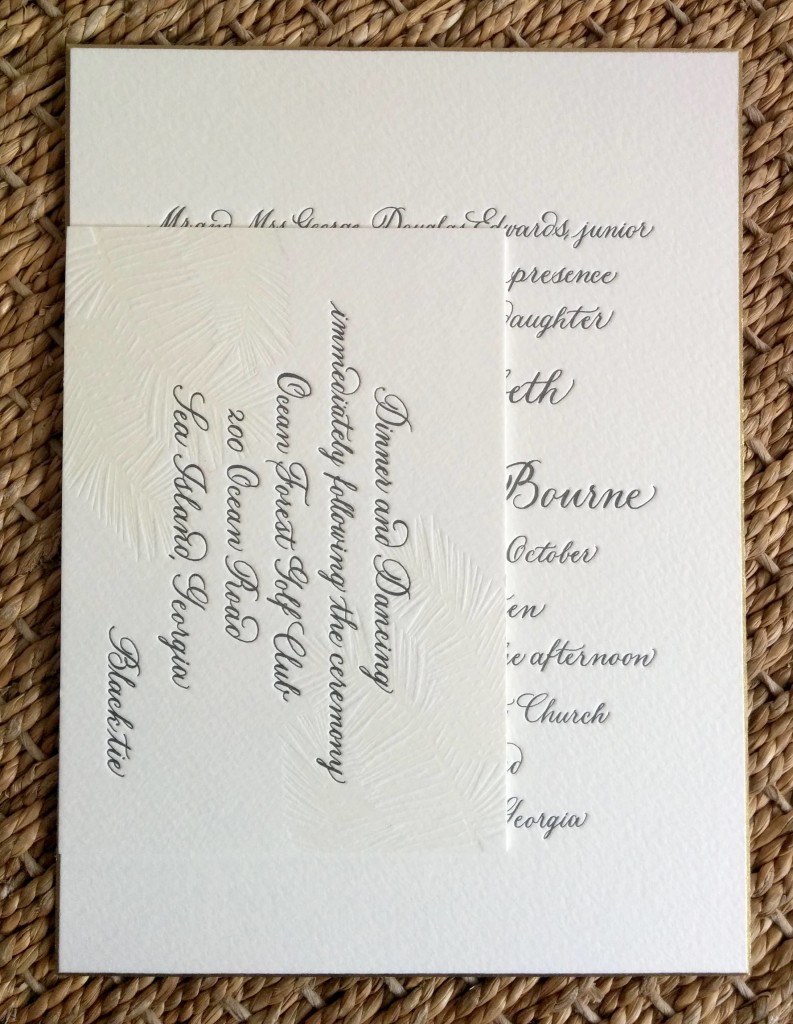
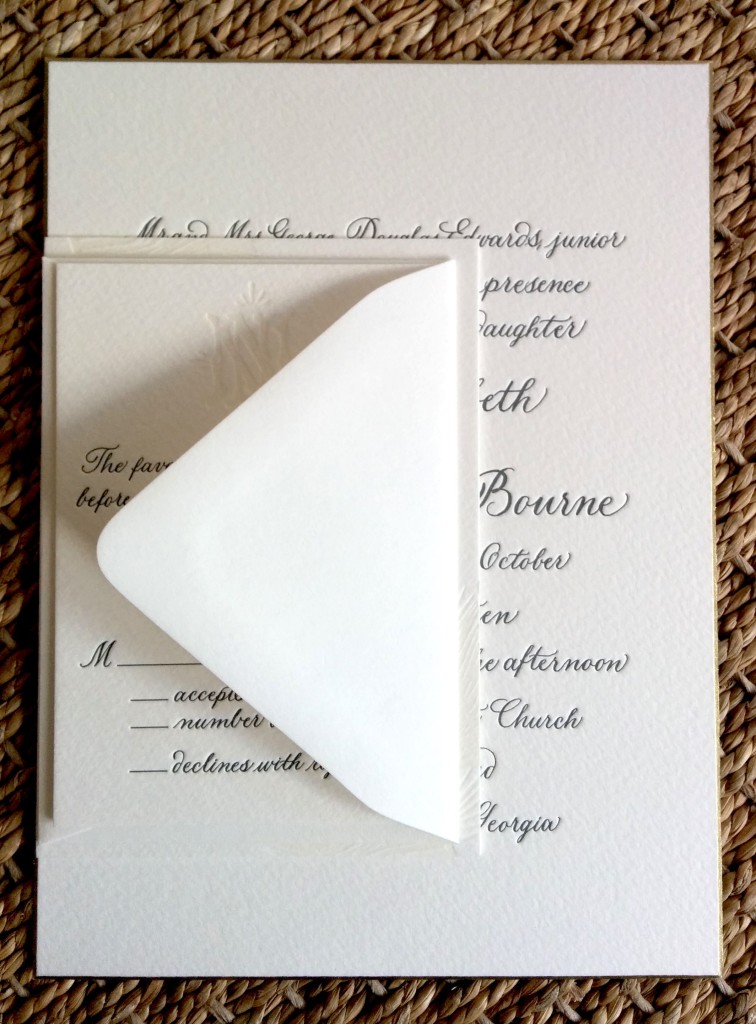
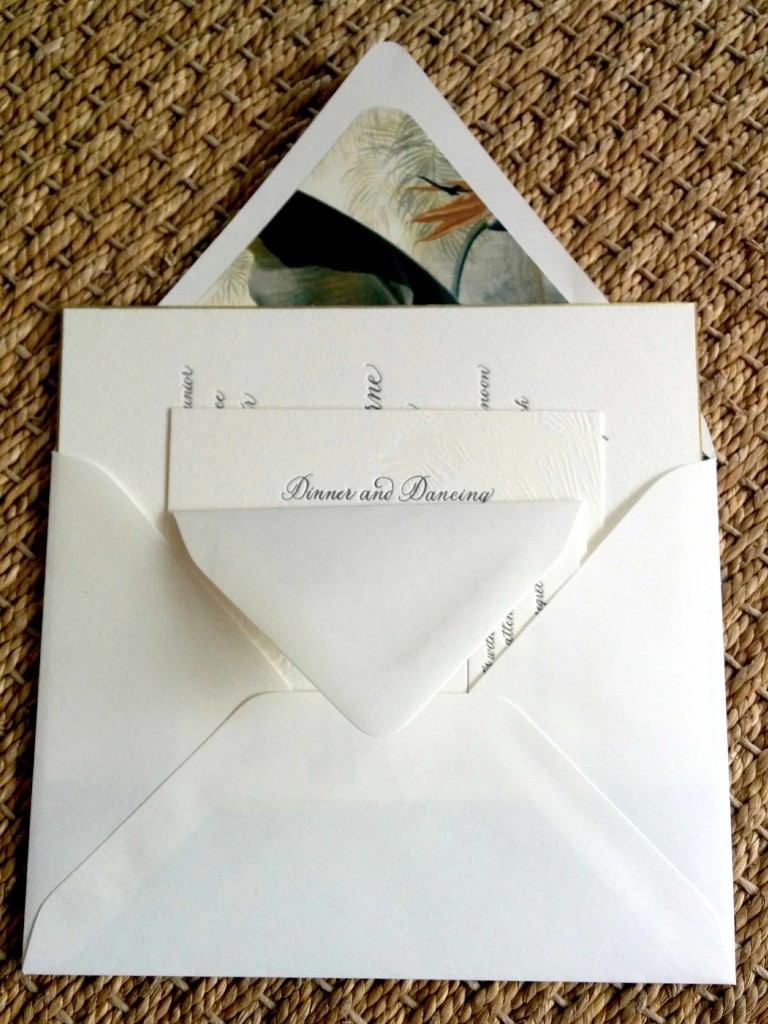
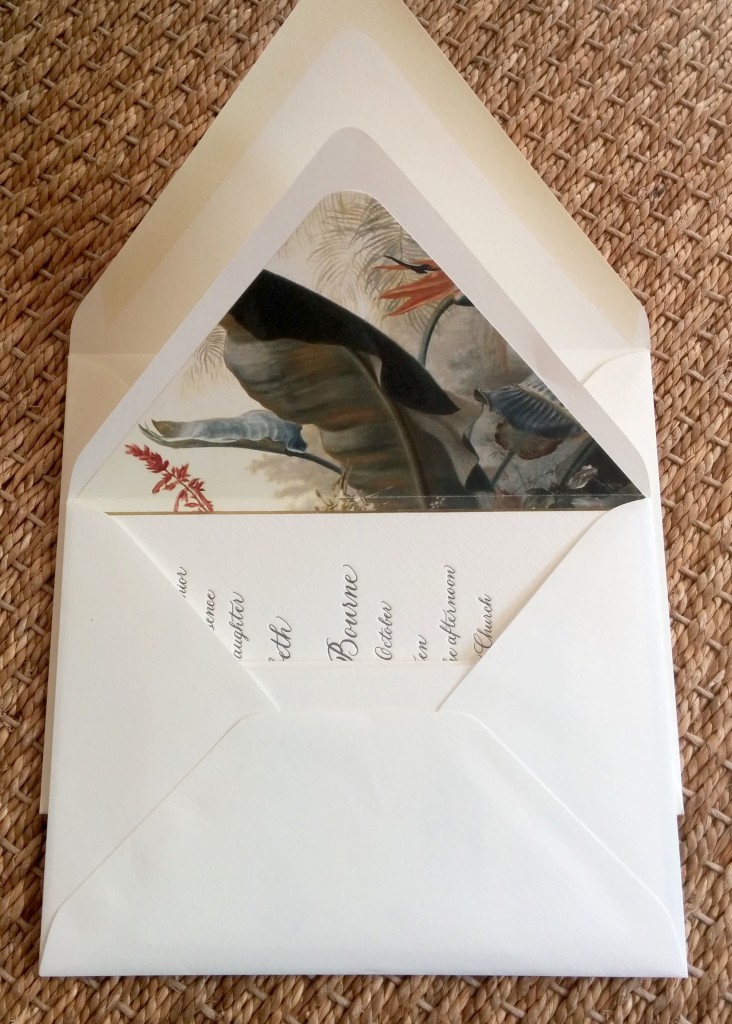
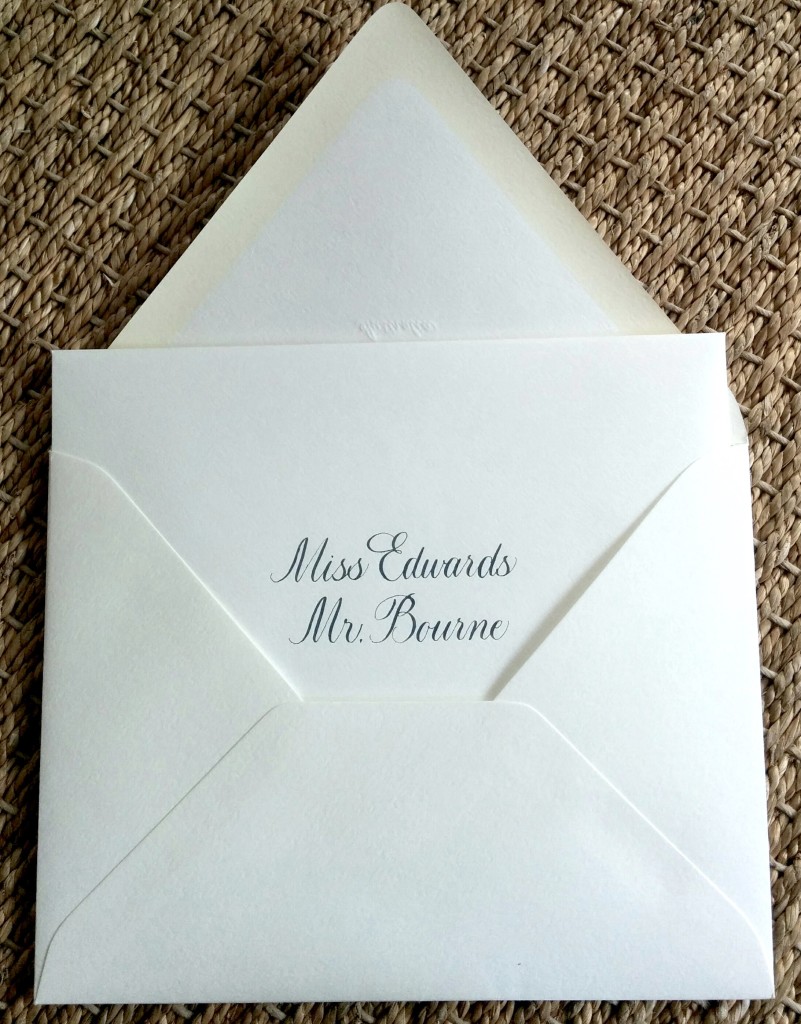
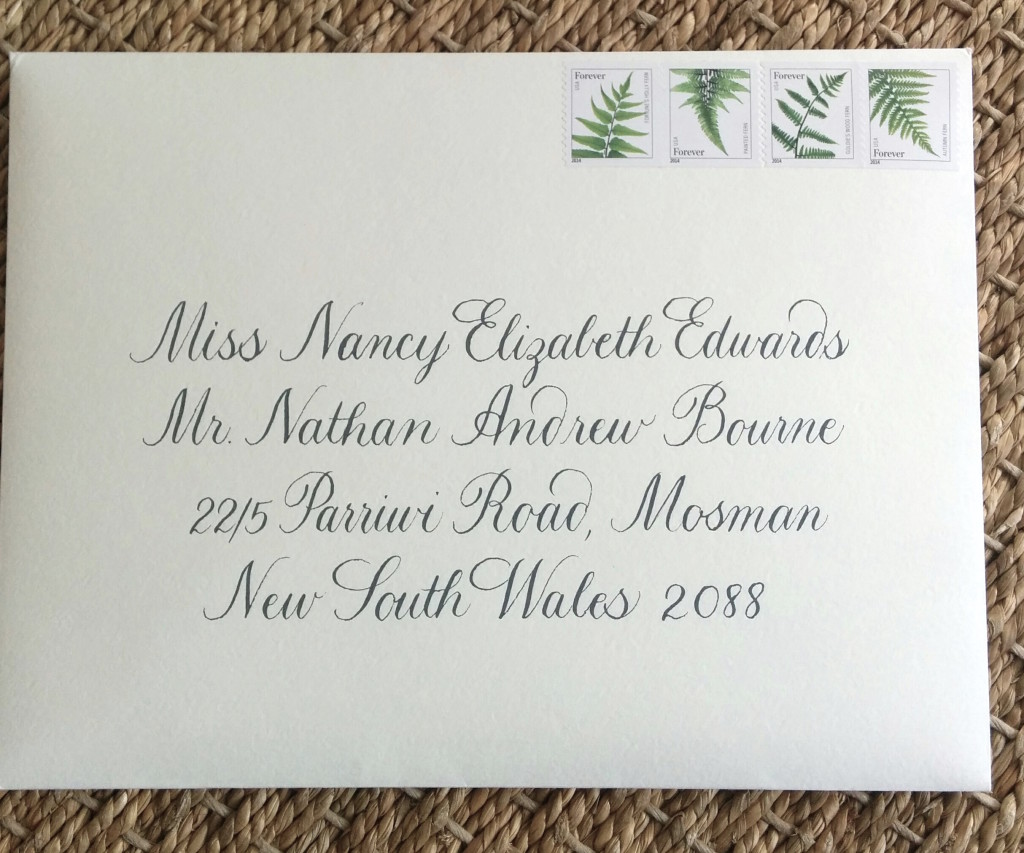
Lettered Olive designed a letterpress suite of wedding papers using coordinating die cut shapes, envelope liners and backings.
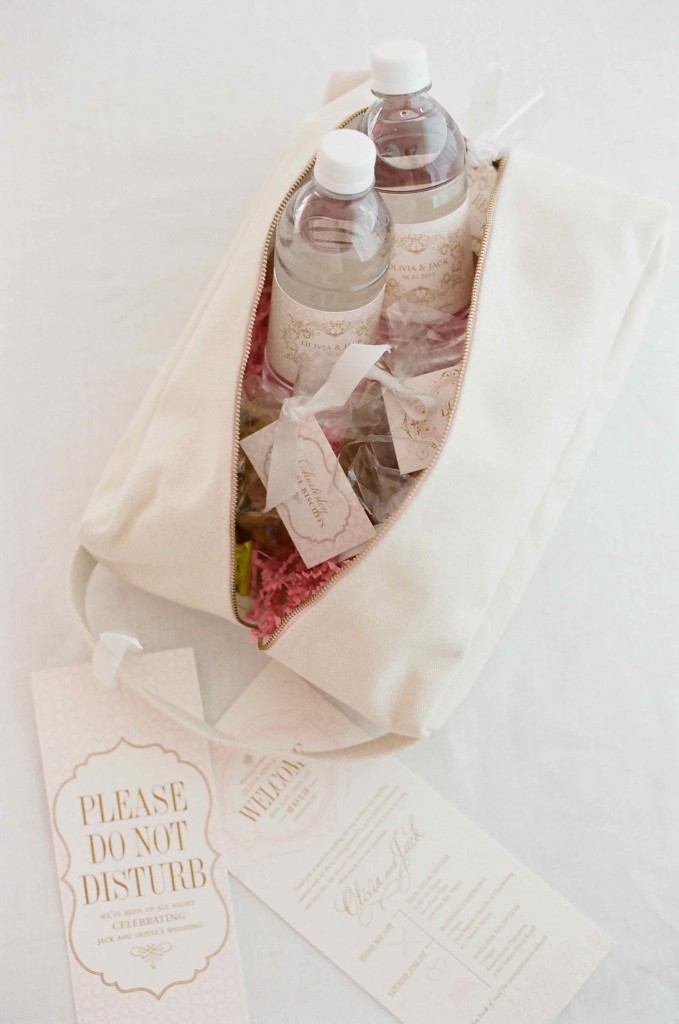
Guest welcome bags were canvas shoe (golf shoe specifically of course) bags filled with local goodies and custom printed packaging.
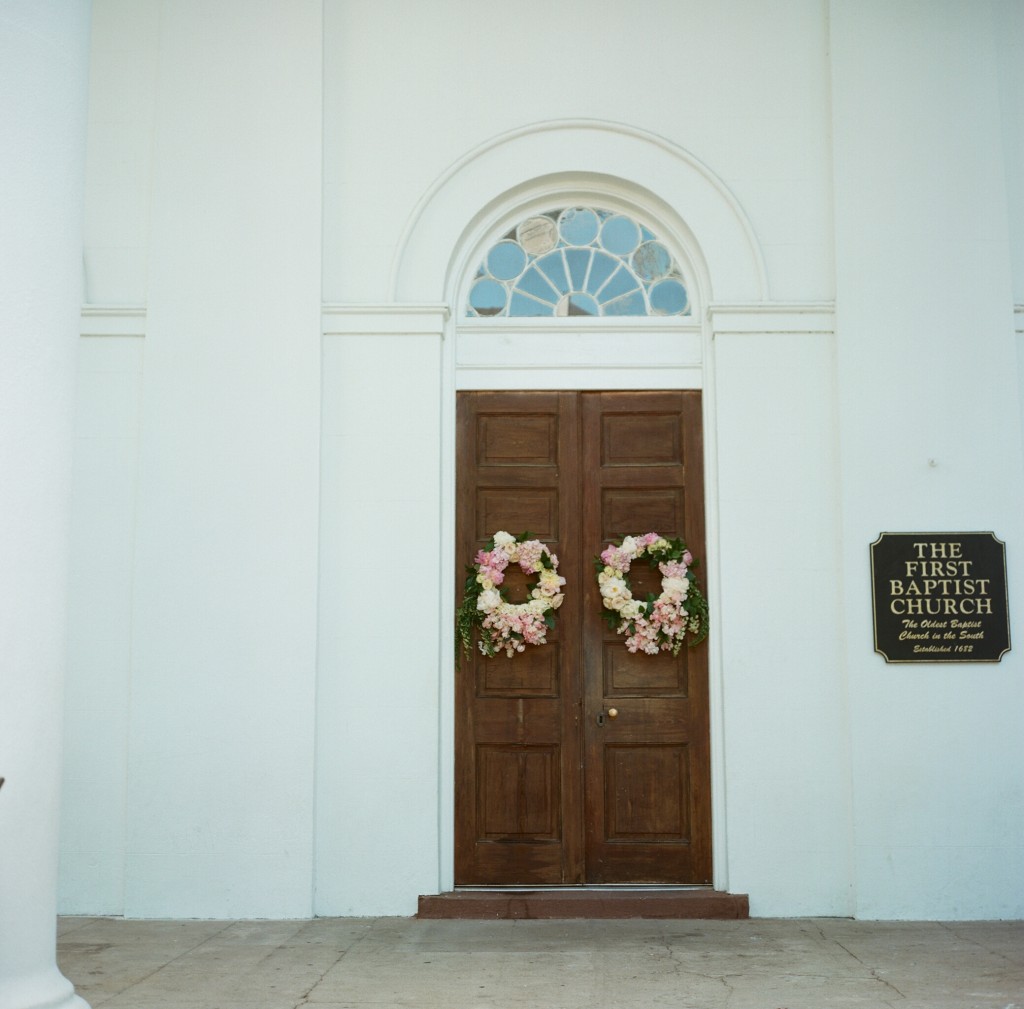
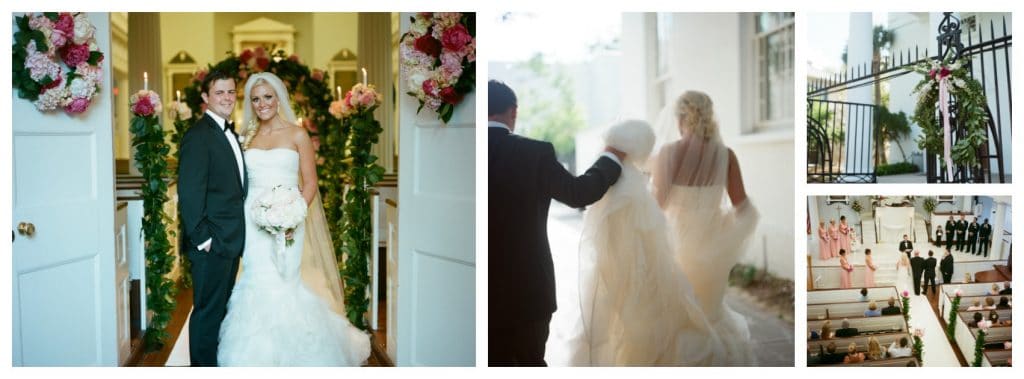
A sweet ceremony was held at First Baptist Church…Lush pink arrangements adorned the doors and gates of the church, while the aisle was dressed with a custom aisle runner, an archway, and candelabras running the length of the aisle.
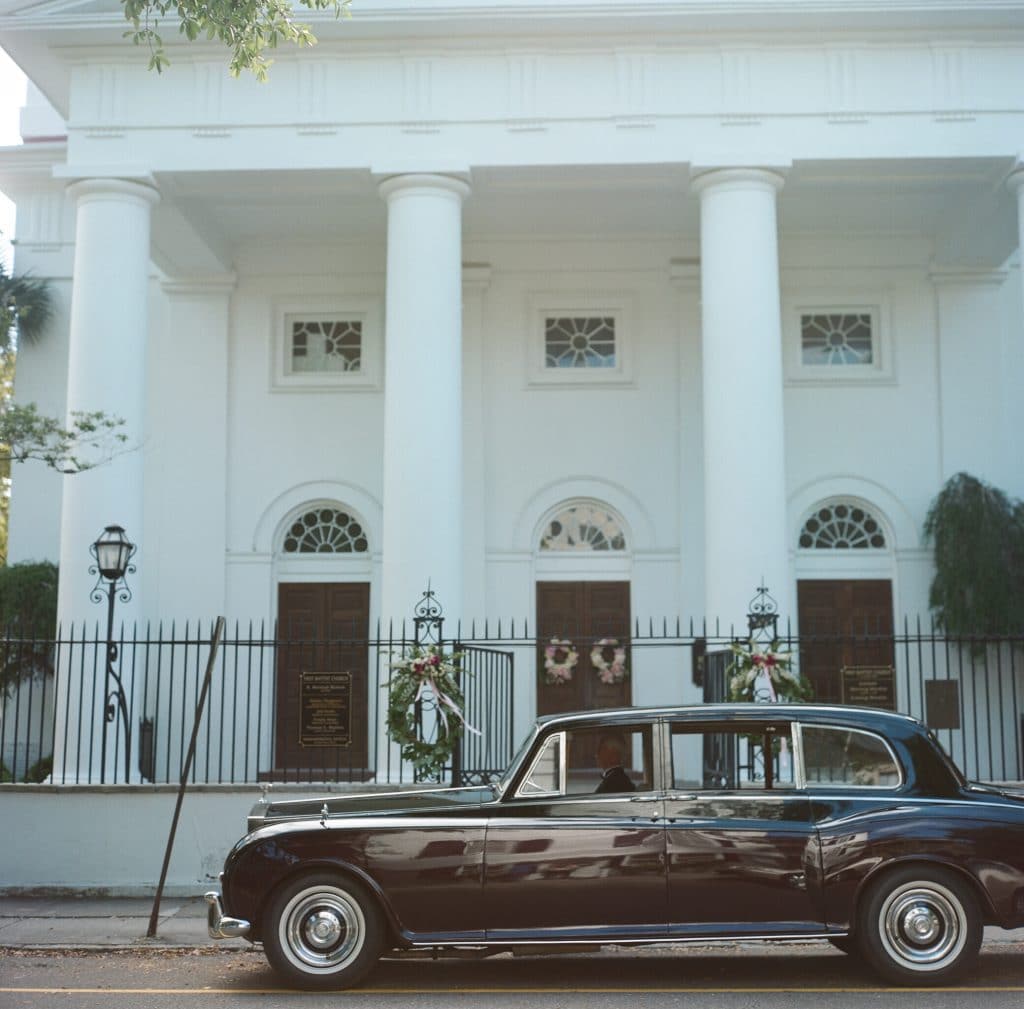 The bride and groom rode together from the ceremony to the reception. A great way for the two of them to reflect on the marriage and ceremony before joining all of the guests at the reception.
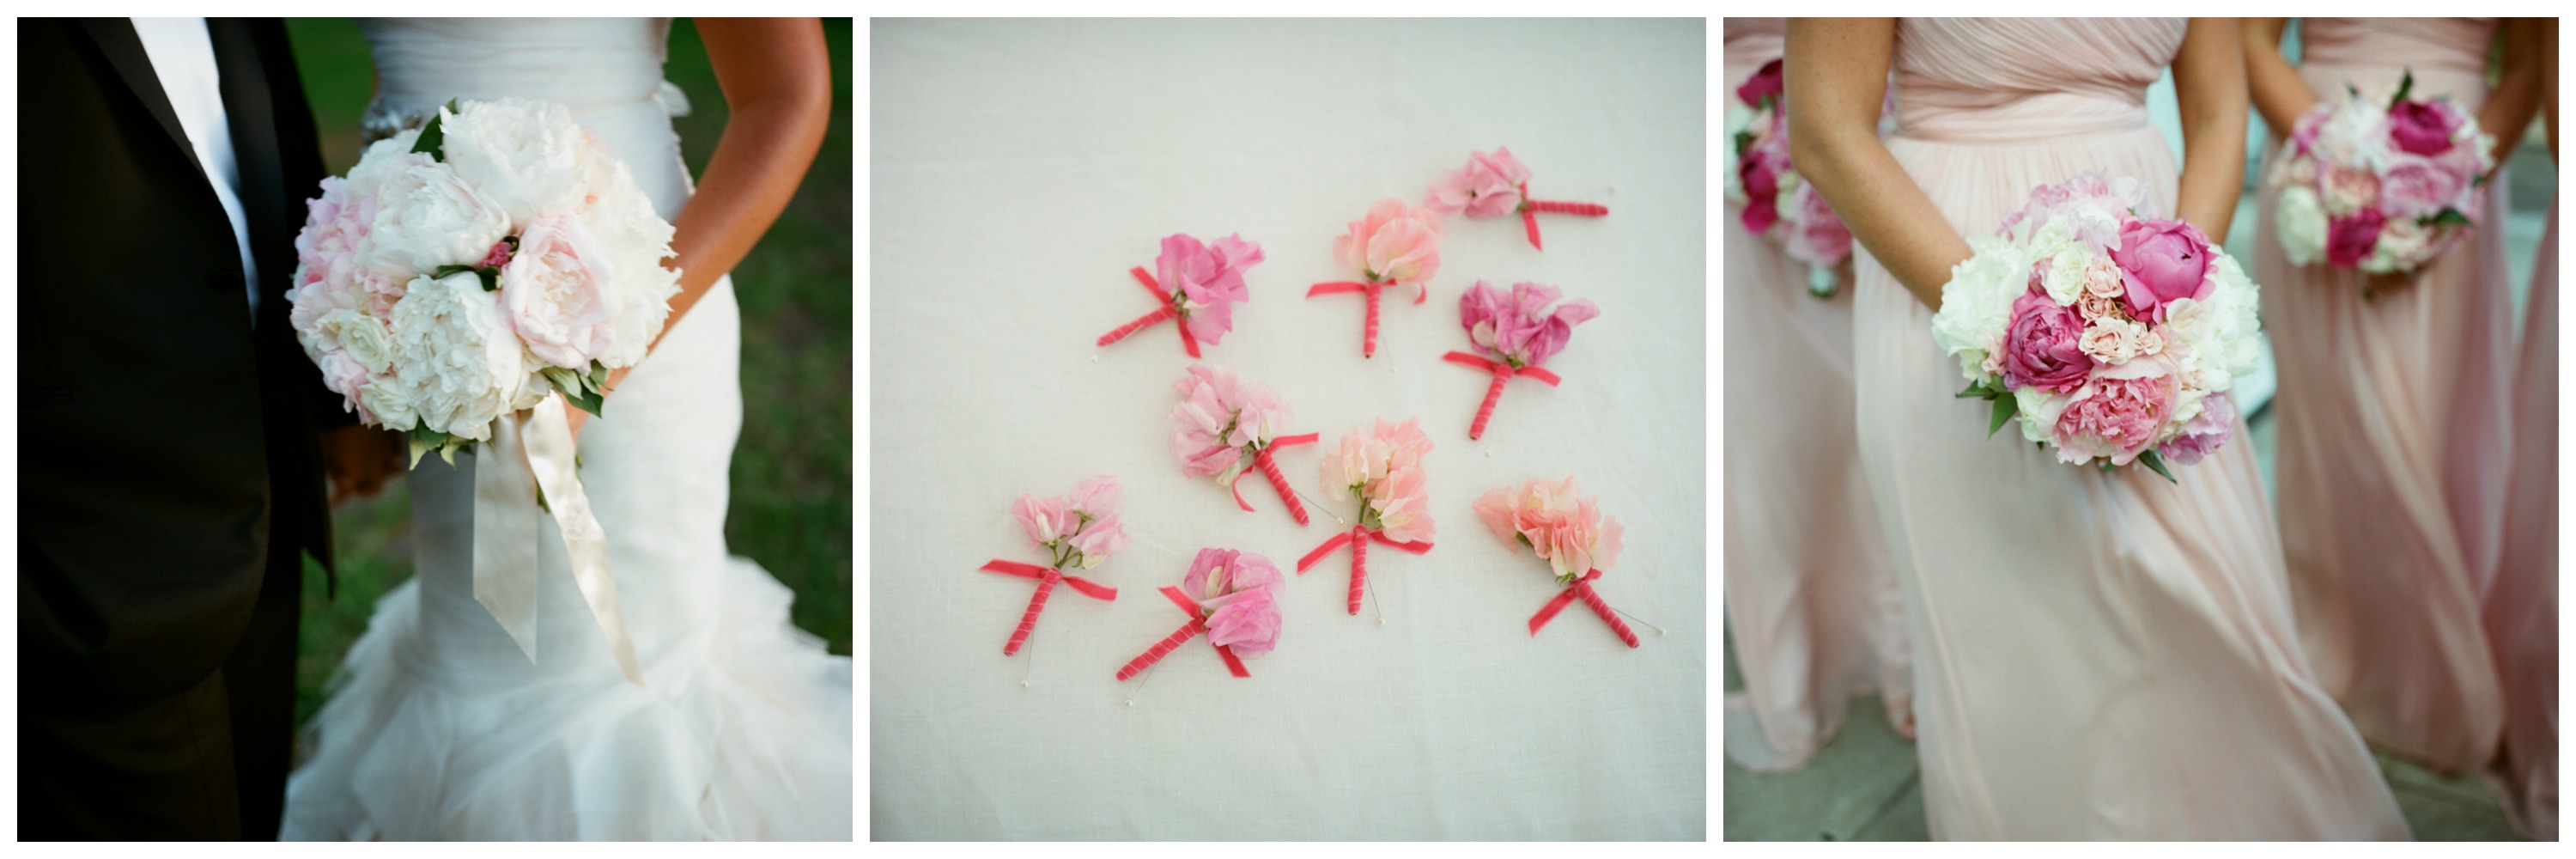
In contrary to the traditionally masculine golf aspect, the bride added her romantic girly touch with an abundance of pink and pink flowers!
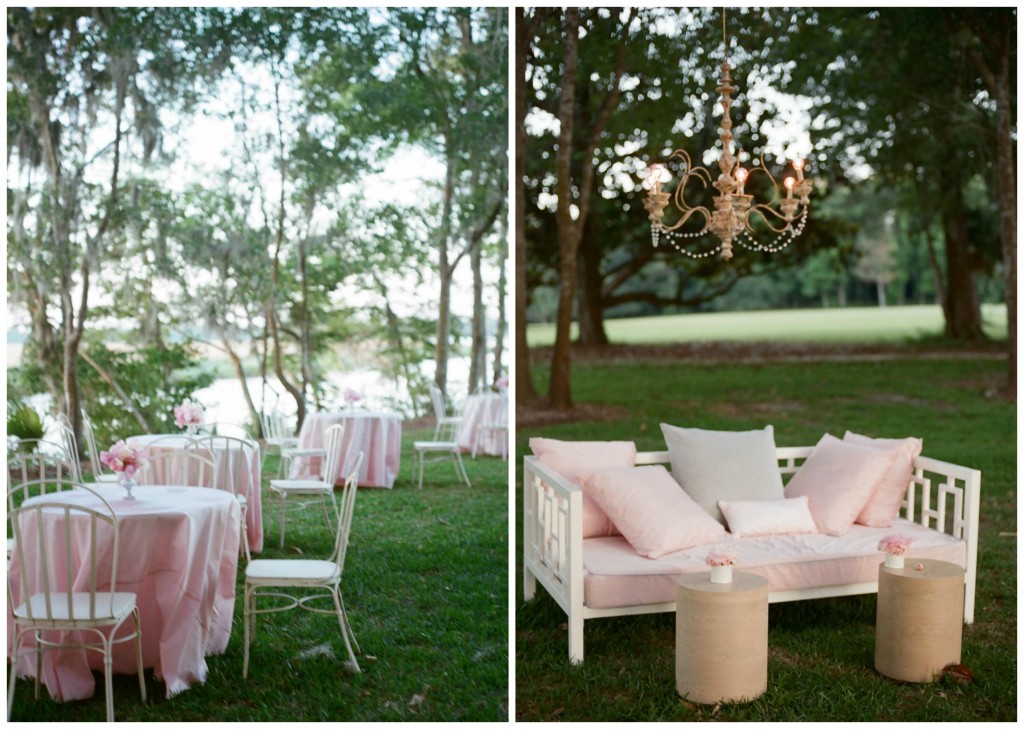
Once onsite at Runnymede Plantation, guests enjoyed an al fresco cocktail hour on the lawn overlooking the Ashley River.
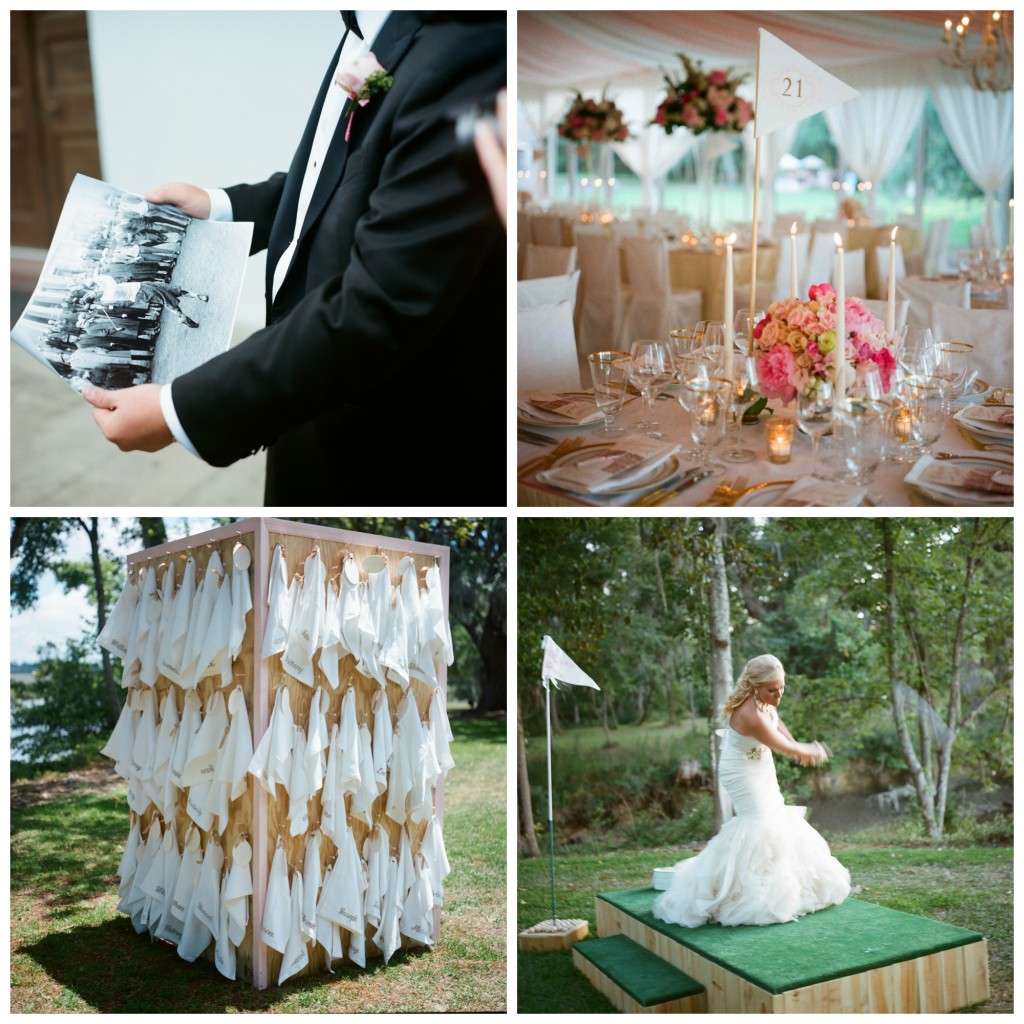
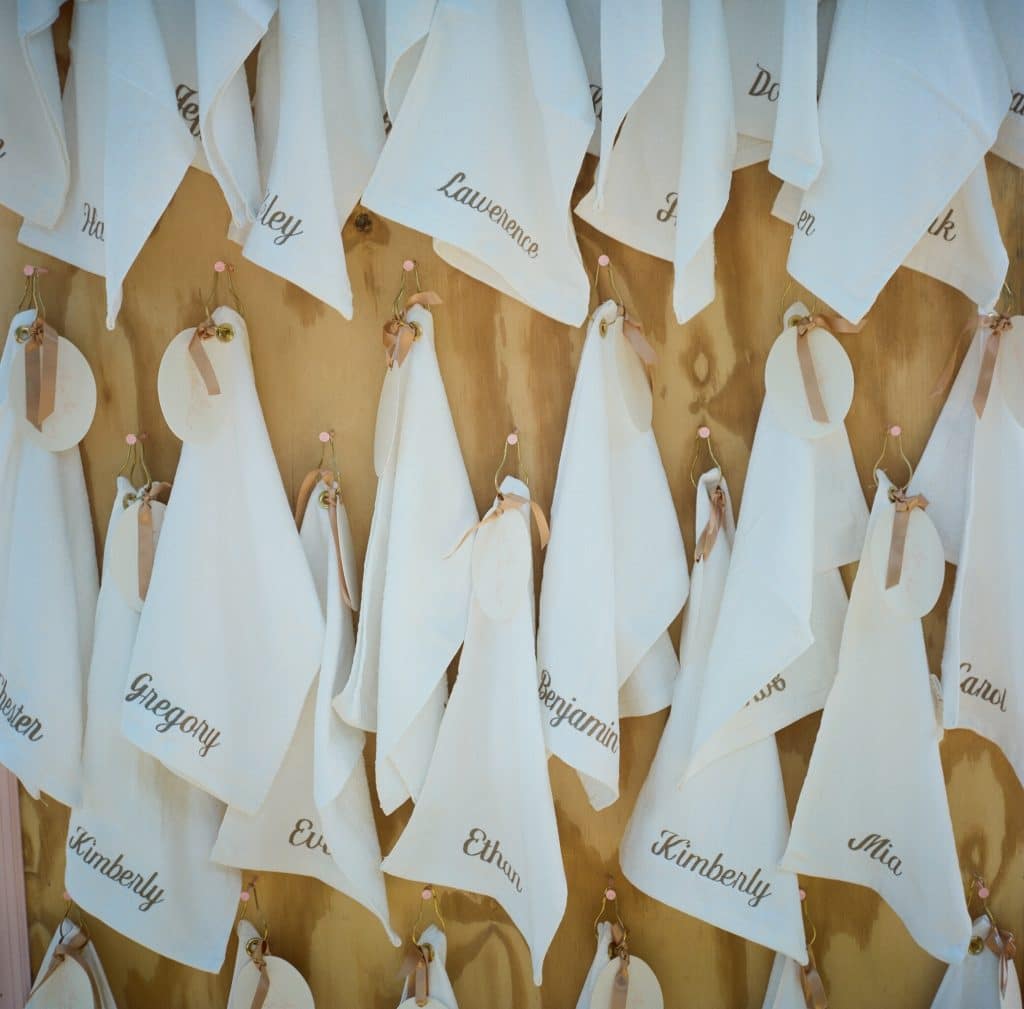
Because of the family business, golf is huge with this couple. The groom was gifted a rare vintage golf photo from the bride, the table numbers mimicked greens flags, guests’ seating arrangements were embroidered golf flags, and a chipping green and equipment was set up so that guests could hit balls off of the river banks.
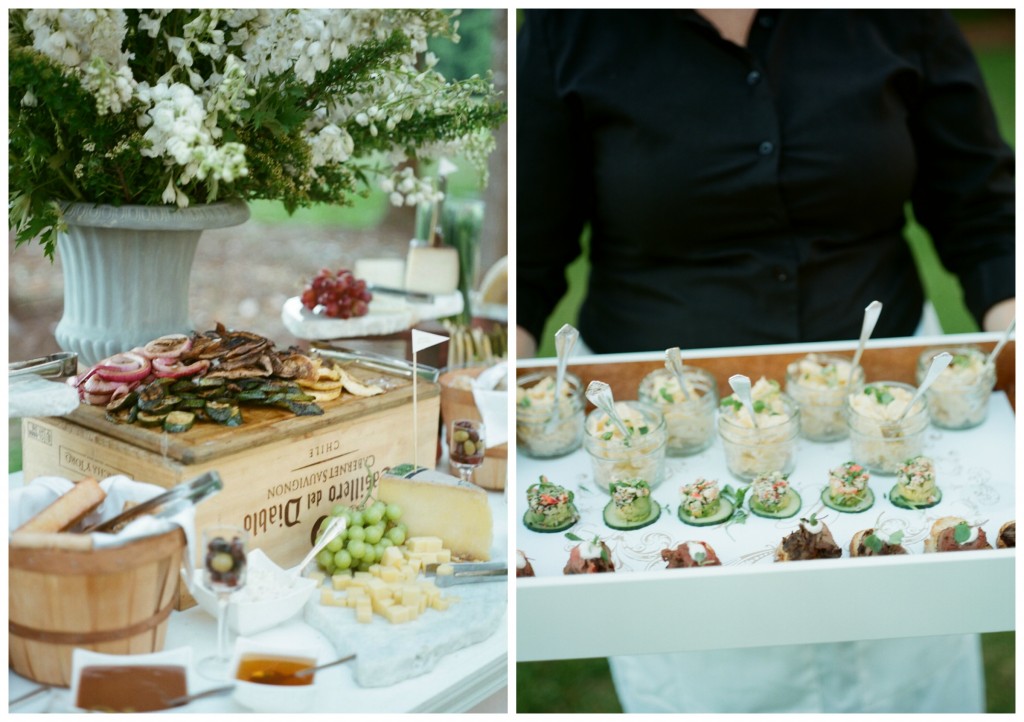
Cru Catering provided the delicious spread and cocktail hour bites were all about elegant display..
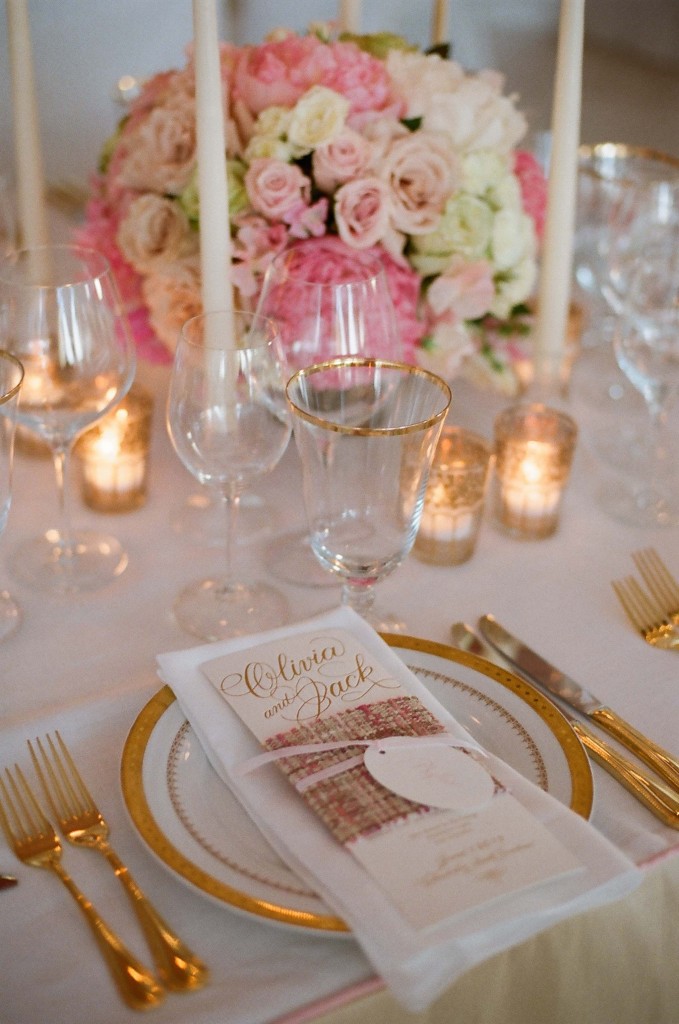
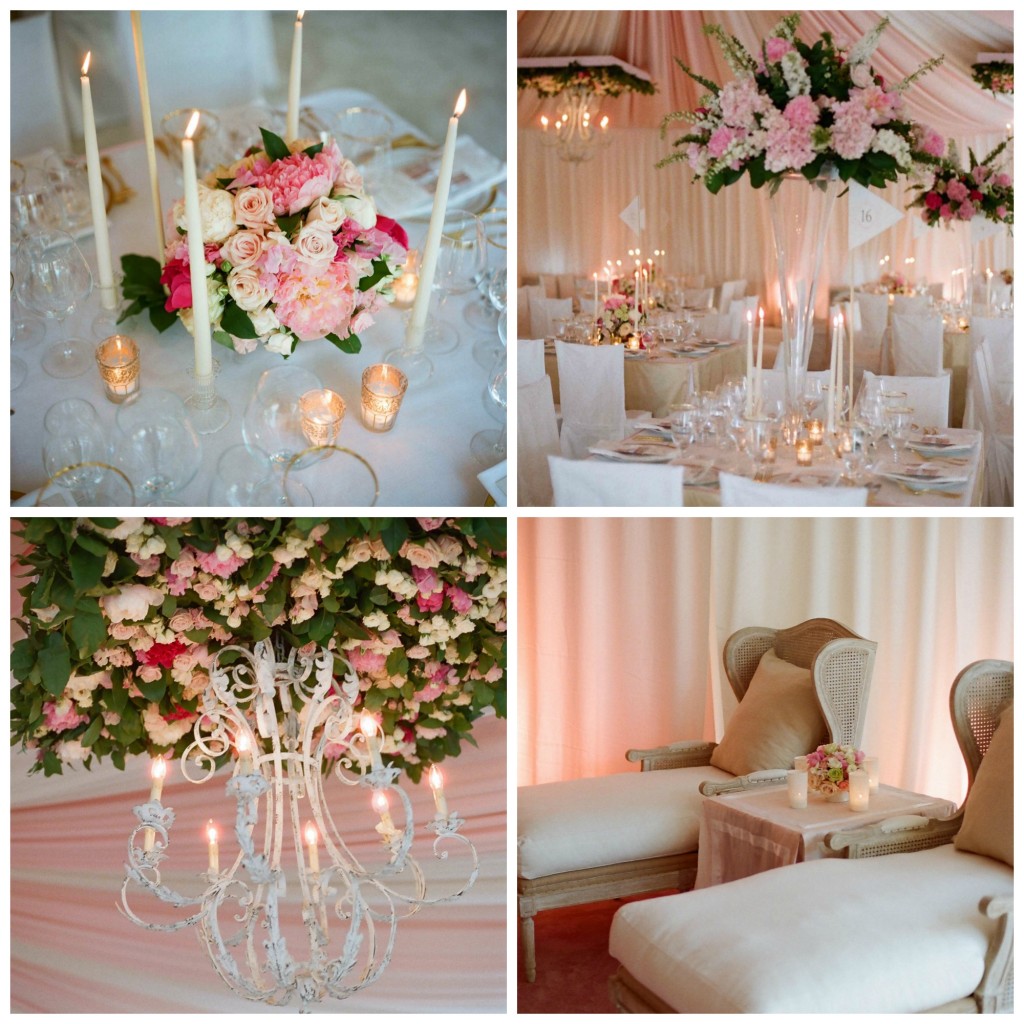
Guests enjoyed dinner and dancing in a tent with flowing drapery and full of lush pink flowers. One of my favorite features we did were the floral cornices framing the chandeliers hanging over the dinner tables.
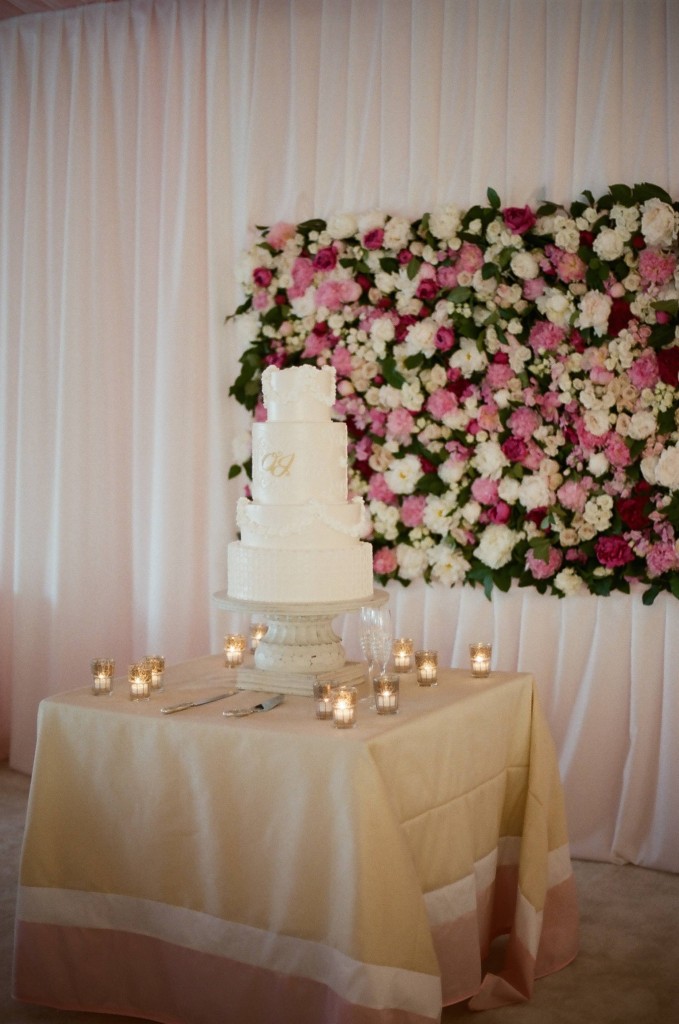
A lovely flower wall was the perfect backdrop for Jim Smeal’s wedding cake.
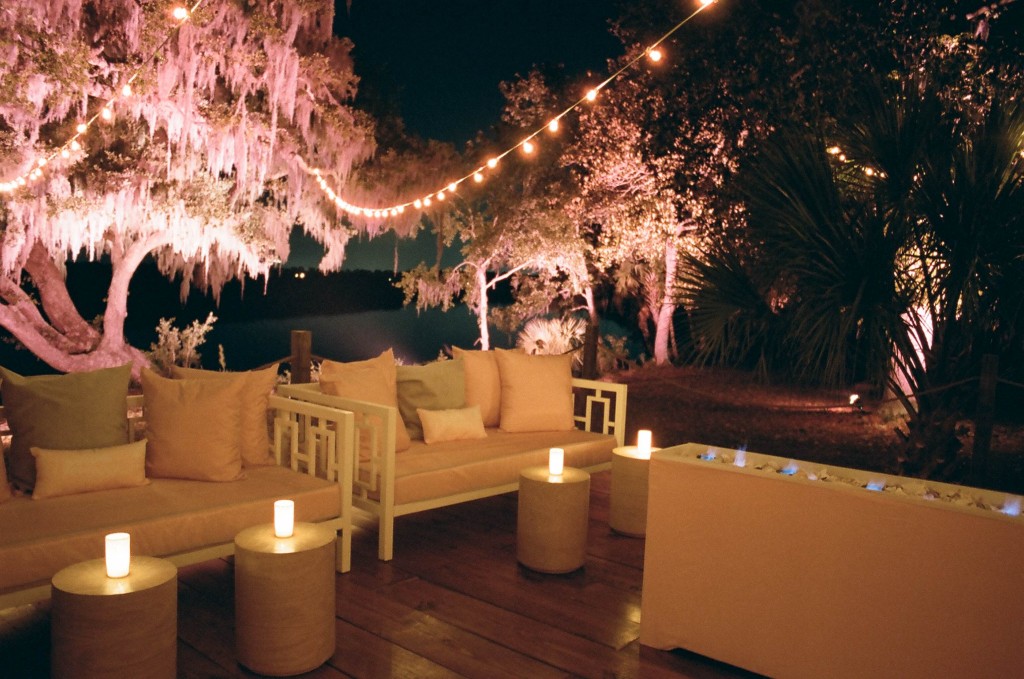
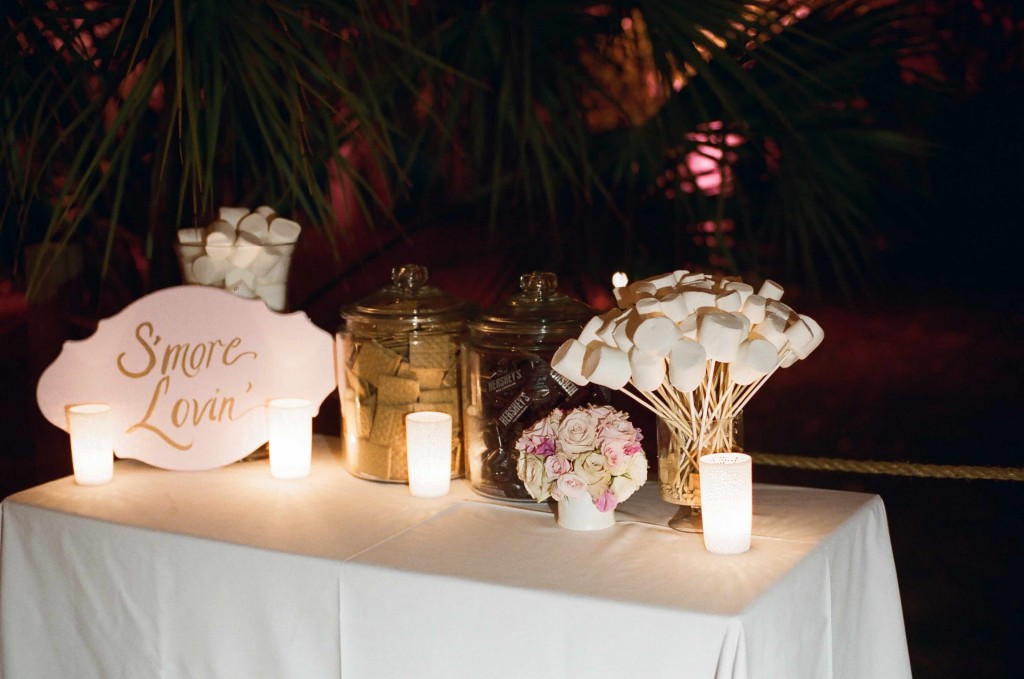
A glam “back porch” set up was built off of the back of the tent overlooking the river… Guests enjoyed a S’mores station and fire pit of course under the glow of soft pink lighting.
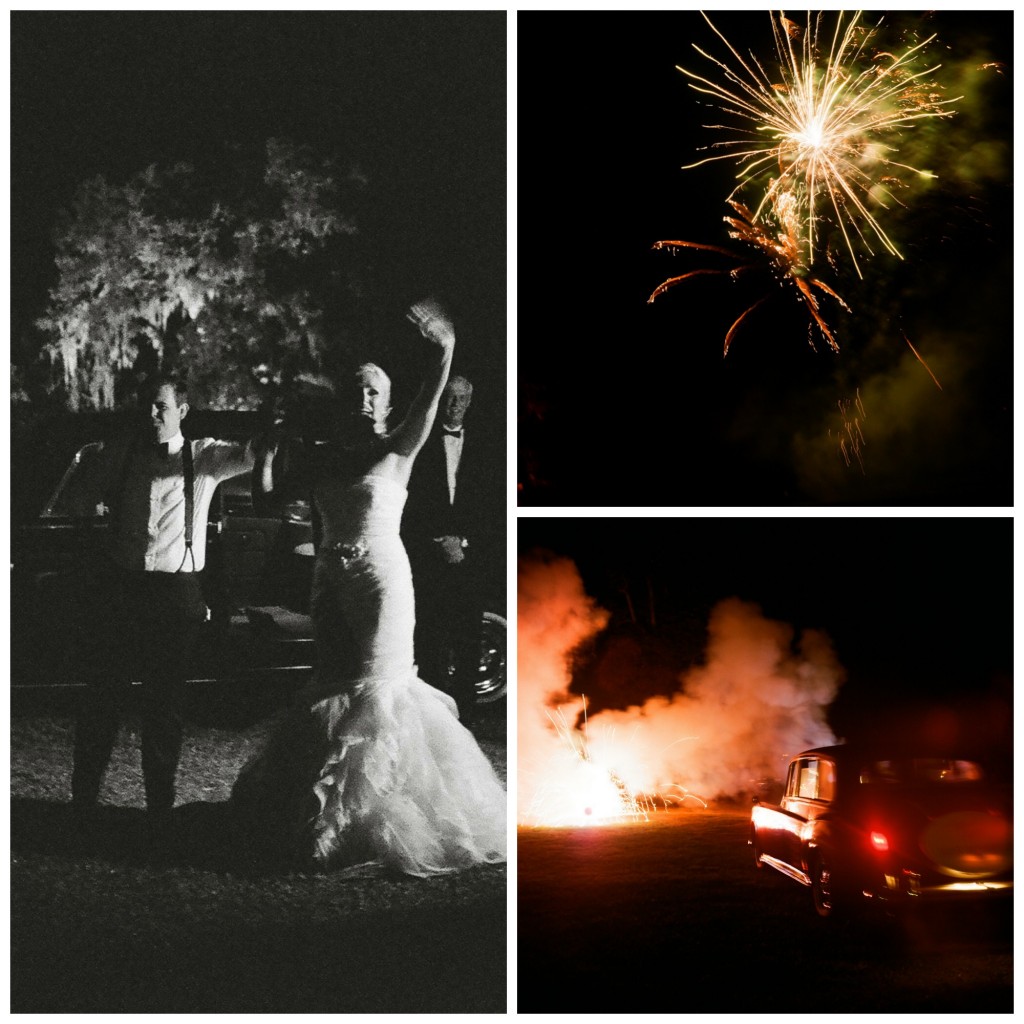
The bride and groom bid their guests farewell by the glow of fireworks.




 The bride and groom rode together from the ceremony to the reception. A great way for the two of them to reflect on the marriage and ceremony before joining all of the guests at the reception.


