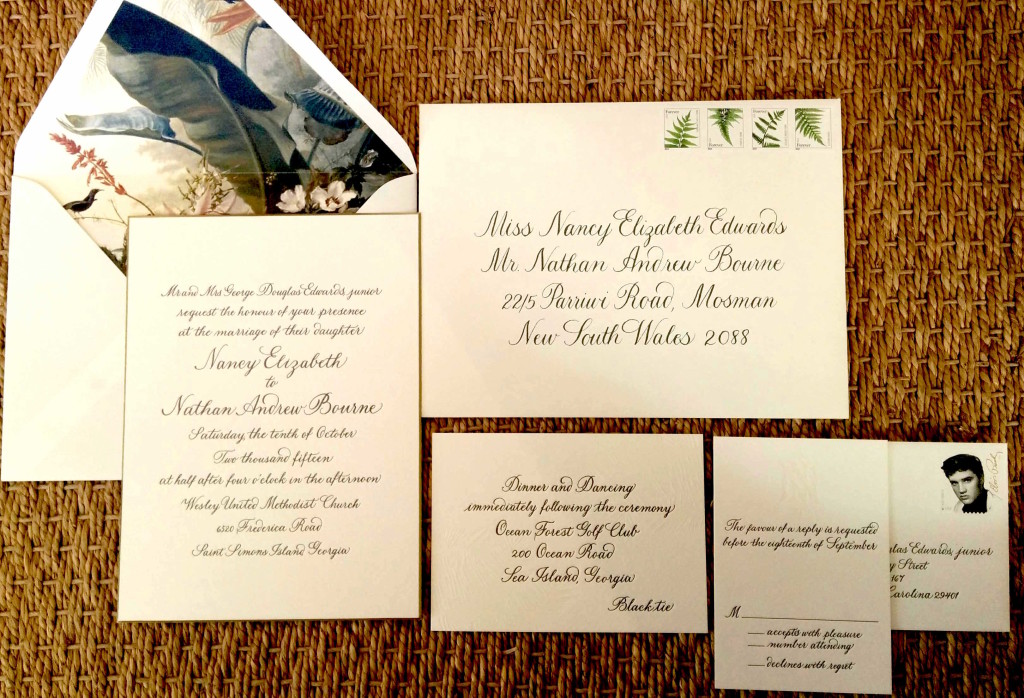
Fall is a very popular wedding time for us here in Charleston, so if you are working to get your invitations off to guests, we have step by step instructions for you here. And, if you haven’t seen our latest episode of Life is a Party with Page Palmer, we talk more about etiquette there as well. We do this service for our clients all the time, but realize this is the first time many of you are doing this, so here is all you need to know. P.S. that tissue paper that comes with your invitations, you don’t need to include that in the mailed set- it was introduced to make sure any ink that may still be wet wouldn’t transfer onto other invitations!
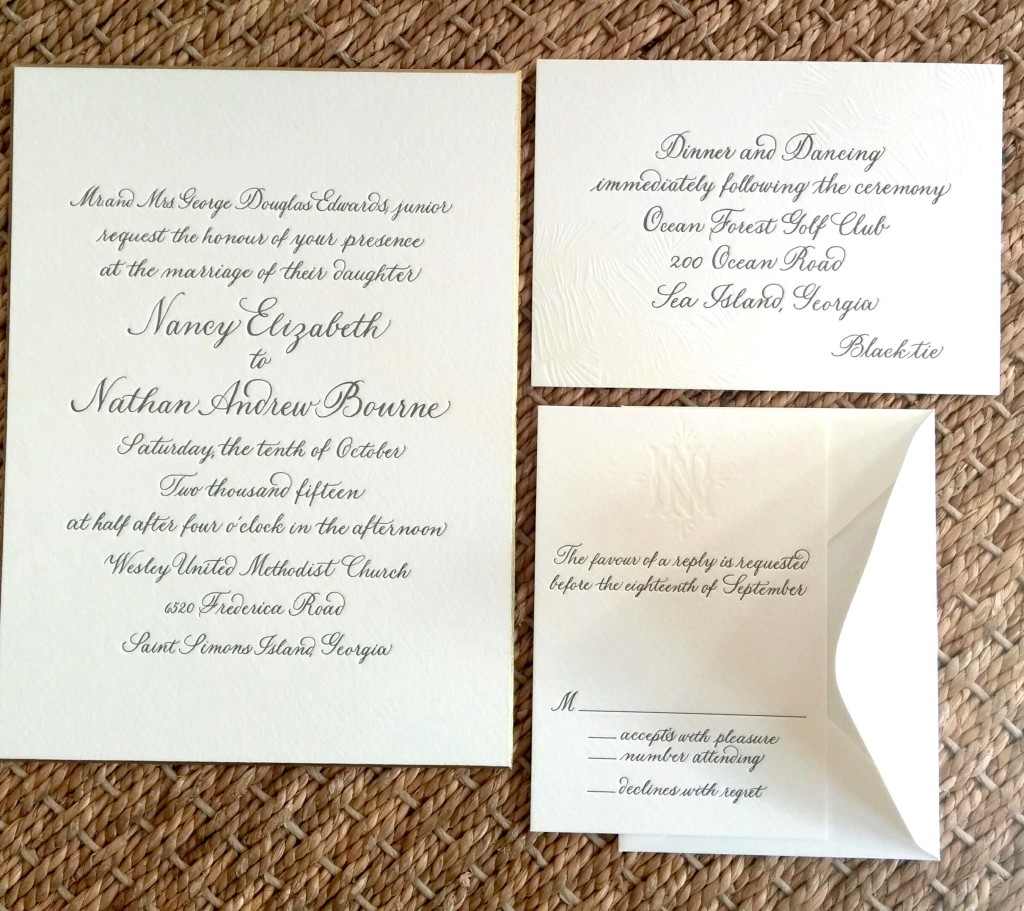
Step 1- Tuck the RSVP card into the upper lid of the reply envelope as shown.
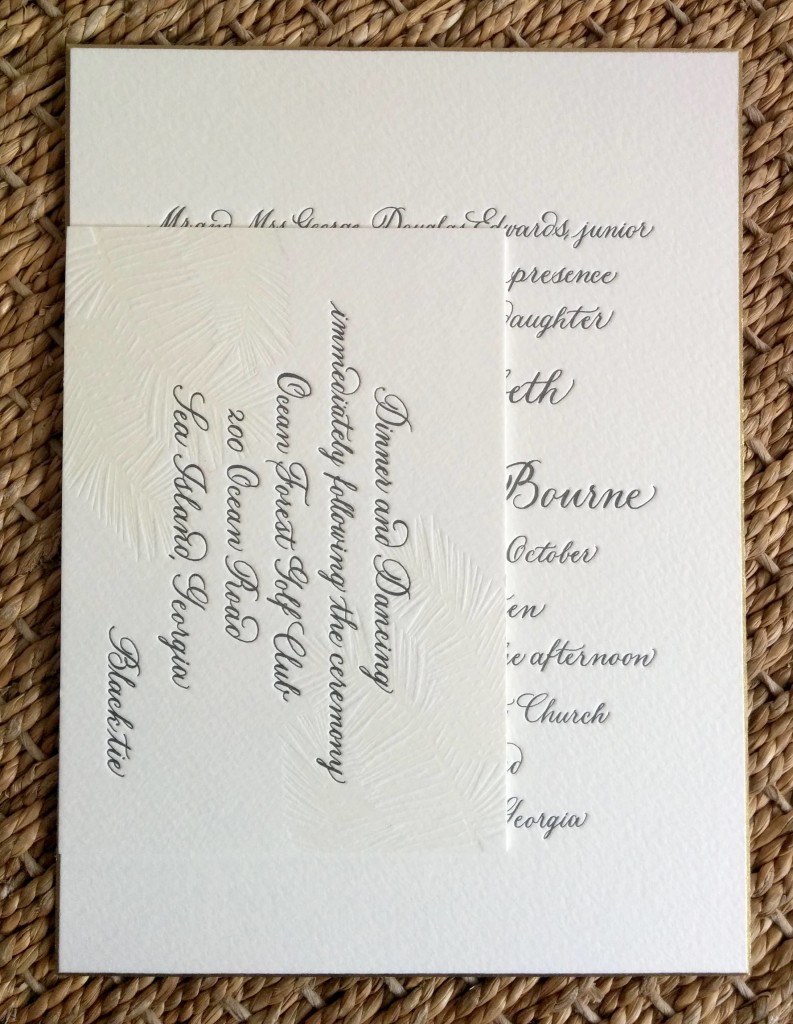
Step 2- Place the Reception card on top of the invitation on the left hand side (this will eventually become the bottom edge of the set). If you don’t have a reception card and only have a reply card- the same would apply.
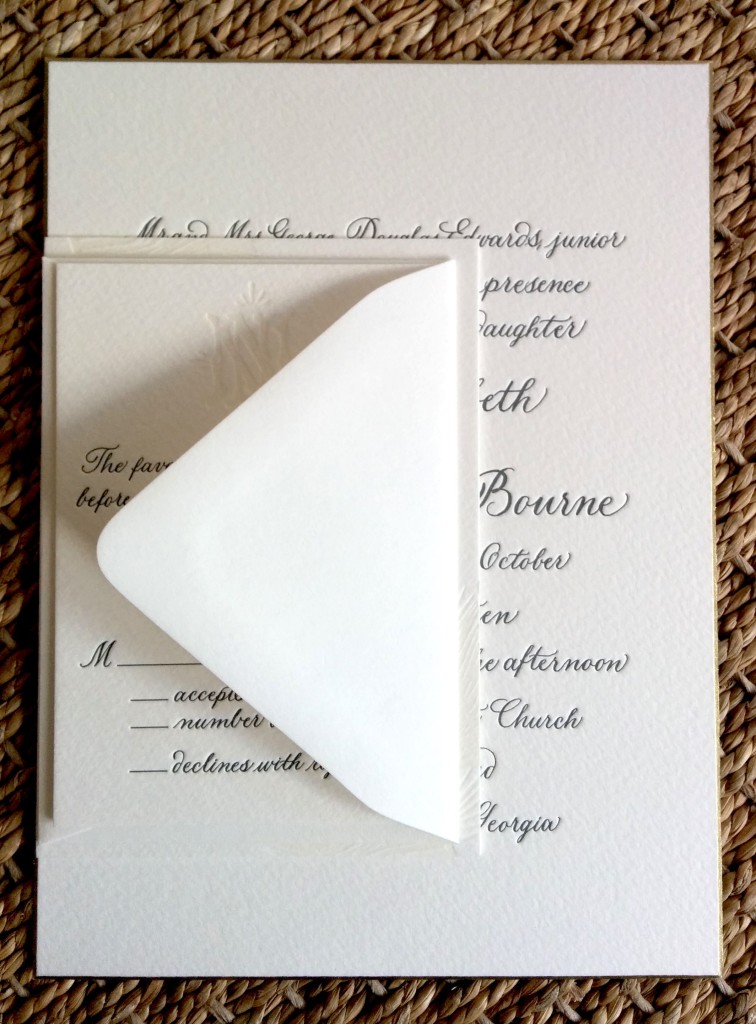
Step 3- Place the reply card and envelope on top of the reception card. Make sure your reply card envelope is pre stamped for your guests’ convenience.
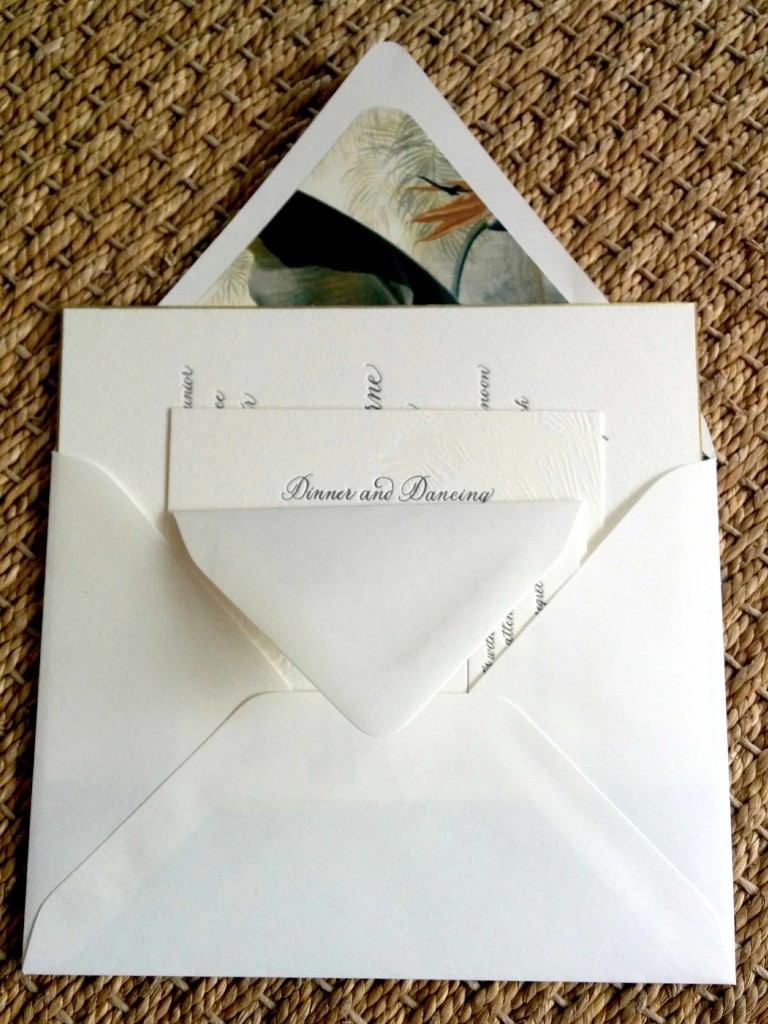
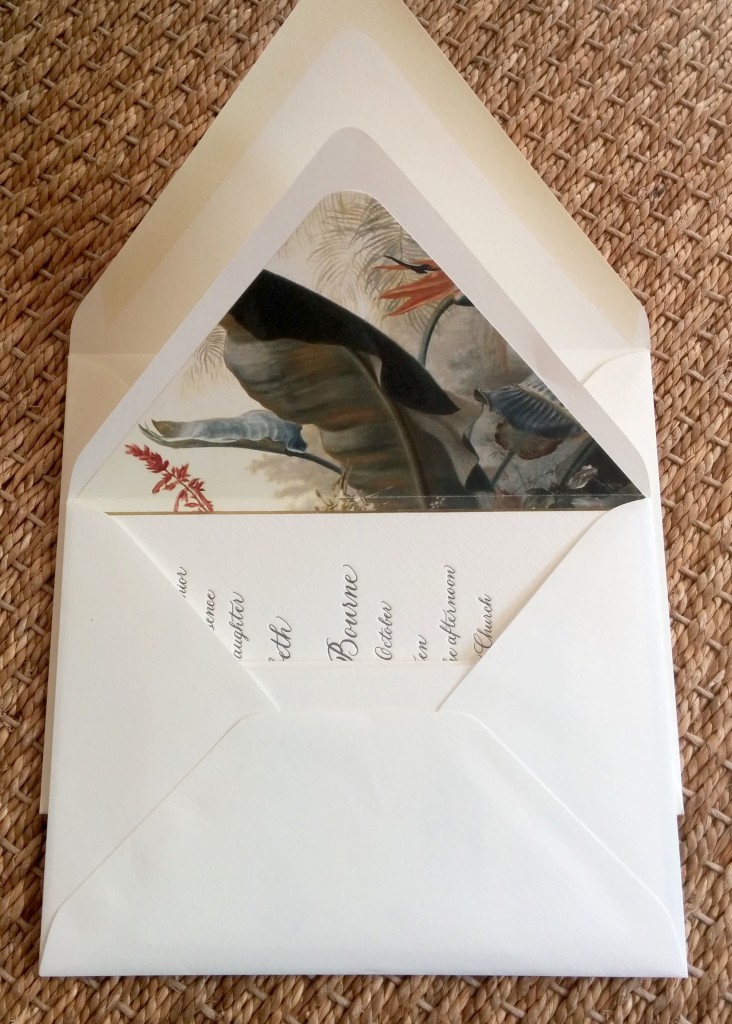
Step 4- The stack then slides into the inner envelope- reply card in envelope on top, reception card next, then invitation card on bottom.
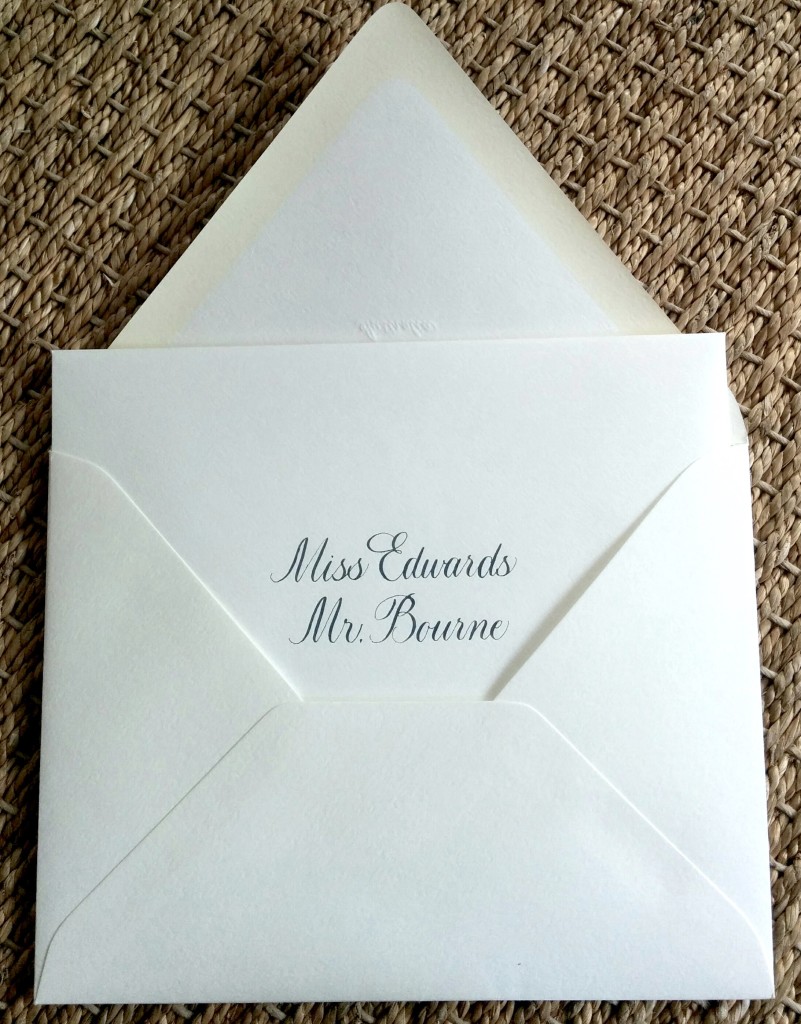
Step 5- Insert the inner envelope into the outer envelope. The inner envelope should be addressed to the guests you are inviting using just a Prefix and last name. If you are including a couples’ children, they should be separately listed in the same manner using the proper prefix. Also, the inner envelope is not sealed.
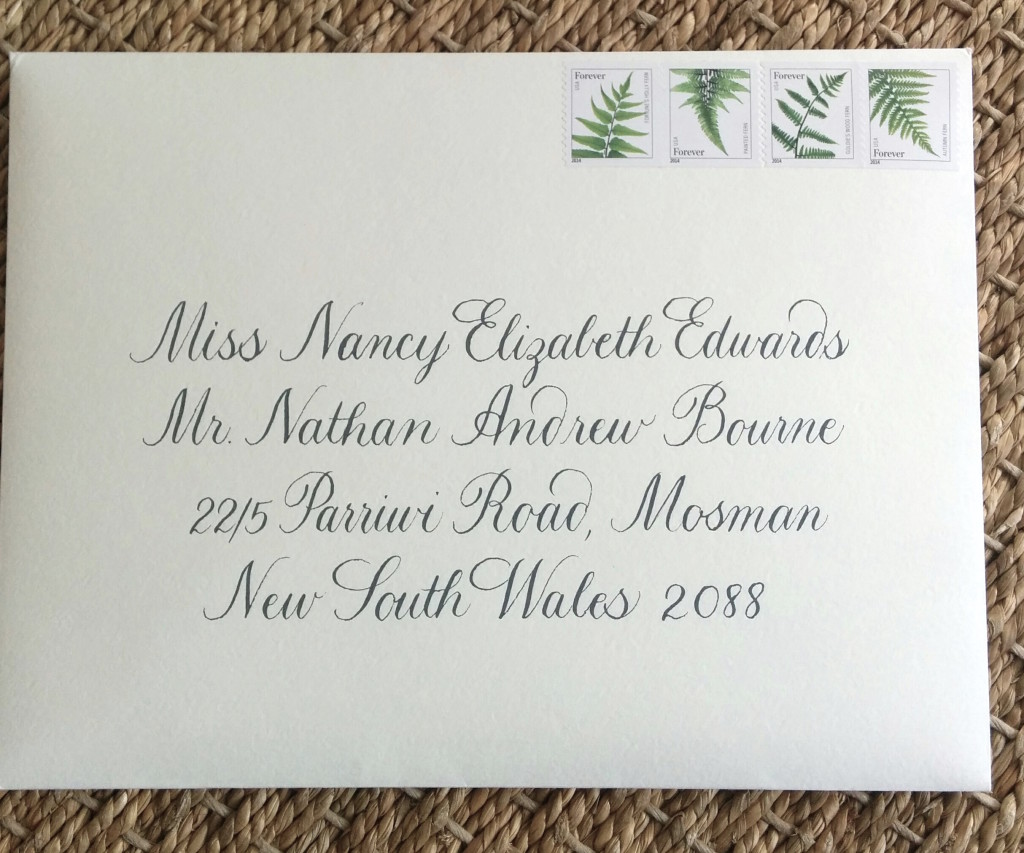
Your package is complete and ready to be mailed! We also take one of these completed envelopes to the post office to make sure we have sufficient postage. If it’s oversized or weighs more than a birthday card, you’ll need more! We also like to use a wet envelope sealer to make the job go by much faster.
Thank you to Lettered Olive for the beautiful designs and make sure to see our step by step video below.


