Tag Archives: DIY

Nov 01, 2016

screen-shot-2016-10-27-at-1-23-01-pm

With the holidays surprisingly already around the corner, we are sharing some tips from our feature for Trad Home. But  many tips here can translate to any dinner party occasion. All using items you can pull from around your home with easy how to’s! Photos by Corbin Gurkin.
2014_Traditional_Home_0011

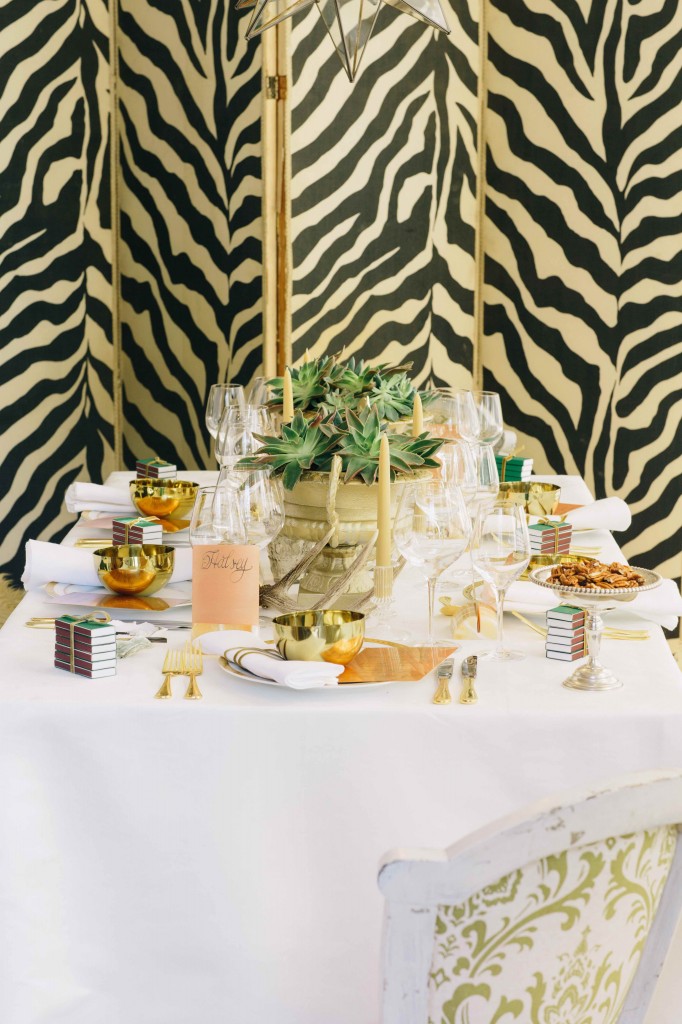
Finding enough seats to accommodate all of your guests may be a challenge, so don’t be afraid to mix seats.. Benches, upholstered chairs, dining room chairs, etc. can all work together. Also, scour your home for items that could be used for eclectic decor- using small stacks of books and placing candlesticks on them, using compote dishes or juice glasses, or emptying different bowls laying around can add variety and dimension.
2014_Traditional_Home_0016

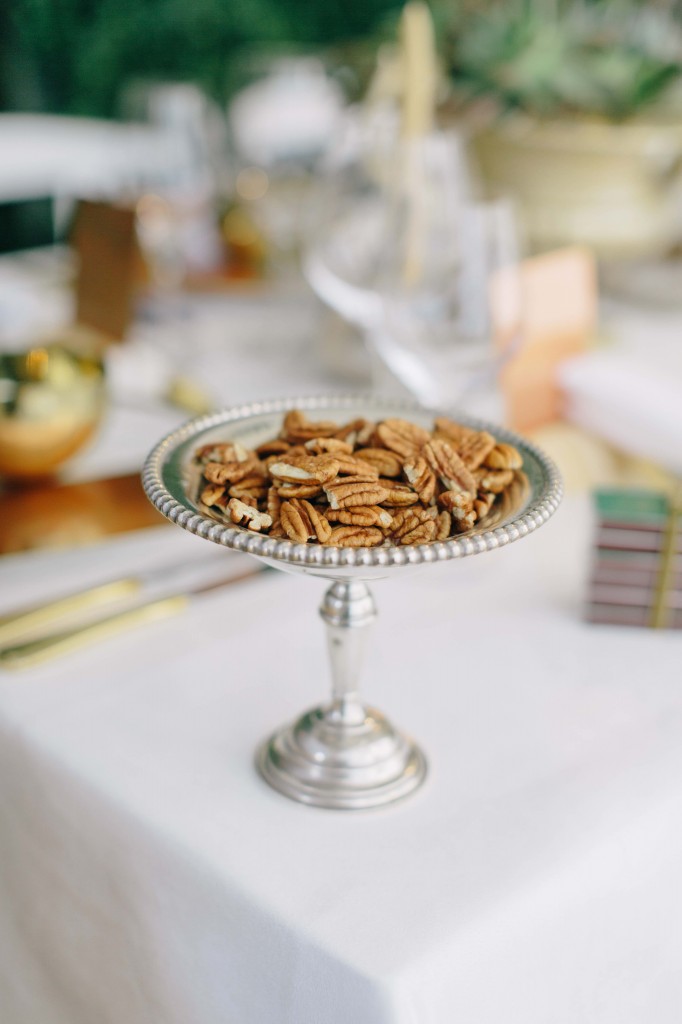
Also, placing varying serving dishes with nuts, olives, or dried fruits add to the decor and also offer different appetizers without having to offer a formal course. We often place bowls or items at our bars, so as guests are getting drinks and having conversations they can easily nosh.
2014_Traditional_Home_0024

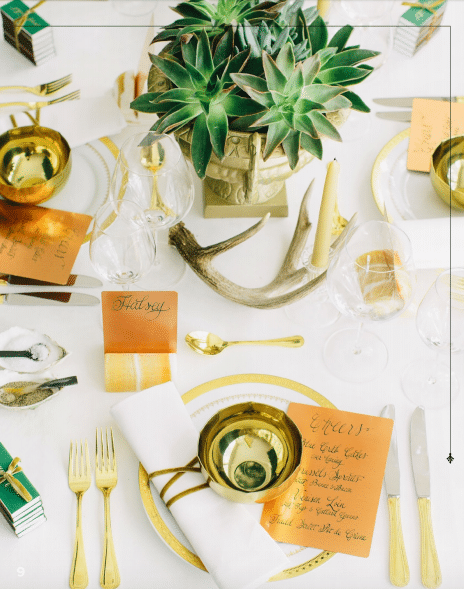
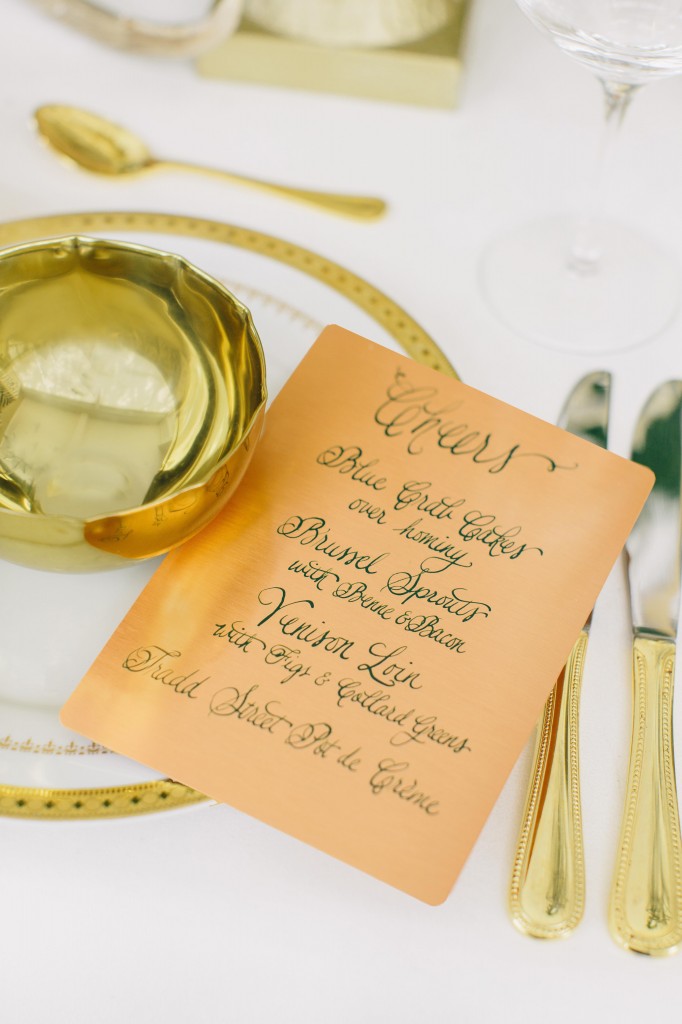
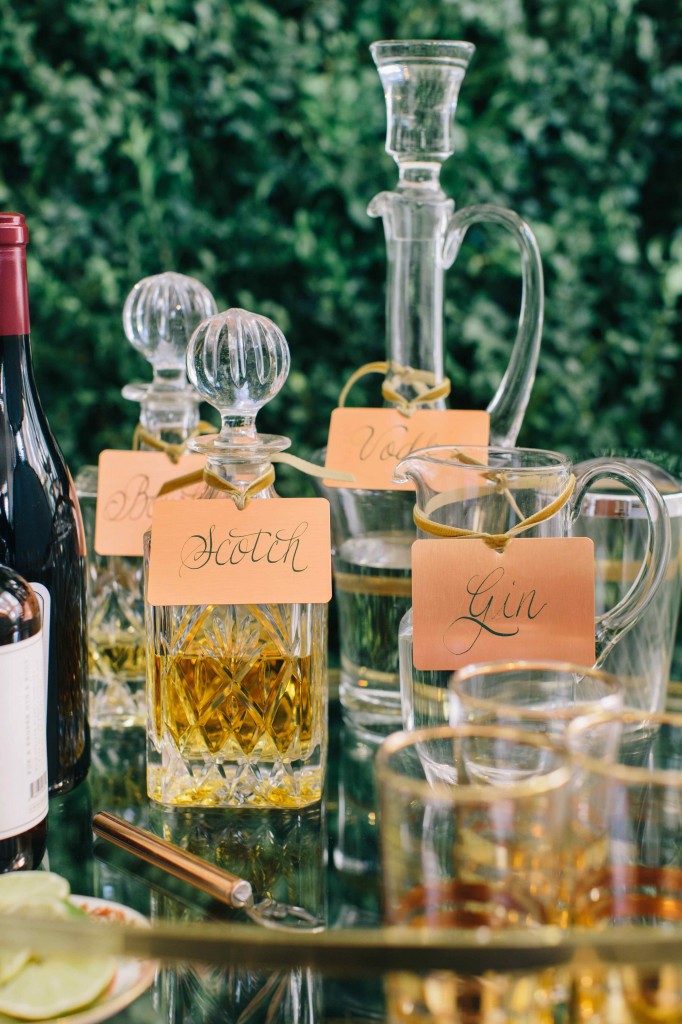
Handwritten menus are such an easy way to amp it up for your guests. You can even find mixed materials to write on- these copper sheets came from Lowe’s, but you could use different picture frames (write on the glass), old stationary or wrapping papers. Use a fine tip Sharpie, which also comes in plenty of colors!
2014_Traditional_Home_0051

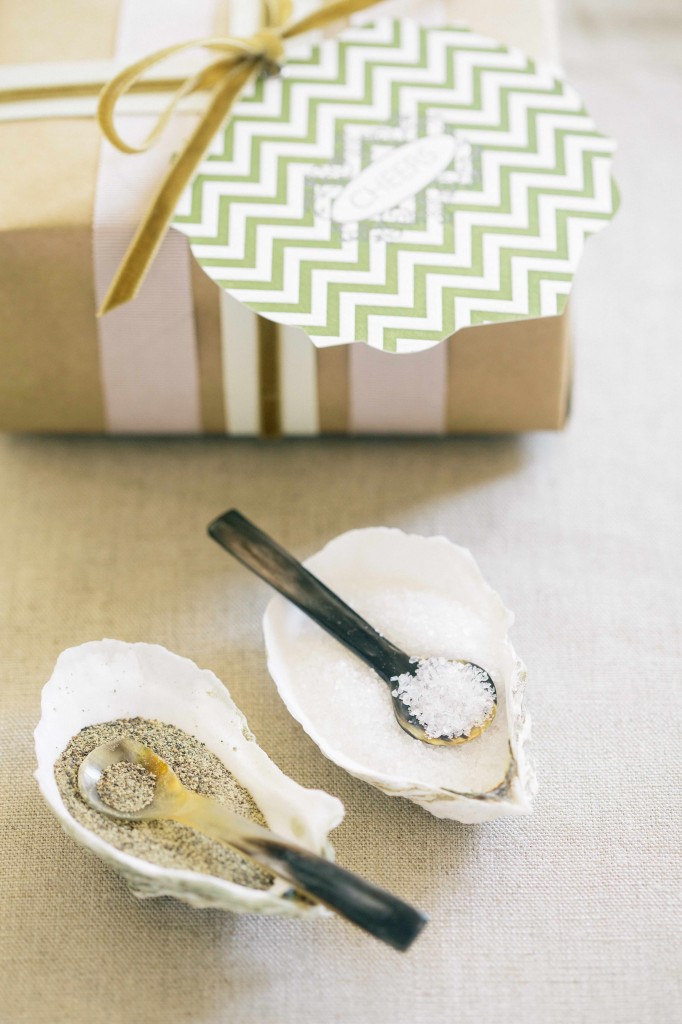
Here in Charleston we have access to many shells, specifically Oyster shells. We used oyster shells to create salt and pepper wells, and then raided our serving collections. Any shells with a bowl component would work obviously.
2014_Traditional_Home_0030

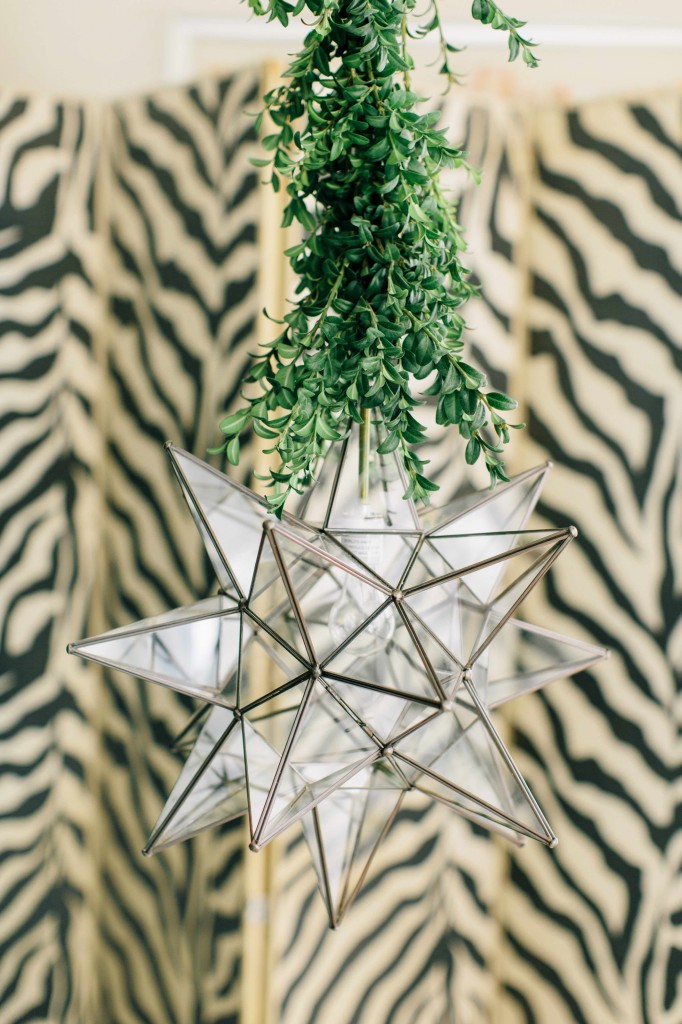
If you are dining outside and have added lighting, extra cords can be unsightly. Find greenery or vines that you can attach to the cords to camouflage them.
2014_Traditional_Home_0034

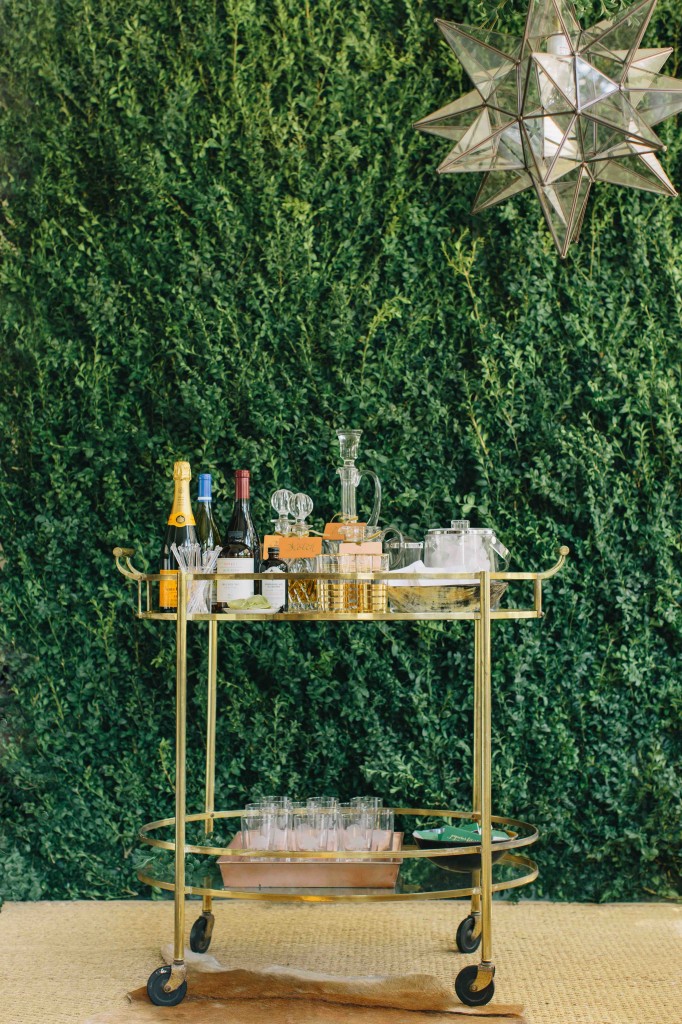
Of course we would be remiss if we didn’t discuss setting up a bar for your guests. Make sure you have a selection of everything along with the appropriate glasses,  in case someone only drinks wine, or only drink scotch.  It also takes a load off of you as a host for guests to easily be able to serve themselves.
2014_Traditional_Home_0042

If you don’t have decanters for everything (btw- they are often available for a fraction at antique stores), using glass pitchers, wine decanters, or lovely old bottles can work just as well. Be sure to let your guests know which is in each container again with handwritten signage.

11.01.16   |   TARA GUÉRARD
Entertaining, Event Design, Event Planning, Food and Drink, Photographers, Press | Comments >>

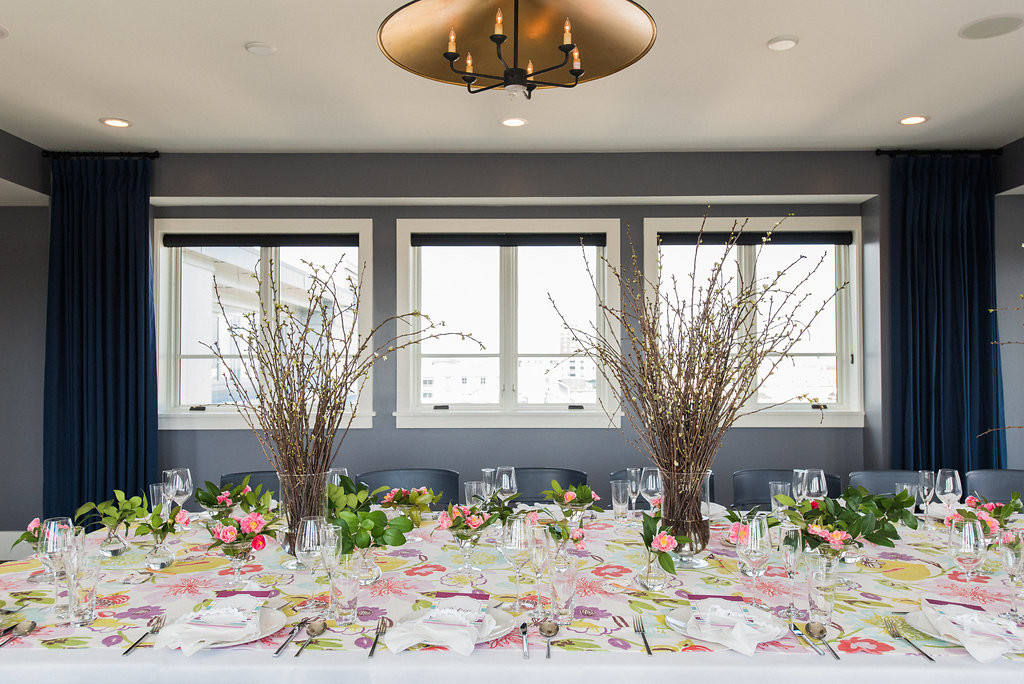
Brunch dining room

photo by Marni Rothschild

Head over to Architecturaldigest.com for our top tips on hosting your own Spring Brunch!  Mother’s Day is coming up, so could be just the solution you were looking for instead of a reservation!

4.14.16   |   TARA GUÉRARD
Charleston, Entertaining, Event Design, Food and Drink, Parties, Press | Comments >>
Mar 29, 2016

Bout pic 8

To follow up on our post a few weeks ago on how to make a spring bouquet, we’re sharing DIY steps to making a boutonierre. You can surprise your groom on the day of with one that you made, or if you have any upcoming black tie events this could be an easy accessory for your date!

Bout pic 1

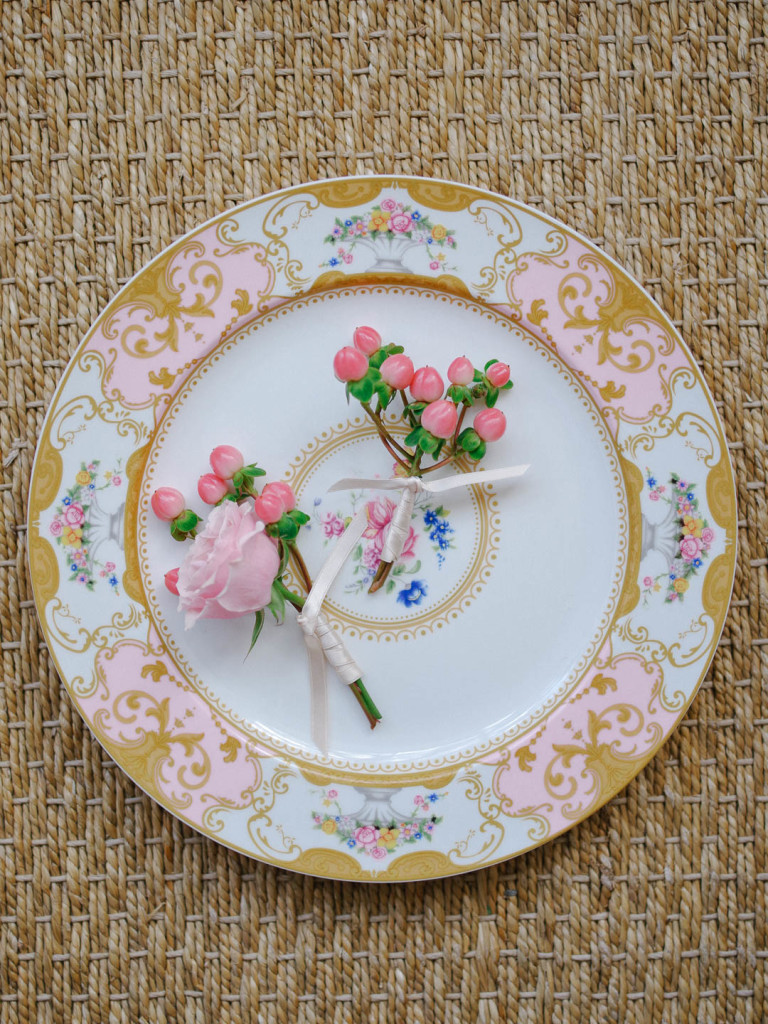
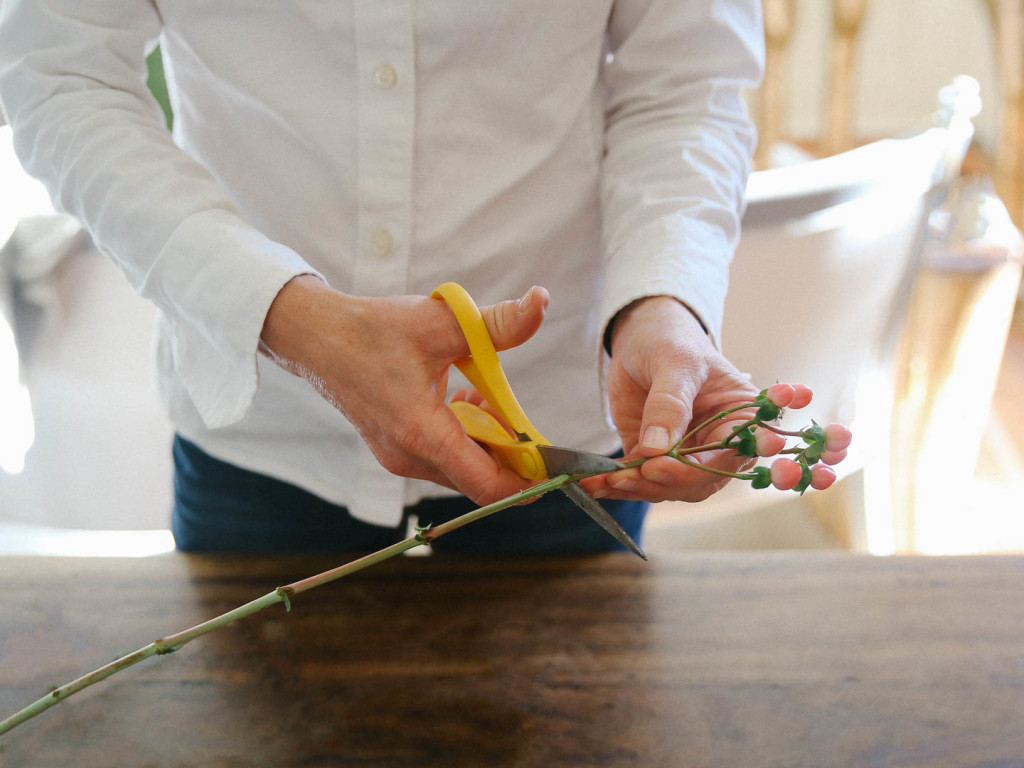
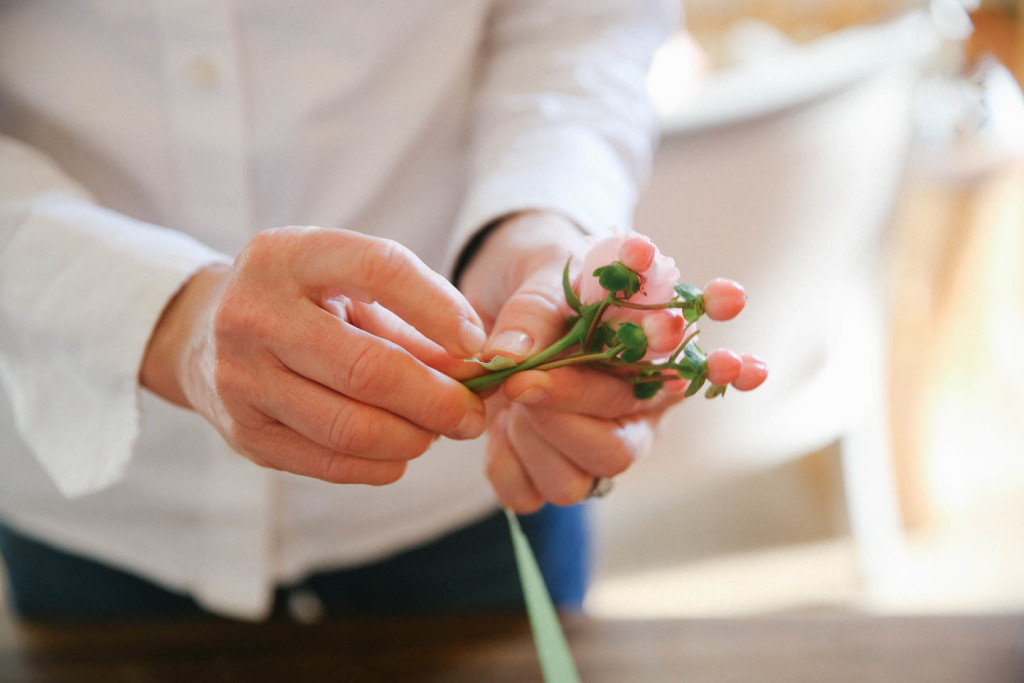
First, trim the stems of the flower you are going to use. I like to pair a couple of things together to give it some texture, or if you want to use a single flower, a peony bud, calla lily, or interesting solitary bloom work best.  Here, we’re using a tea rose and hypericum berries.  Thank you to Lucy Cuneo for the lovely images.

Bout pic 2

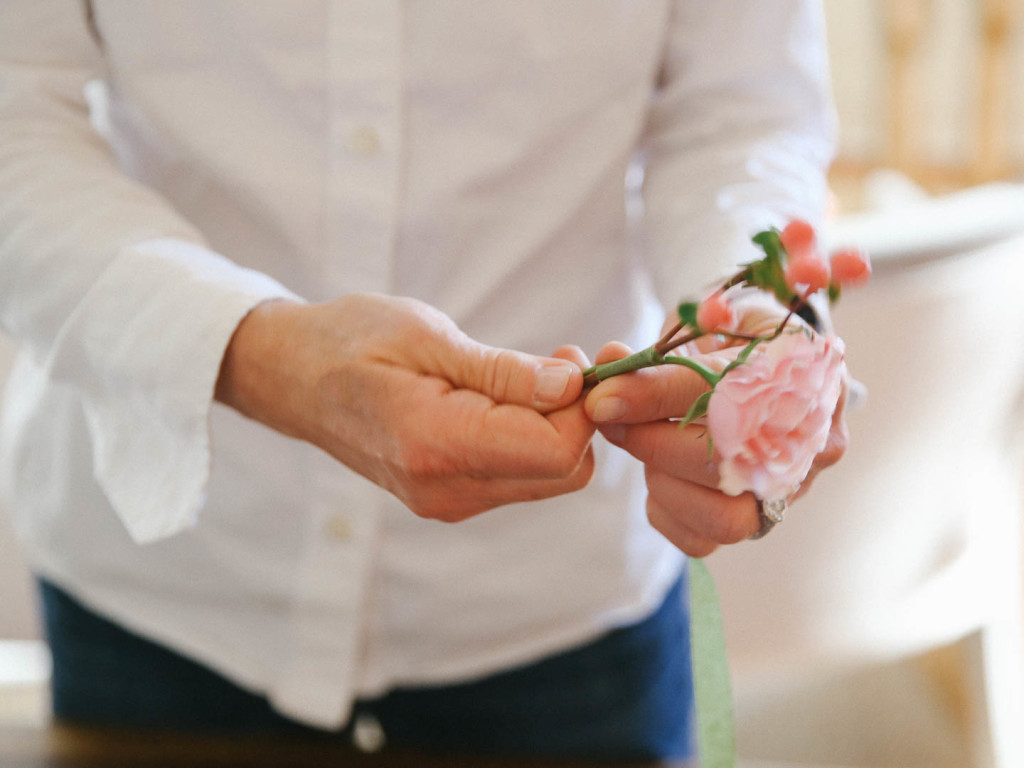
After you trim the stems, wrap with sticky stem wrap tape (available at your craft or floral supply store). Be sure to stretch it a little when you start to activate the stickiness.

Bout pic 3

Wrap it almost all the way from the top to the bottom. I do leave a bit of the natural stems (with evenly cut ends) showing at the bottom so that you don’t see the green stem tape.

Bout pic 4

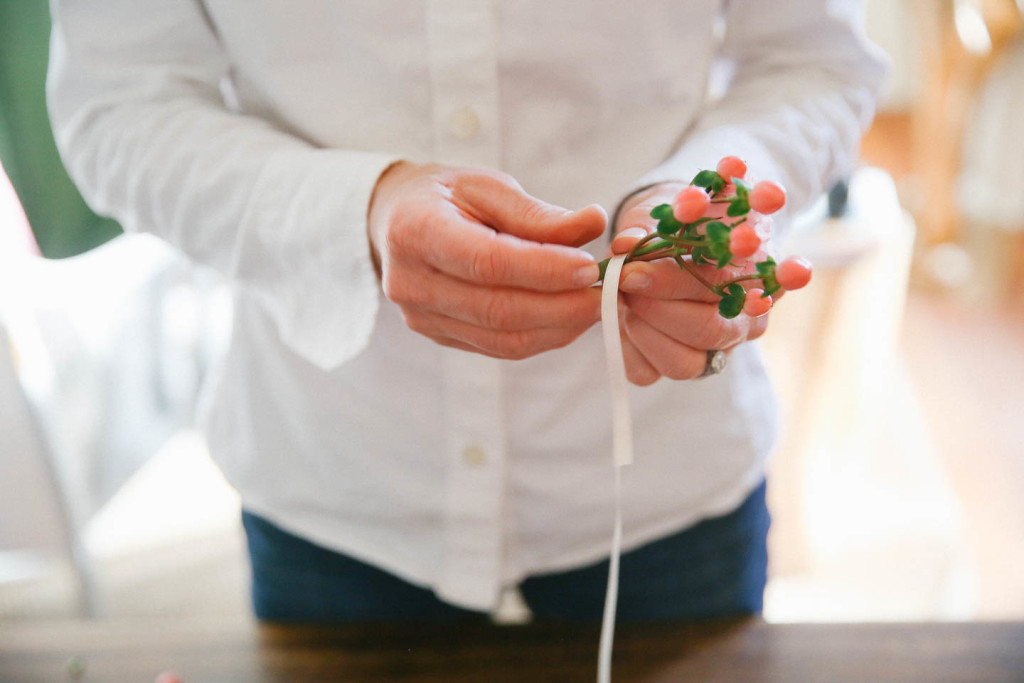
To cover the green stem tape, we’re going to use a thin width satin ribbon- leave about 3-4 inches of a tail end at the top and wrap to the bottom.

Bout wrap

We wrap tightly from the top to the bottom (I find it’s easiest to spin the wrapped flowers in my hand) and then come back up again opposite side from bottom to top.

Bout pic 5

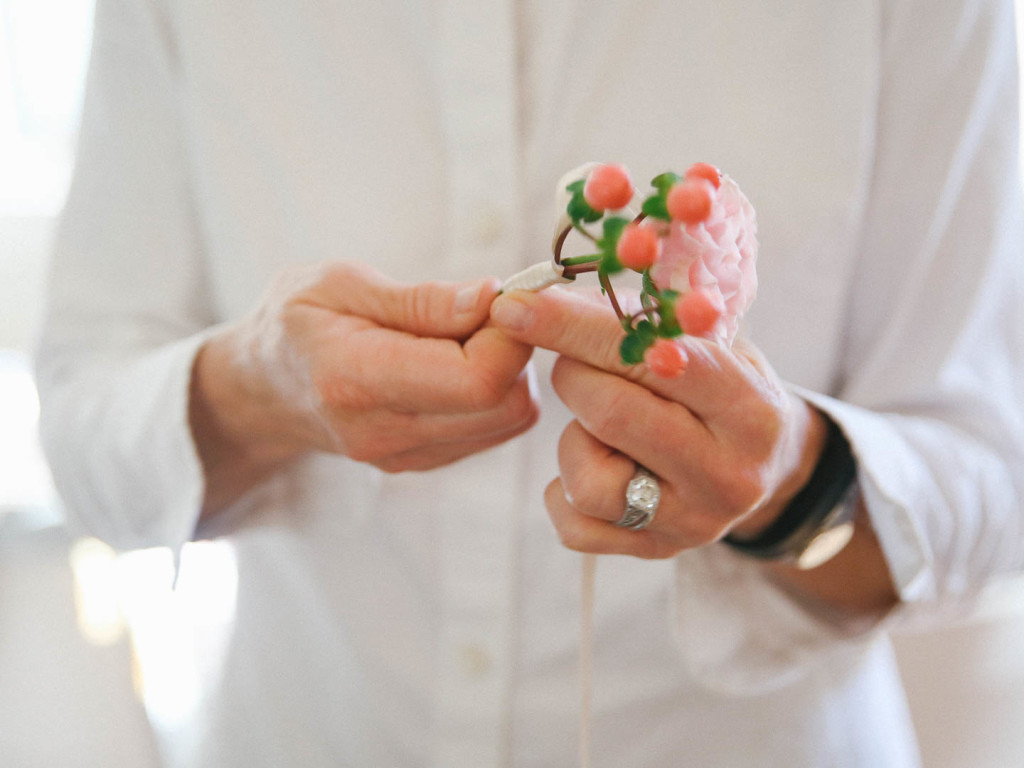
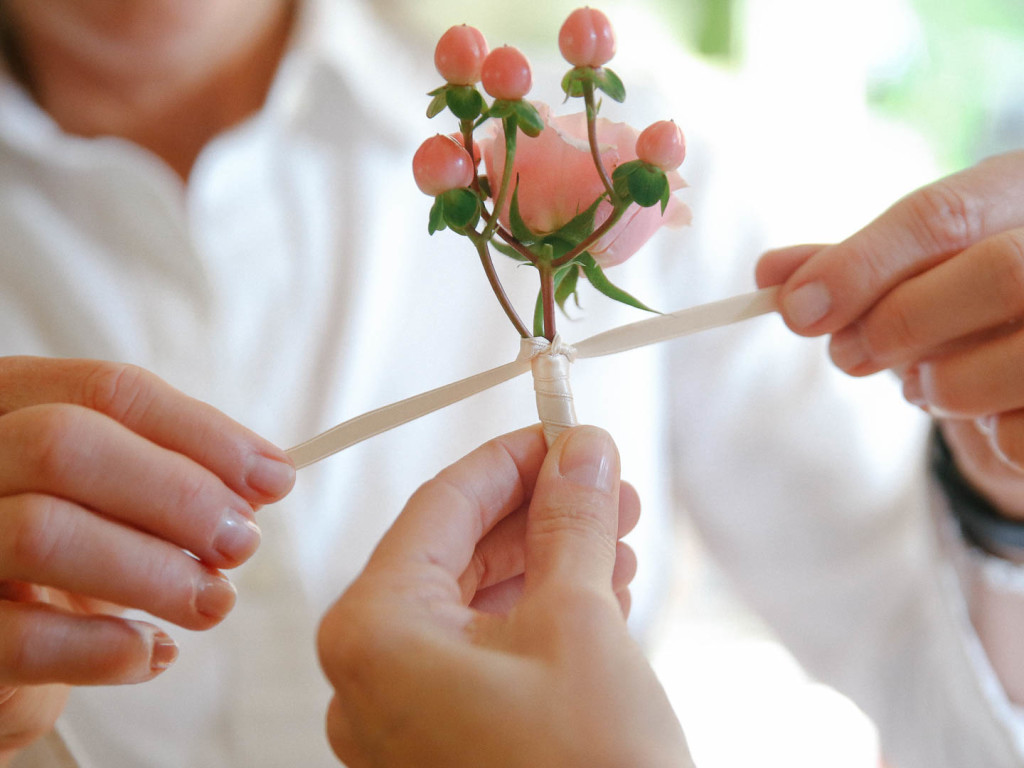
If you have a friend or another set of hands nearby it may be easiest to ask them to hold the flowers for you, so that you can tie your knot at the top. I like a good square knot where the ends are about even on both sides.

Bout pic 6

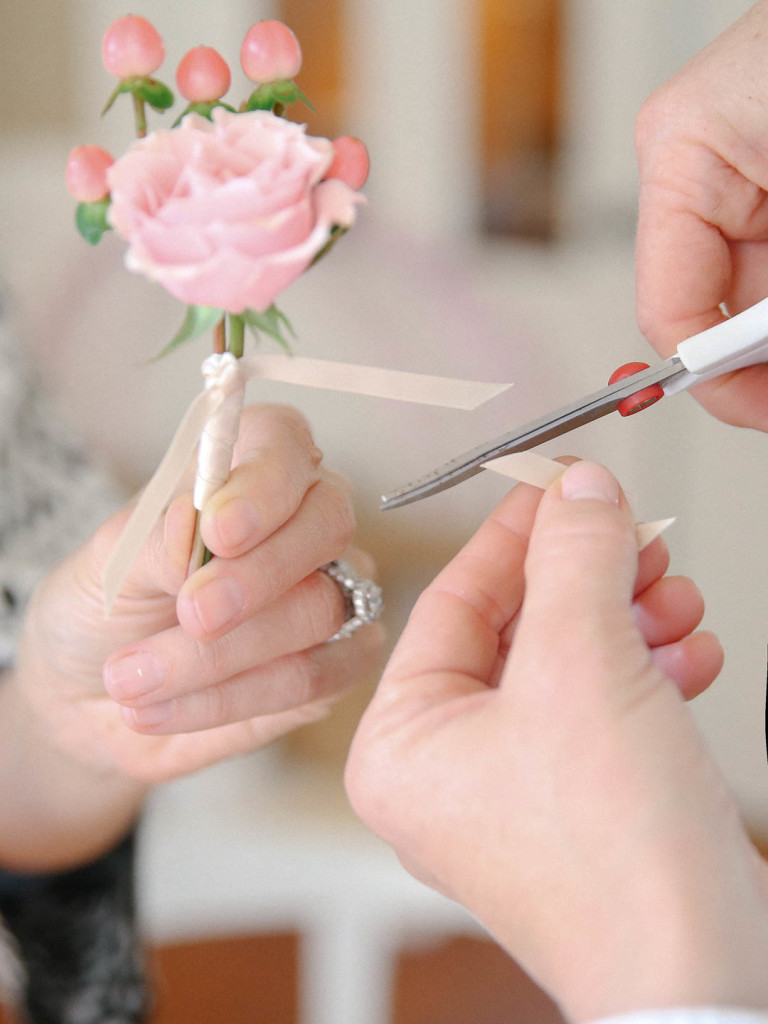
I like the look of trimming the ends on an angle for a finished polished look. I also use the straight pins w/ the smaller pearl tops. I stick them in the flowers angled down in line with the stems, so they are handy and ready to pin on the lapel.

6259_15a_boutoneirre

photo by Liz Banfield

3.29.16   |   TARA GUÉRARD
Bridal Style, Fashion, Flowers, Weddings | Comments >>