Tag Archives: How To

Invitation set

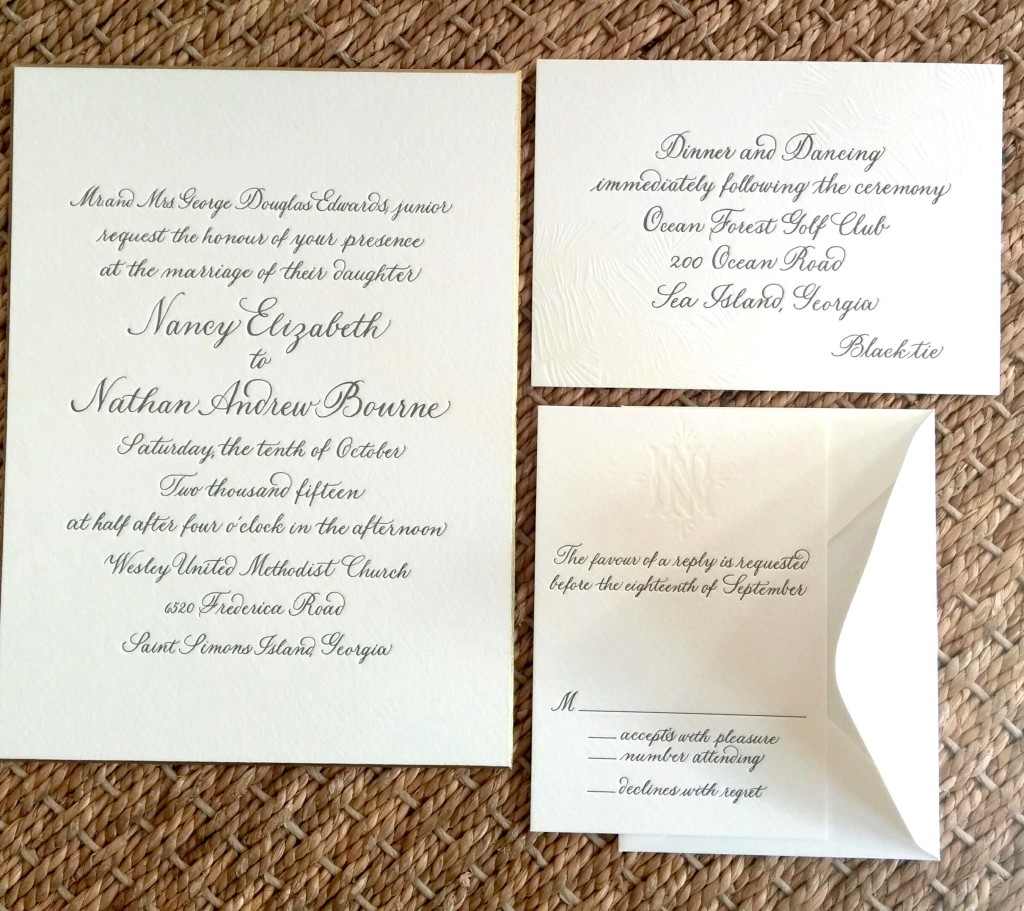
Fall is a very popular wedding time for us here in Charleston, so if you are working to get your invitations off to guests, we have step by step instructions for you here. And, if you haven’t seen our latest episode of Life is a Party with Page Palmer, we talk more about etiquette there as well.  We do this service for our clients all the time, but realize this is the first time many of you are doing this, so here is all you need to know.  P.S. that tissue paper that comes with your invitations, you don’t need to include that in the mailed set- it was introduced to make sure any ink that may still be wet wouldn’t transfer onto other invitations!

Step 1

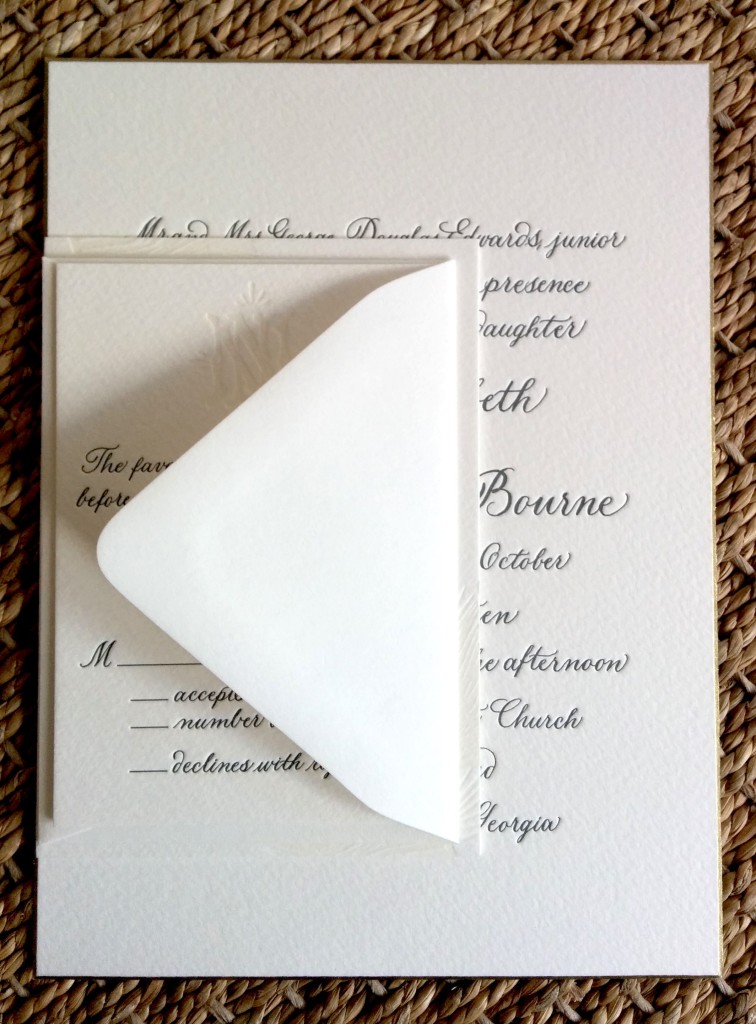
Step 1- Tuck the RSVP card into the upper lid of the reply envelope as shown.

Step 2

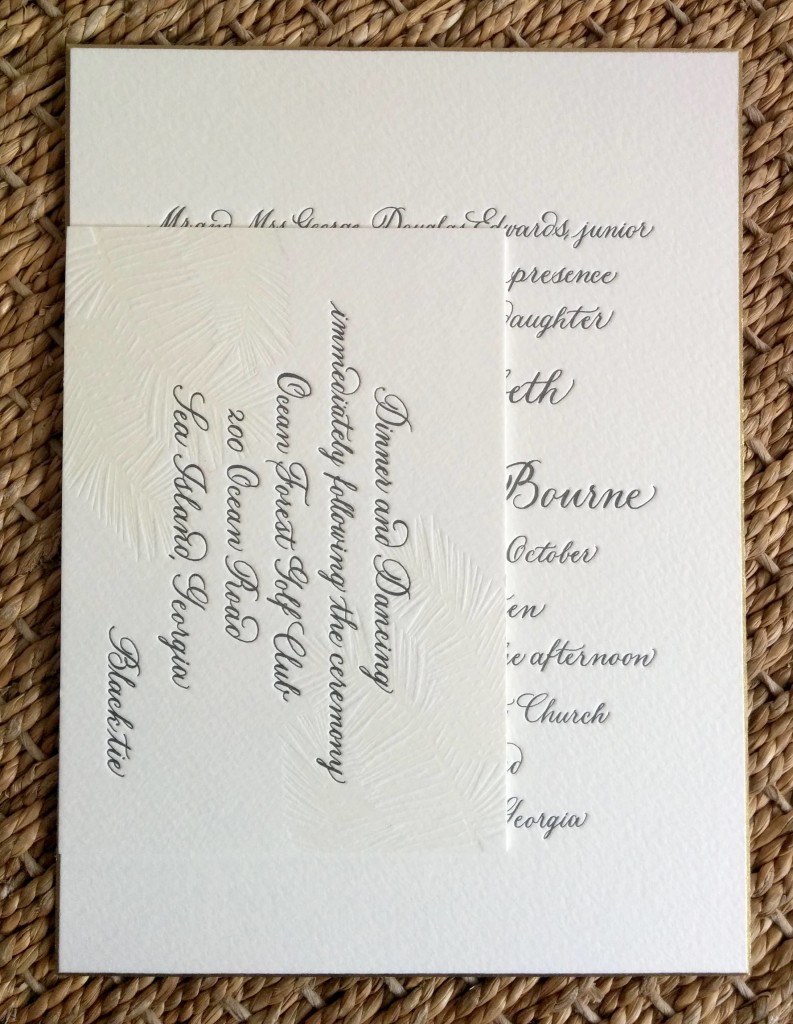
Step 2- Place the Reception card on top of the invitation on the left hand side (this will eventually become the bottom edge of the set). If you don’t have a reception card and only have a reply card- the same would apply.

Step 3

Step 3- Place the reply card and envelope on top of the reception card. Make sure your reply card envelope is pre stamped for your guests’ convenience.

Step 5

Step 6

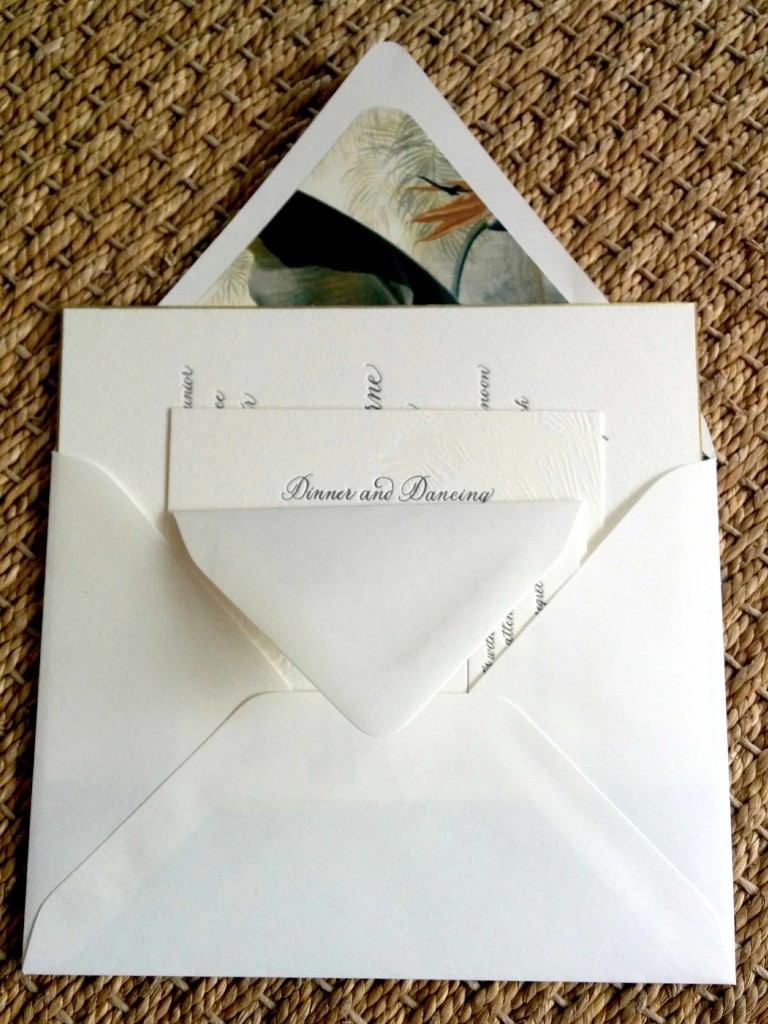
Step 4- The stack then slides into the inner envelope- reply card in envelope on top, reception card next, then invitation card on bottom.

Step 7

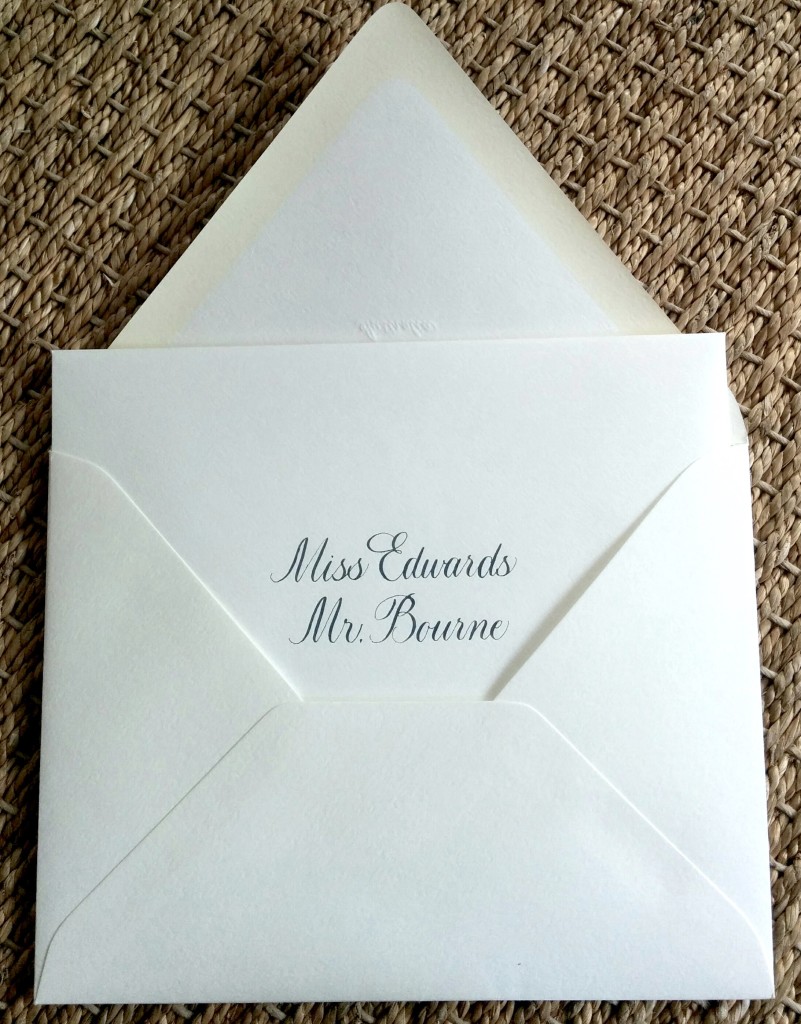
Step 5- Insert the inner envelope into the outer envelope. The inner envelope should be addressed to the guests you are inviting using just a Prefix and last name. If you are including a couples’ children, they should be separately listed in the same manner using the proper prefix. Also, the inner envelope is not sealed.

Step 8

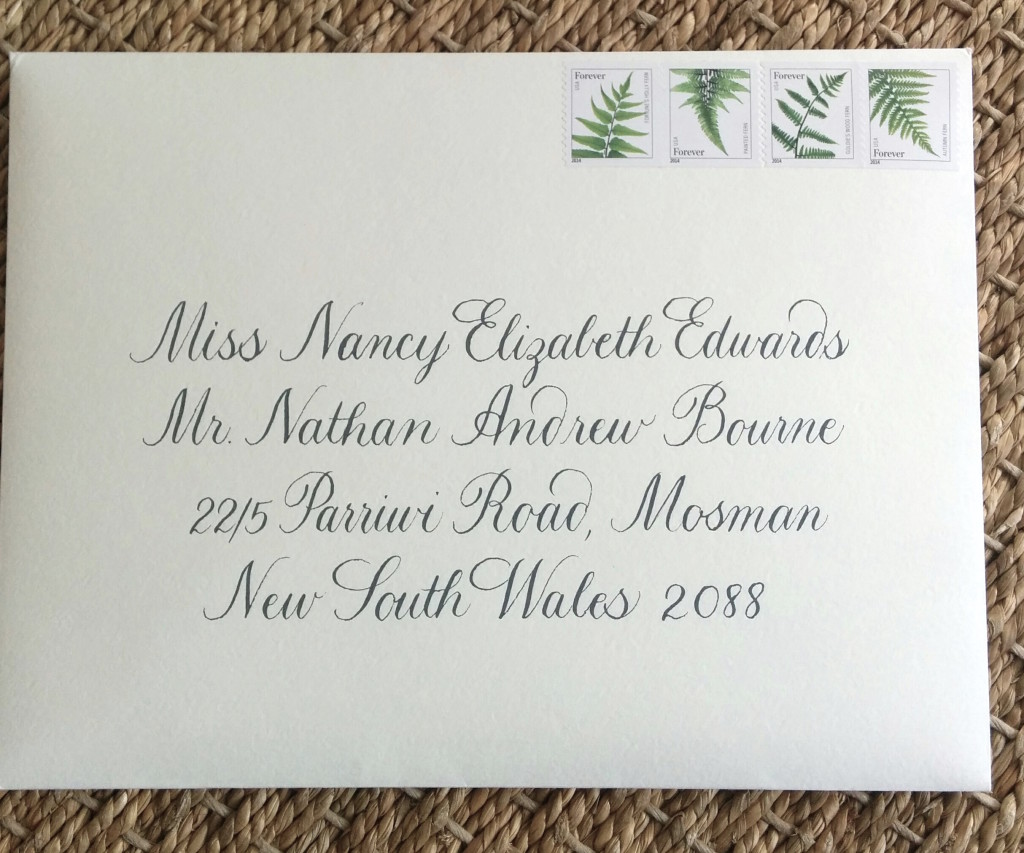
Your package is complete and ready to be mailed! We also take one of these completed envelopes to the post office to make sure we have sufficient postage. If it’s oversized or weighs more than  a birthday card, you’ll need more! We also like to use a wet envelope sealer to make the job go by much faster.

Thank you to Lettered Olive for the beautiful designs and make sure to see our step by step video below.

9.04.17   |   TARA GUÉRARD
Etiquette, Event Design, Stationery, Invitations and Pretty Papers, The Lettered Olive, Videos, Weddings | Comments >>
Dec 27, 2016

lcp_tgs_holiday-31

So Christmas is over, but the tree and greenery still smells so holiday-ey. If you happen to be hosting a New Year’s celebration, we have a quick and easy idea on recycling some of your greenery into festive votive candles for the evening’s affair.

lcp_tgs_holiday-18

To start with, inexpensive clear glass votives from a craft store, etc is all you’ll need. I also prefer that the candle be an off white, versus a bright white. Any greenery you may have from a wreath or Christmas tree would work here. I also like using some kind of chording, string, or ribbon to finish it off and give it a pretty touch.
lcp_tgs_holiday-21

You’ll need to place double sided scotch tape around the body of the votive candle.

lcp_tgs_holiday-23

lcp_tgs_holiday-25

Lay a thinnish strand of your greenery atop the double sided sticky tape.

lcp_tgs_holiday-27

Do leave a little tiny bit of the ends loose and not taped down all the way…

lcp_tgs_holiday-28

Wrap your ribbon or whatnot through and tie in a knot to secure and then finish off with a bow, or hand tied design of your choosing.

lcp_tgs_holiday-30

Trim any excess of the greenery ends…

lcp_tgs_holiday-33

 Mix in and place on the dinner table, or cluster in groups on a serving buffet, bar cart, restroom, etc. Guests will note your clever touch, and you will enjoy the ease of this project! Happy Tuesday. Thank you to Lucy Cuneo for the photography.

12.27.16   |   TARA GUÉRARD
Entertaining, Event Design, Event Planning, Parties, Uncategorized | Comments >>

Tara Guerard Soiree

Now that it’s finally citrus season, one of my favorite DIY decor tips for entertaining at home are my orange votives! They are readily available for your last minute holiday tabletop or for any given dinner party. First step is to assemble everything you need- a sharp knife, a good strong spoon or scoop, and your oranges of course. If it’s your first round, get a bag to allow for any Oops!

Tara Guerard Soiree

Slice a thinnish piece off the bottom (and an even thinner part off the opposite side just of the peel, not any of the inside so that it has a steady platform for where you plan to set it down). Use your spoon to hollow out all of the pulp, juices, etc. I like to keep them all to use for smoothies or juicing.

Tara Guerard Soiree

We make sure to use the candle drop ins that have the plastic bases0 they are deeper and don’t get as hot as the aluminum based ones; they also look nicer!

Tara Guerard Soiree

It’s also a good idea to zest or shave a bit of the peel off of the sides so that the candles are able to really glow through. Of course, they are wonderfully fragrant as well!

lcp_tgs_holiday-34

To give your table more depth and glow, I recommend adding in some taller taper style candles with custom “made” candlesticks that are also easily tackled last minute. Spray painting antique or craft store bought glass candlesticks gold or silver, or even a metallic blue would give a beautiful finishing touch along with your orange votives!

lcp_tgs_holiday-35

12.20.16   |   TARA GUÉRARD
Entertaining, Etiquette, Event Design, Event Planning, Parties, Uncategorized | Comments >>