Tag Archives: How To

Mar 29, 2016

Bout pic 8

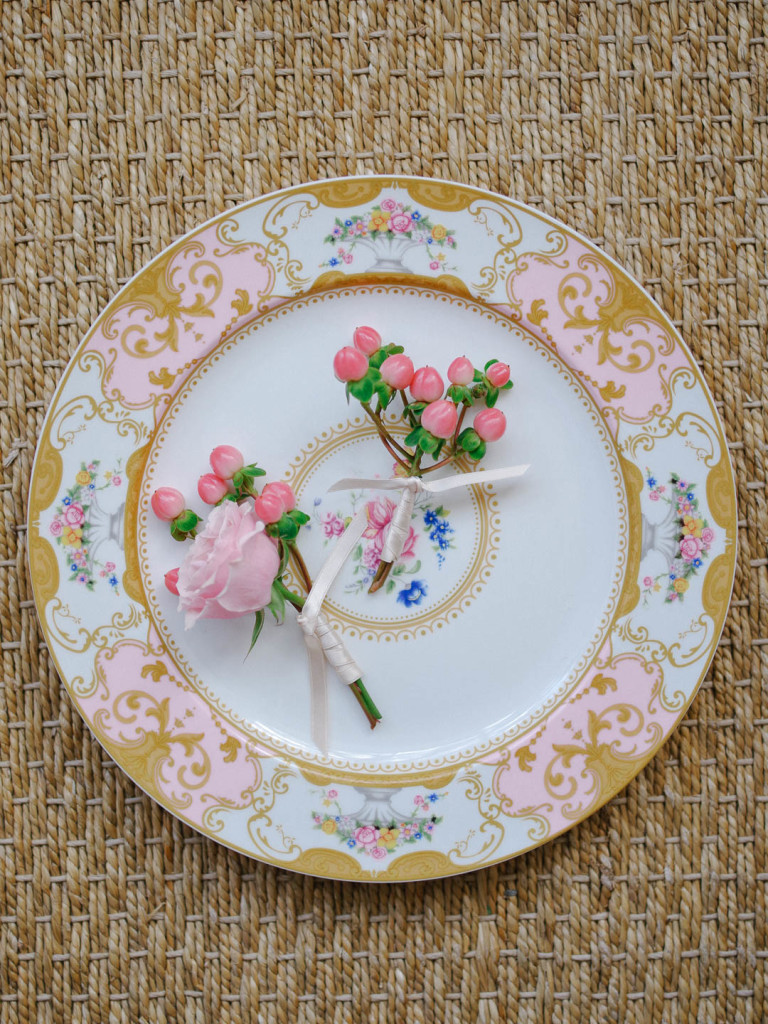
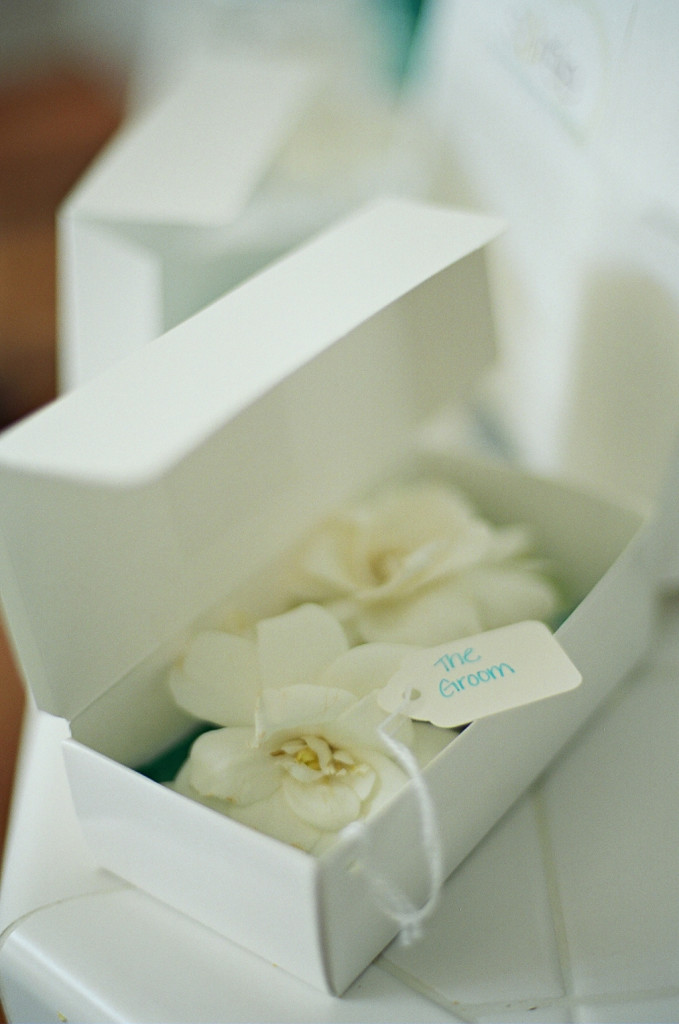
To follow up on our post a few weeks ago on how to make a spring bouquet, we’re sharing DIY steps to making a boutonierre. You can surprise your groom on the day of with one that you made, or if you have any upcoming black tie events this could be an easy accessory for your date!

Bout pic 1

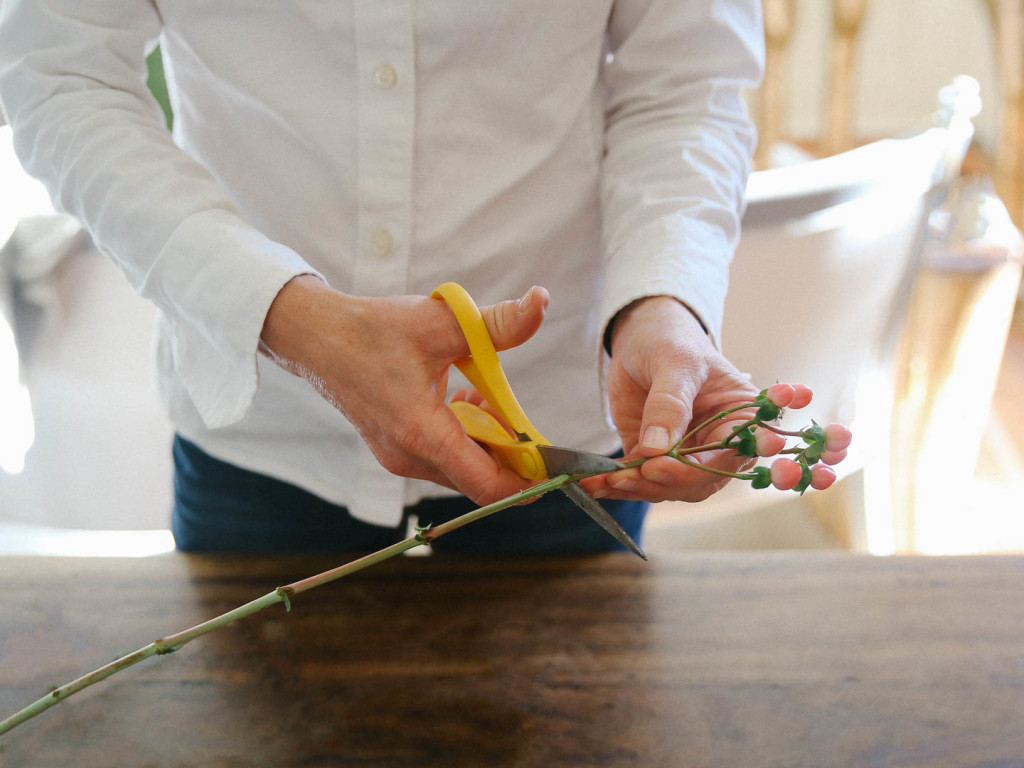
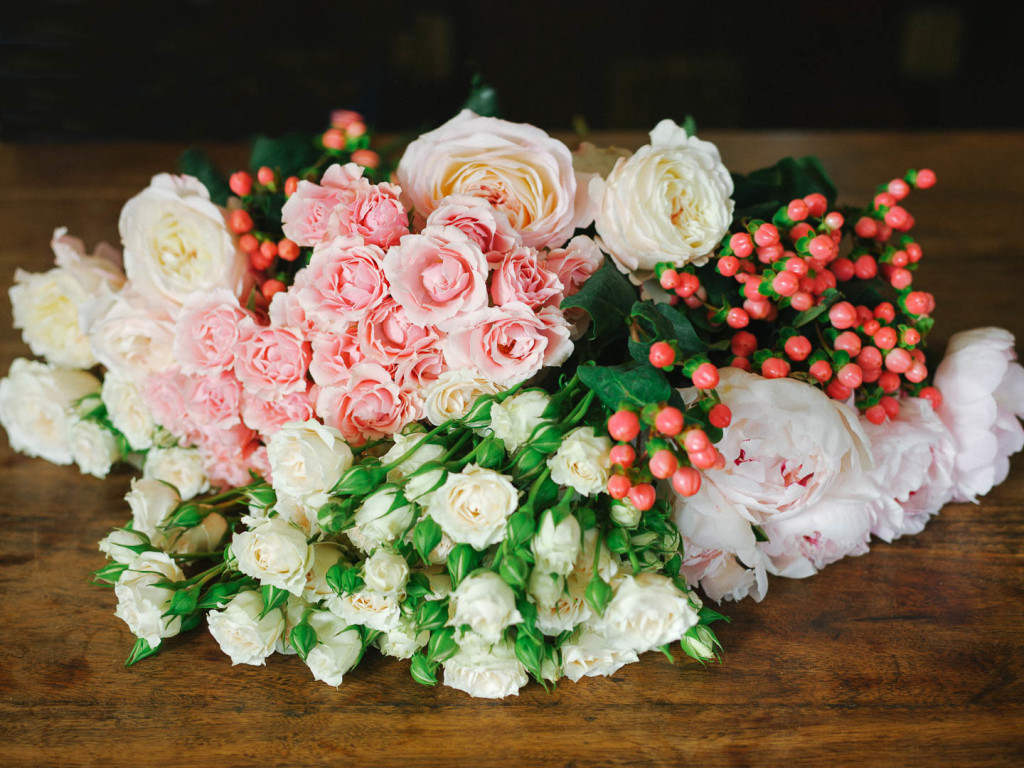
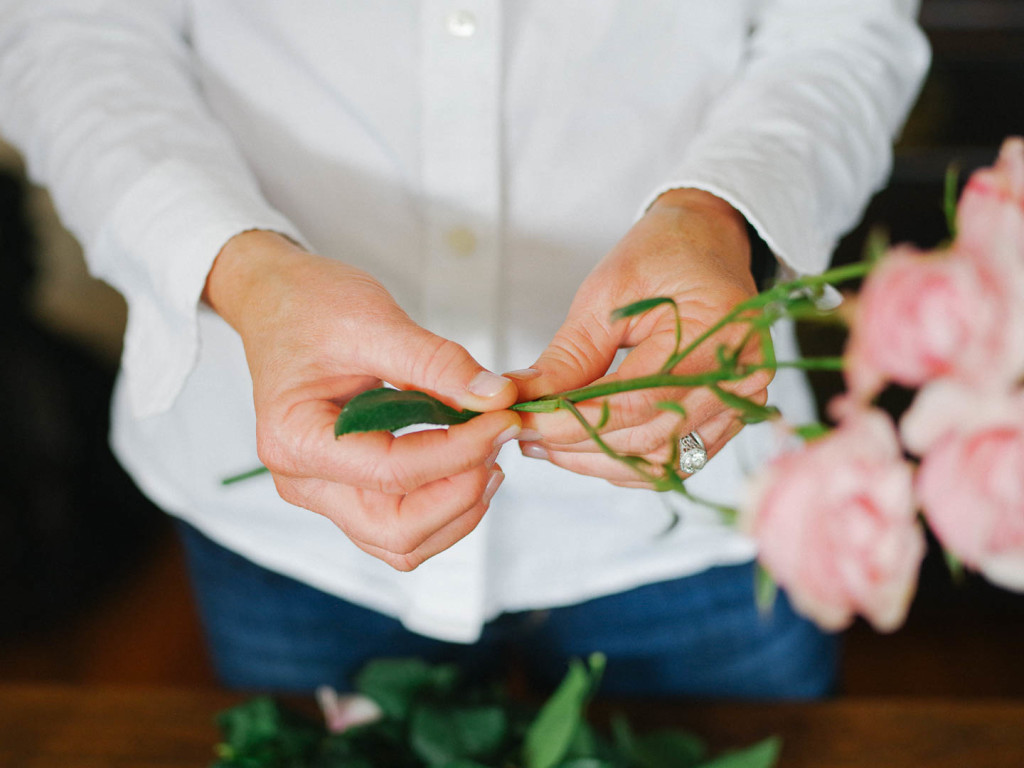
First, trim the stems of the flower you are going to use. I like to pair a couple of things together to give it some texture, or if you want to use a single flower, a peony bud, calla lily, or interesting solitary bloom work best.  Here, we’re using a tea rose and hypericum berries.  Thank you to Lucy Cuneo for the lovely images.

Bout pic 2

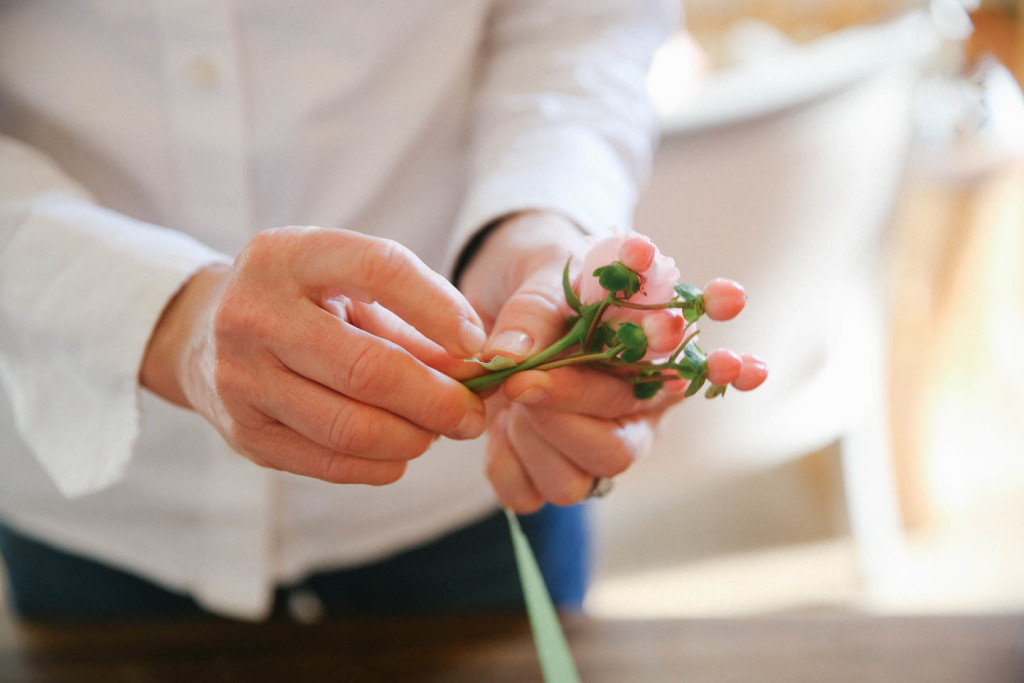
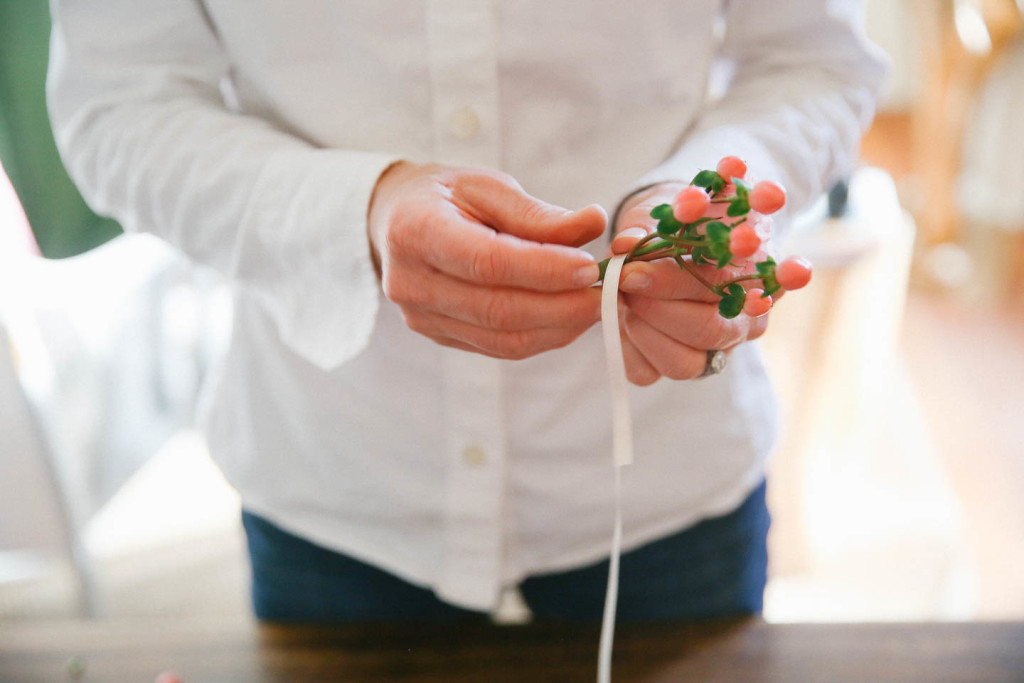
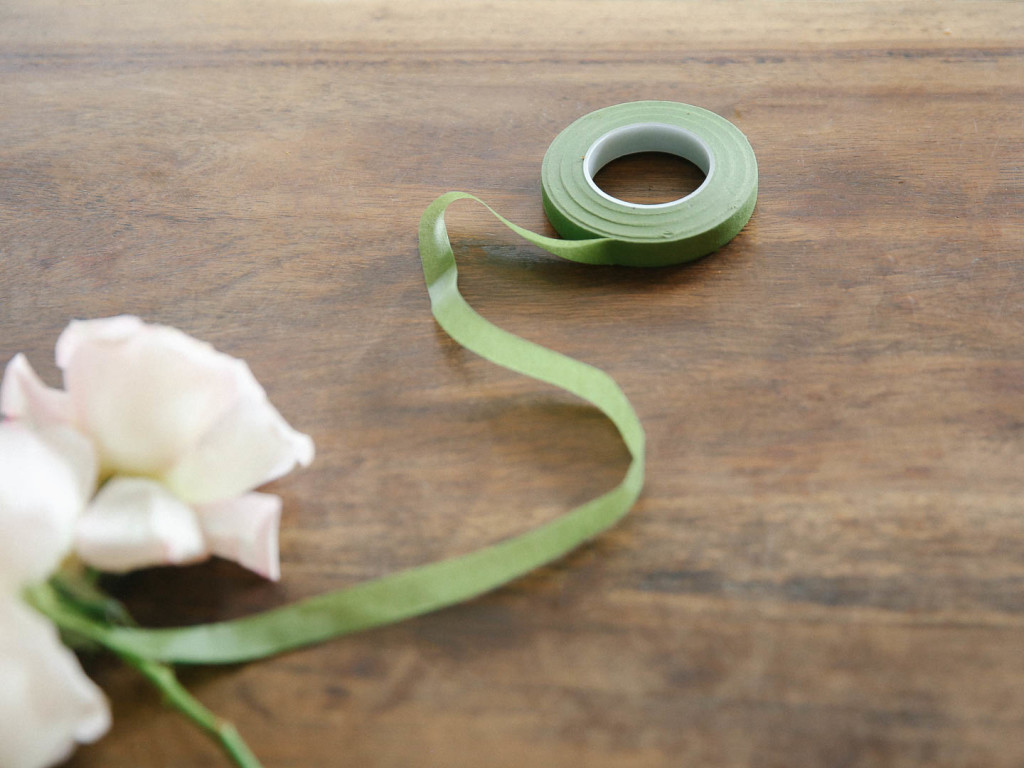
After you trim the stems, wrap with sticky stem wrap tape (available at your craft or floral supply store). Be sure to stretch it a little when you start to activate the stickiness.

Bout pic 3

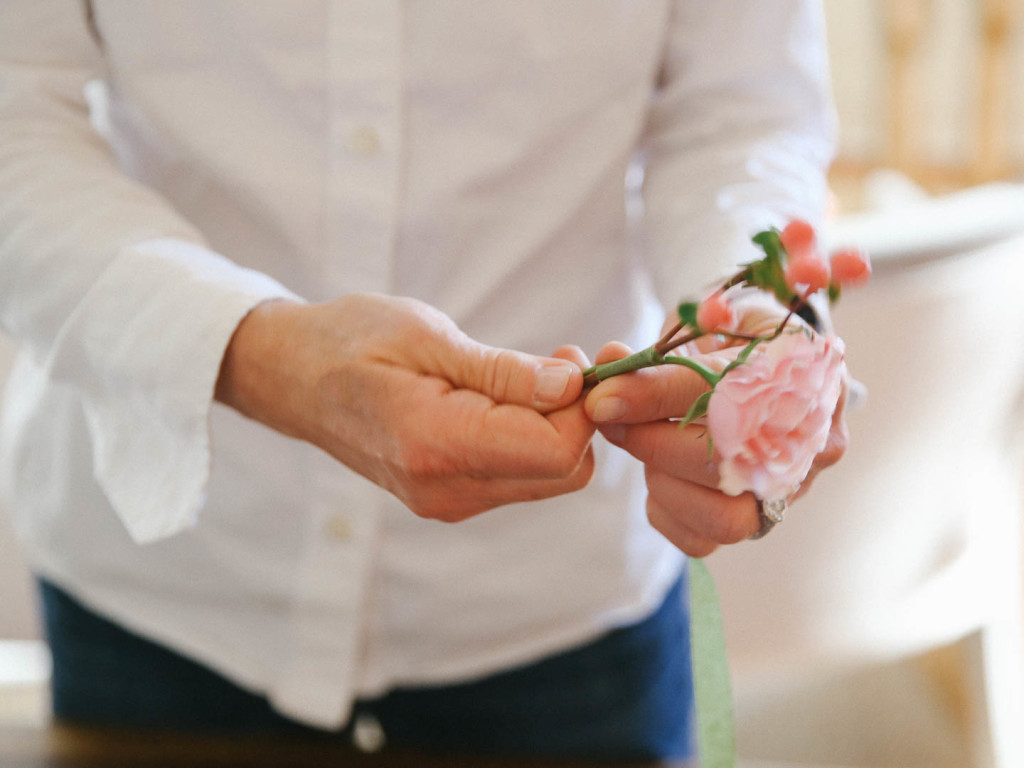
Wrap it almost all the way from the top to the bottom. I do leave a bit of the natural stems (with evenly cut ends) showing at the bottom so that you don’t see the green stem tape.

Bout pic 4

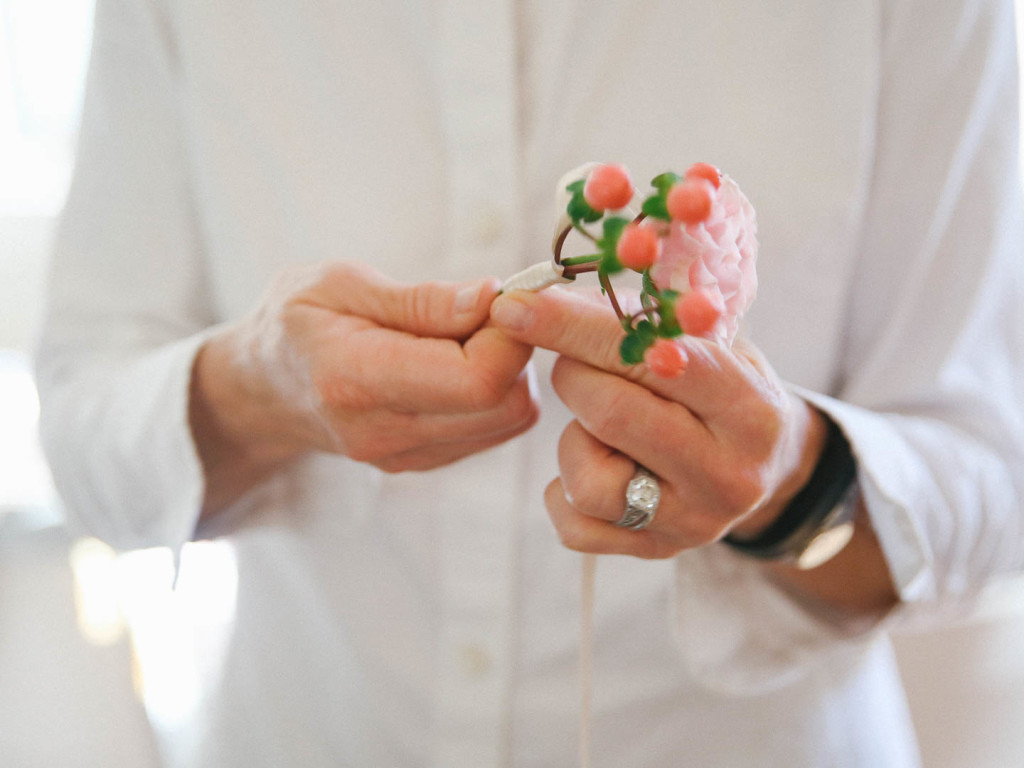
To cover the green stem tape, we’re going to use a thin width satin ribbon- leave about 3-4 inches of a tail end at the top and wrap to the bottom.

Bout wrap

We wrap tightly from the top to the bottom (I find it’s easiest to spin the wrapped flowers in my hand) and then come back up again opposite side from bottom to top.

Bout pic 5

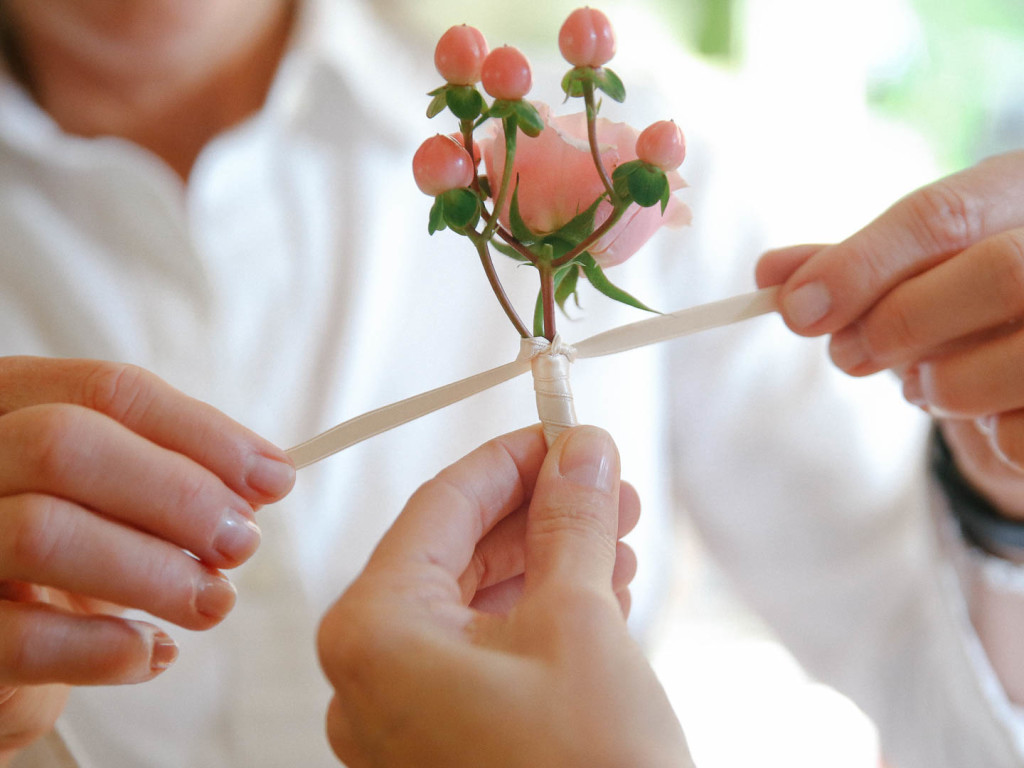
If you have a friend or another set of hands nearby it may be easiest to ask them to hold the flowers for you, so that you can tie your knot at the top. I like a good square knot where the ends are about even on both sides.

Bout pic 6

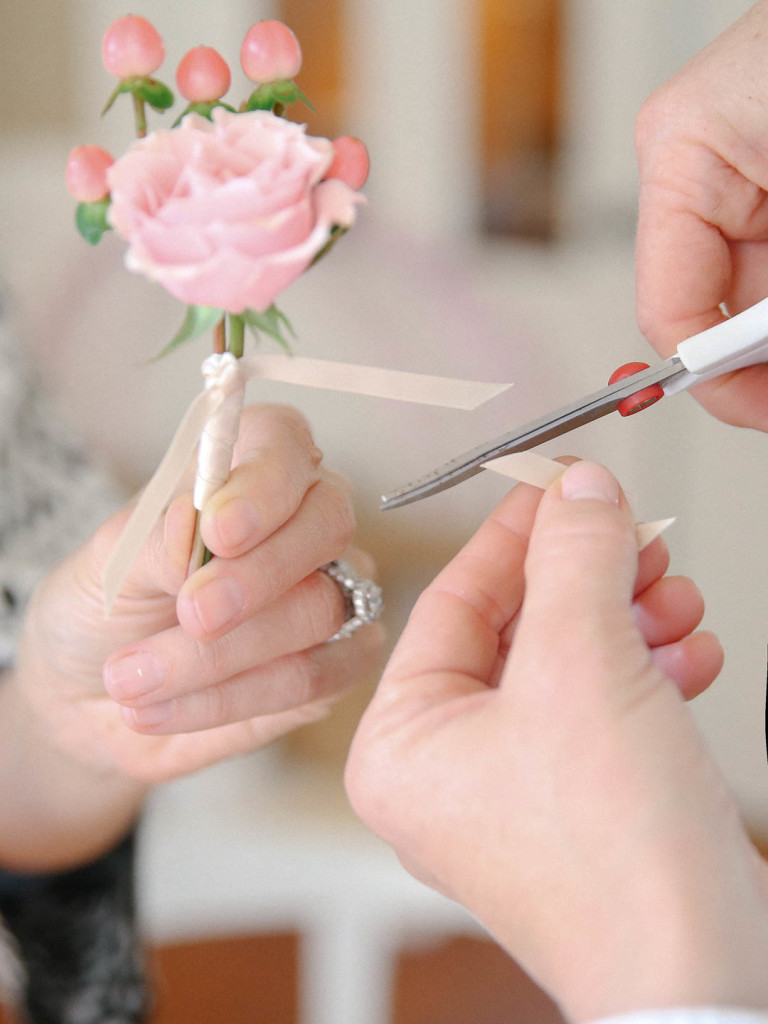
I like the look of trimming the ends on an angle for a finished polished look. I also use the straight pins w/ the smaller pearl tops. I stick them in the flowers angled down in line with the stems, so they are handy and ready to pin on the lapel.

6259_15a_boutoneirre

photo by Liz Banfield
3.29.16   |   TARA GUÉRARD
Bridal Style, Fashion, Flowers, Weddings | Comments >>
Mar 08, 2016

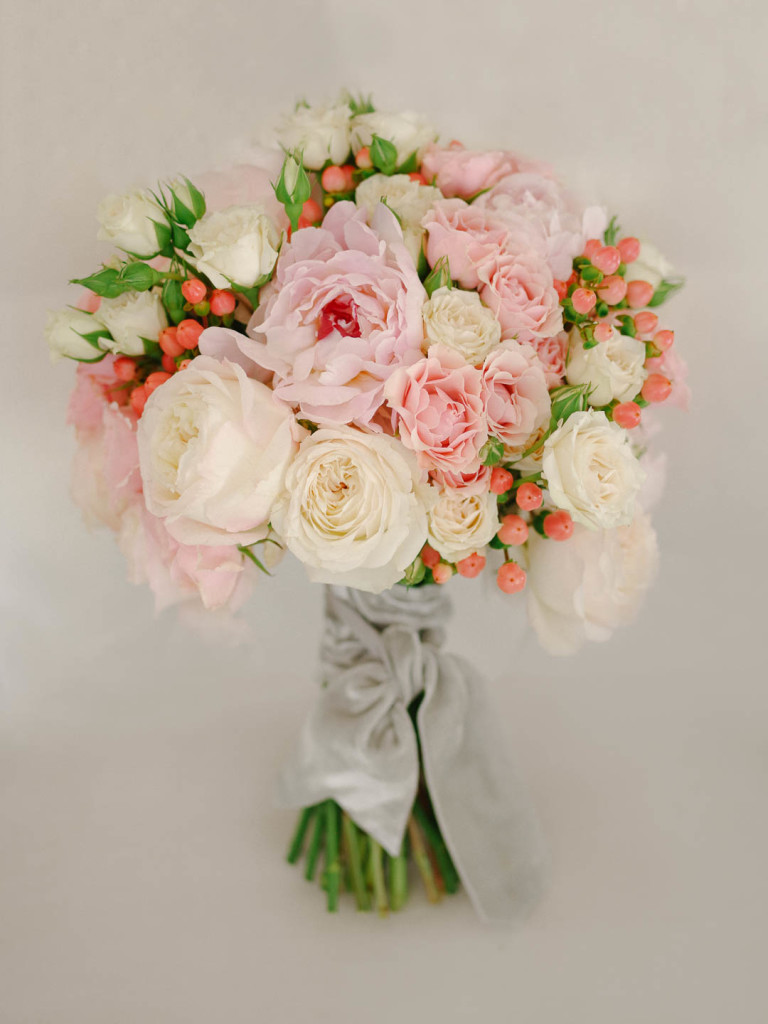
So, today we are going to show you (yes, you can do it!) how to make a beautiful spring wedding bouquet. If you are a DIY bride but intimidated by everything you see on Pinterest, or an eager bridesmaid ready to learn a trick of the trade and surprise your friend getting married, get ready because after this “how to” you’ll be making Soiree bouquets!
Tara Guerard Soiree by Lucy Cuneo

Tara Guerard Soiree by Lucy Cuneo

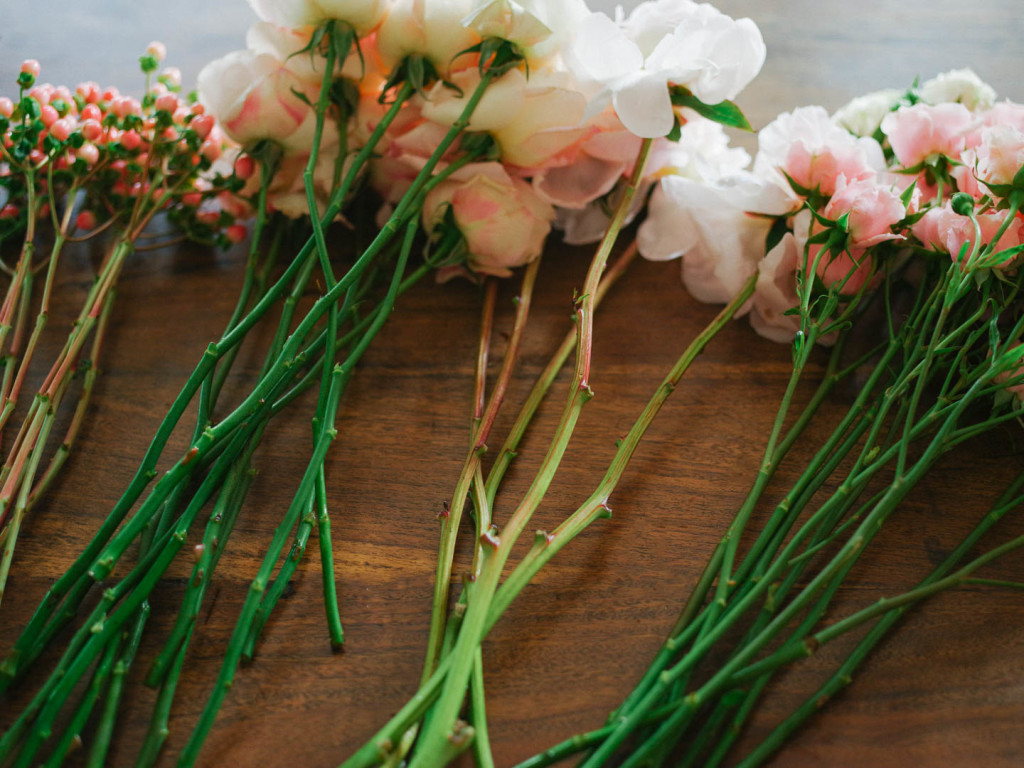
First steps are to gather your materials. All of these flowers were purchased at our local wholesale florist (you don’t have to have an account, you can buy walking in off of the street).  Sometimes I just go in an see what they have available with no wish list. You will also need stem wrap- which is a stretchy tape like material to bind the stems together, and scissors. Tara’s Tip: Oasis brand makes yellow handled scissors that are the best for cutting through thick stems. Remember too, to always keep your flower cutting scissors separate from your ribbon cutting scissors.

Tara Guerard Soiree by Lucy Cuneo Tara Guerard Soiree by Lucy Cuneo

Your first step is to “clean” your flowers. Remove all leaves, thorns, etc. I group all of the flowers I’m working with together so I can keep track of the distribution of them as I’m composing the bouquet.  FYI, bouquets will take more flowers than you think!  It’s always better to have more more more to allow for any breakage and you can use for boutonierres, flowers for the moms, or even flower girl petals and accessories.

Tara Guerard Soiree by Lucy Cuneo

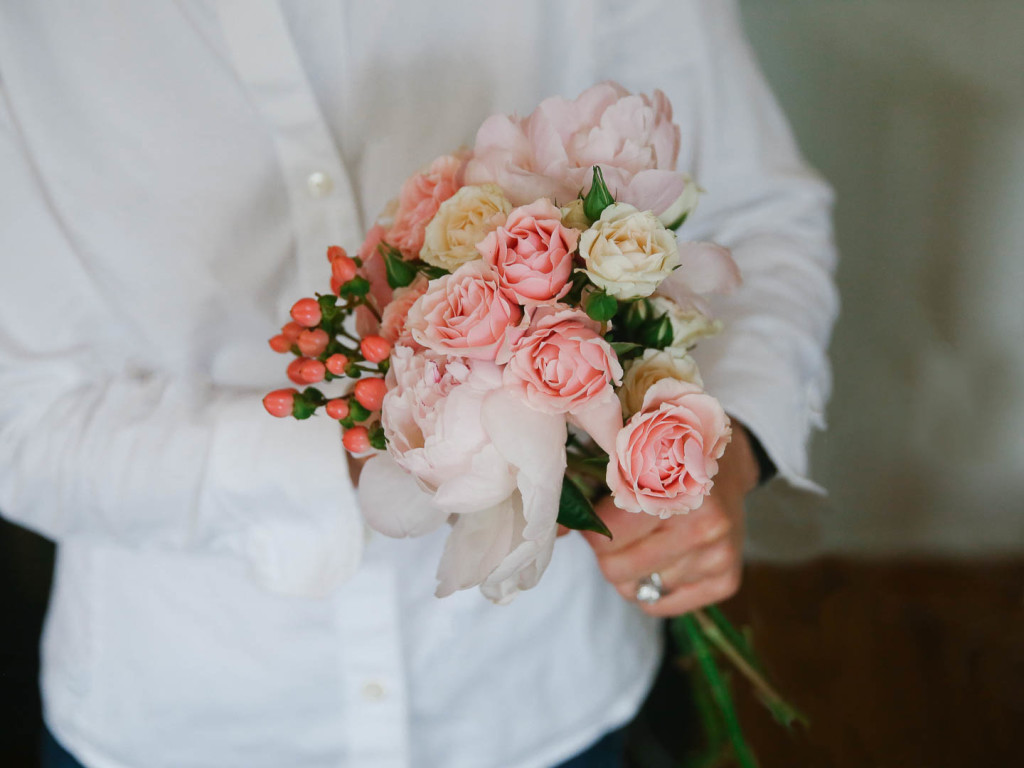
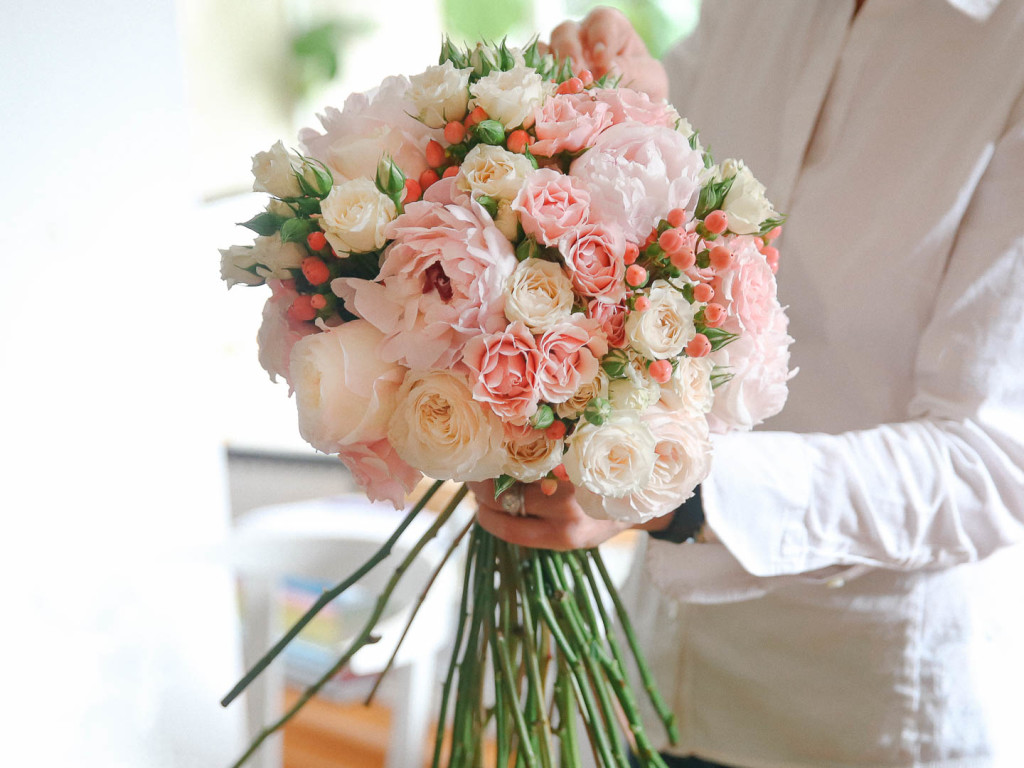
Start with the prettiest flower in the center then use different flowers to add texture all around. Try not to get too matchy matchy, a fresh out of the garden look is the goal! If you have a smaller flower like tea roses or sweet peas, I do like to use a cluster of those together to give them a little bit of bulk.

Tara Guerard Soiree by Lucy Cuneo

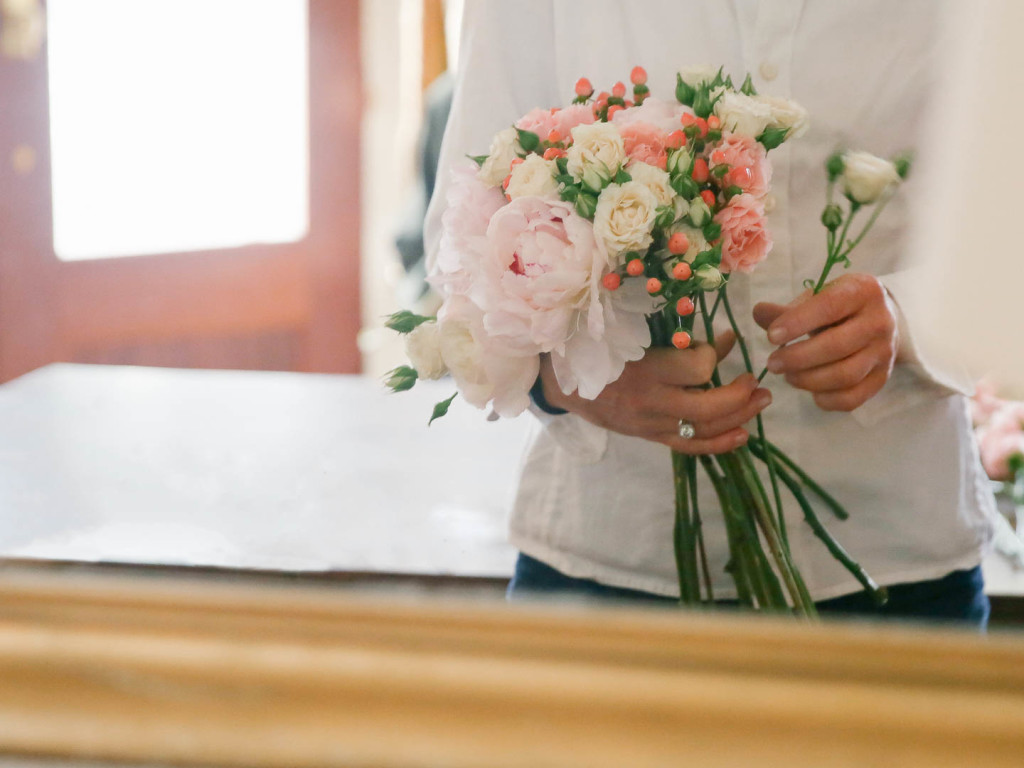
  Tara’s Tip: Do your bouquet in front of a mirror. You can see it from both sides and watch that the shape stays how you want it.

Tara Guerard Soiree by Lucy Cuneo Tara Guerard Soiree by Lucy Cuneo

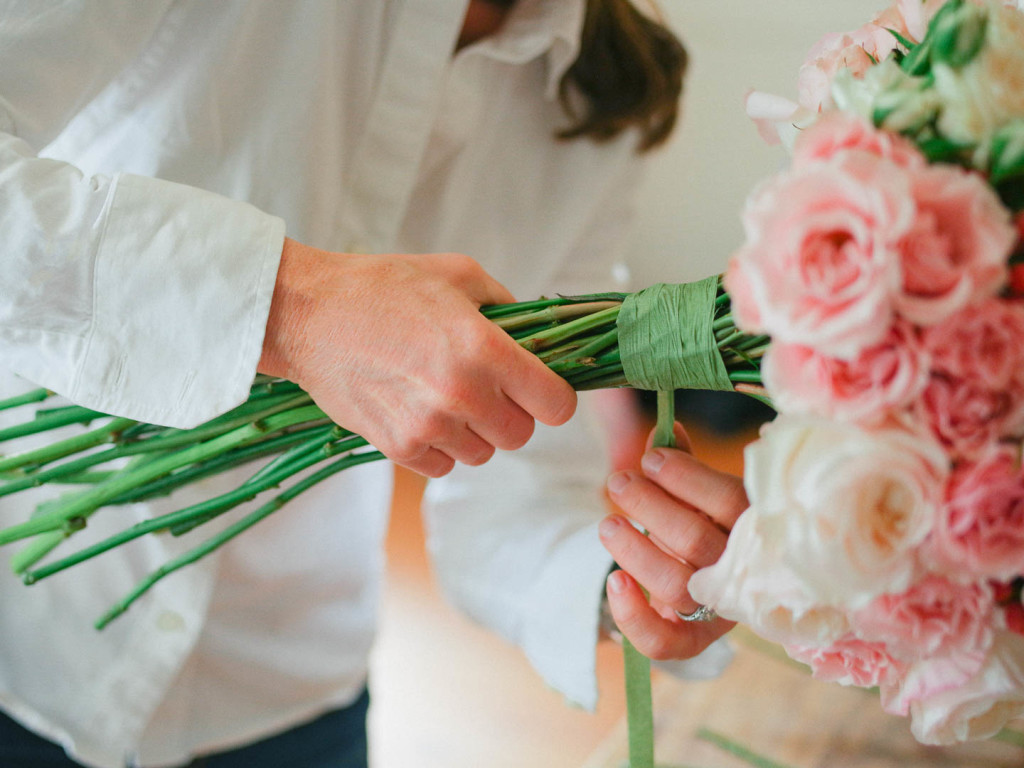
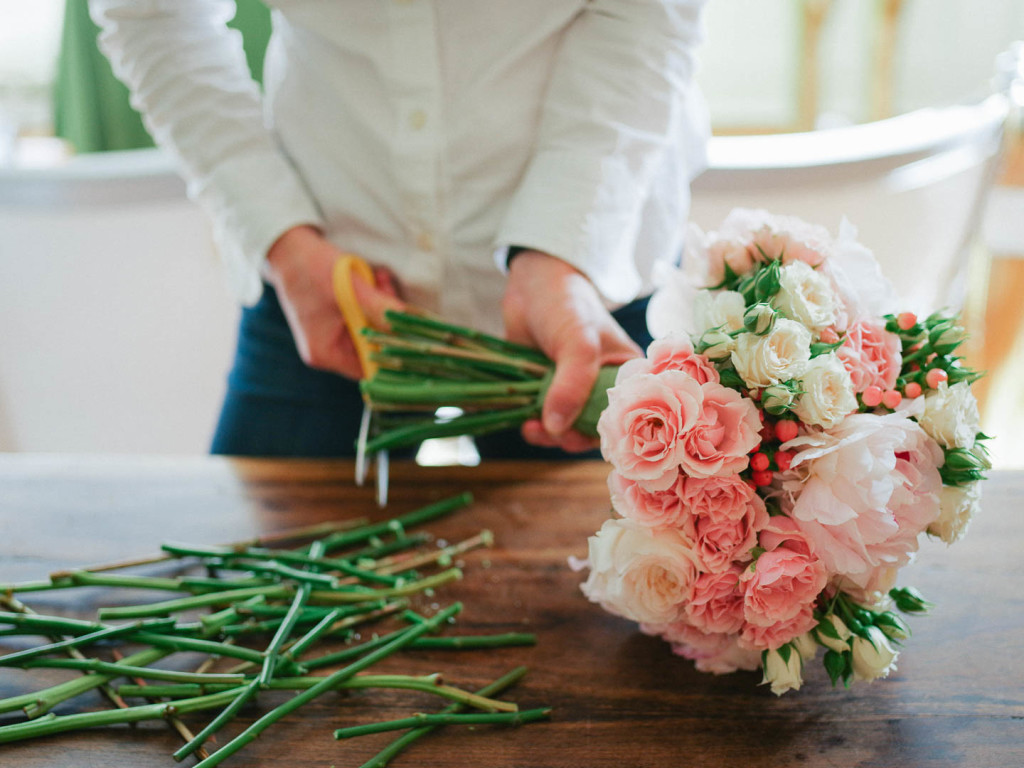
Make sure you hold the bouquet in your hand and that all stems as you add more remain facing the same direction, and be careful as it gets more full it can come undone easily. Start to wrap the stems at the hearty part of the stems right below they start to bend a bit by being grouped in the bouquet.  You will need to hold the stem wrap in place as you first start to secure it. Stretch it a bit to activate it’s stickiness and wrap it ontop of the starting end (if you pull too tight it will tear). Then you can spin the bouquet to wrap it for a total of 2-3″ of tape to ensure it’s secure.

Tara Guerard Soiree by Lucy Cuneo

Use your good scissors to trim all of the stems to the same length.

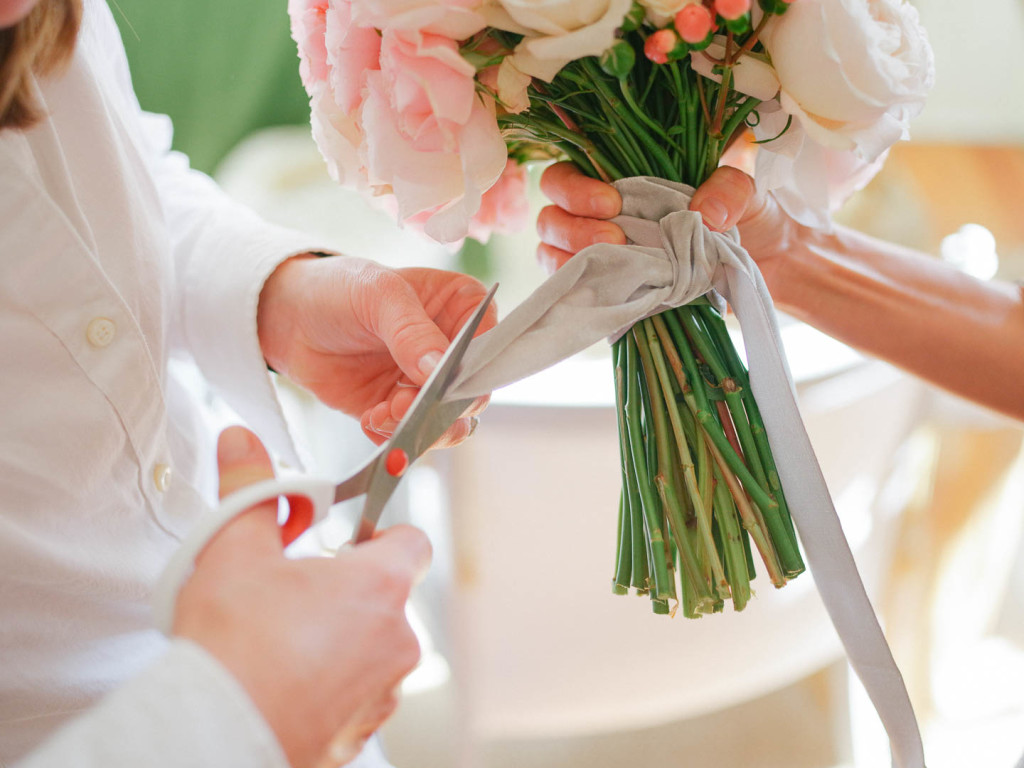
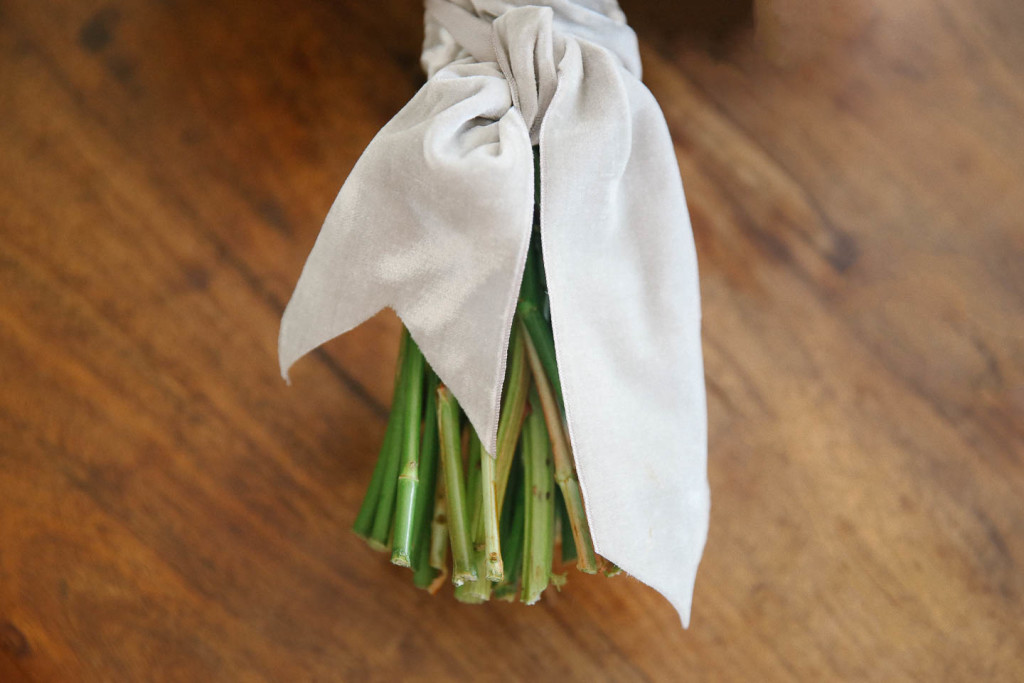
Tara Guerard Soiree by Lucy Cuneo Tara Guerard Soiree by Lucy CuneoI love ribbon, so I’m always on the hunt for different or special pieces. Wrap your ribbon starting a little above the top of the tape- make sure you leave about 5″ of a tail for you to come back and tie. Wrap around to the bottom of the tape and then back up the opposite side, meeting the first tail end.  Tie together in a square knot. To give the ends a finished look, fold them in half- cut on an upwards angle to give the “innie” pointed look, and cut on a down angle to give the outie look.

Tara Guerard Soiree by Lucy Cuneo

Voila!   Thank you for the lovely images, Lucy Cuneo.

3.08.16   |   TARA GUÉRARD
Event Design, Flowers, Uncategorized, Weddings | Comments >>

Tara Guerard holiday by Lucy Cuneo

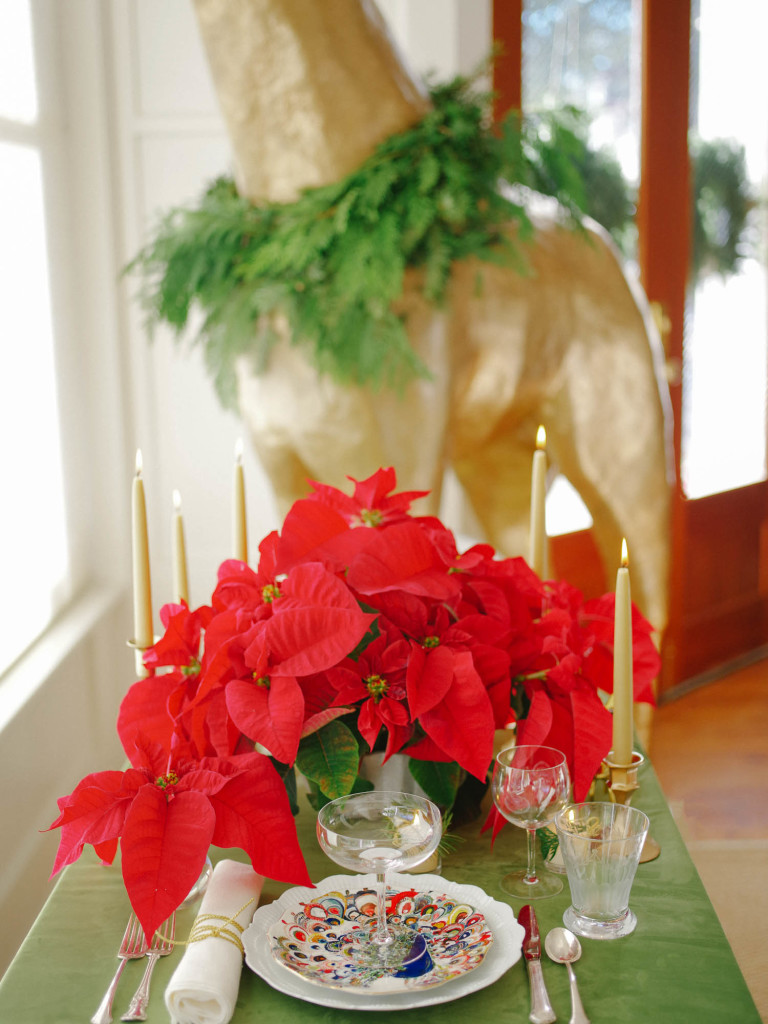
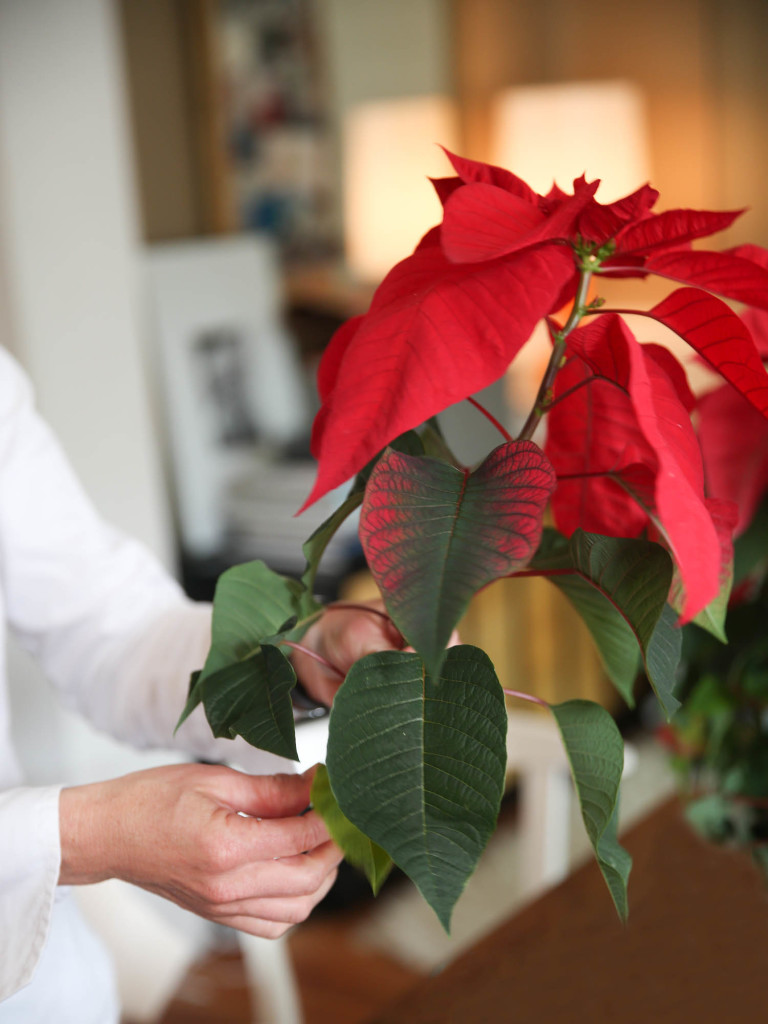
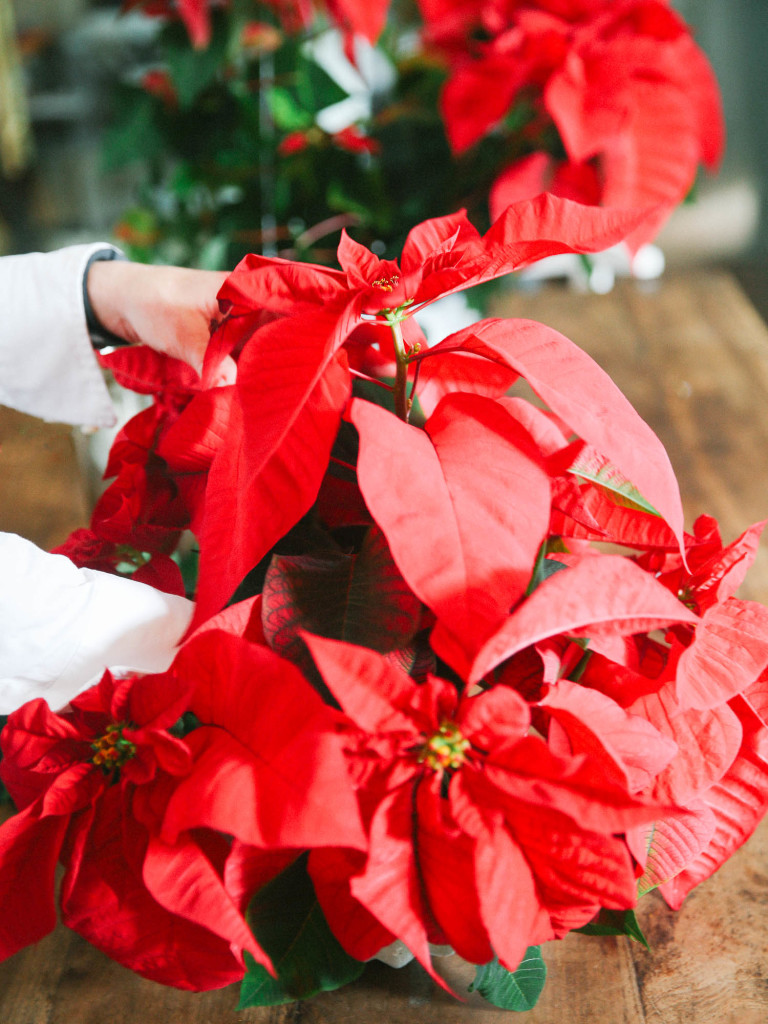
Poinsettias have long been associated with Christmas, but I don’t love the oversized awkwardness and the aluminum wrapped pots that make them hard to use on the table as centerpieces. Not wanting these beauties to go overlooked, I’m showing you how to transform the plants into a showstopping centerpiece.

Tara Guerard holiday by Lucy Cuneo

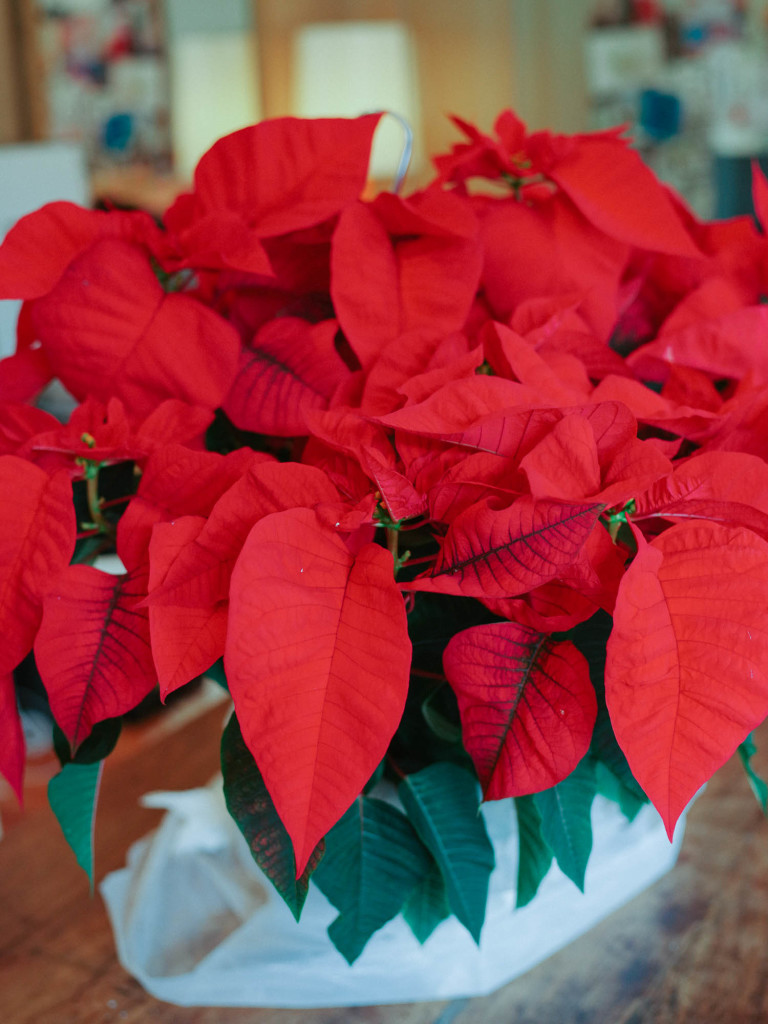
This was bought at the local Harris Teeter, but of course you can use your white or pink varieties as well.

Tara Guerard holiday by Lucy Cuneo

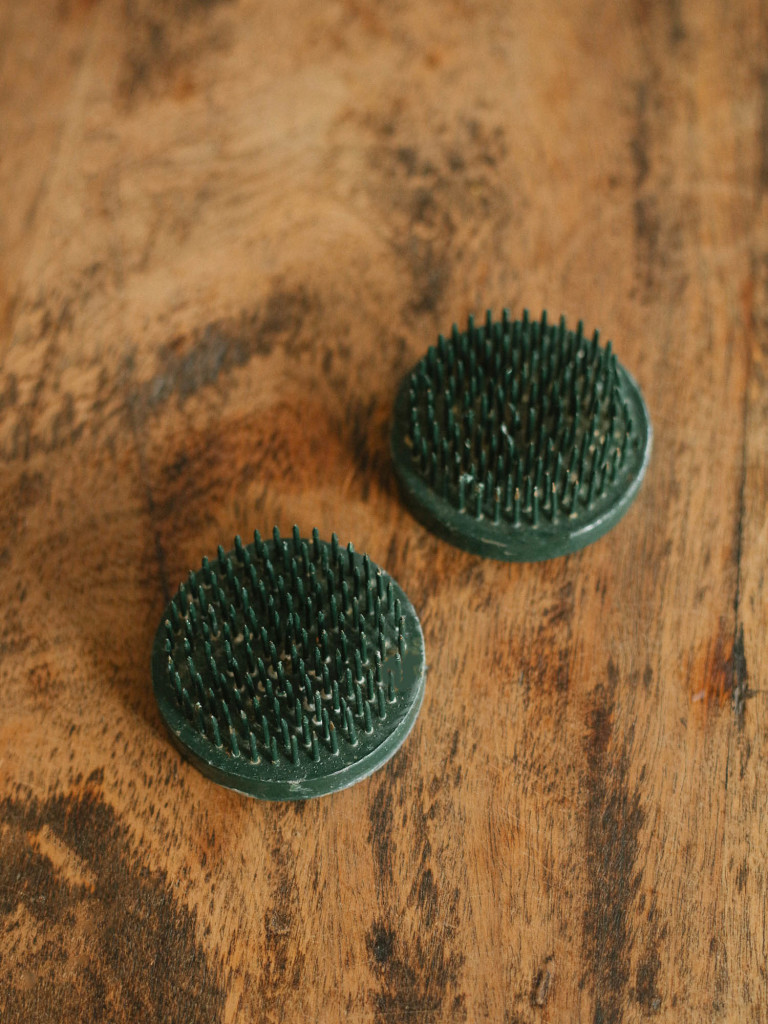
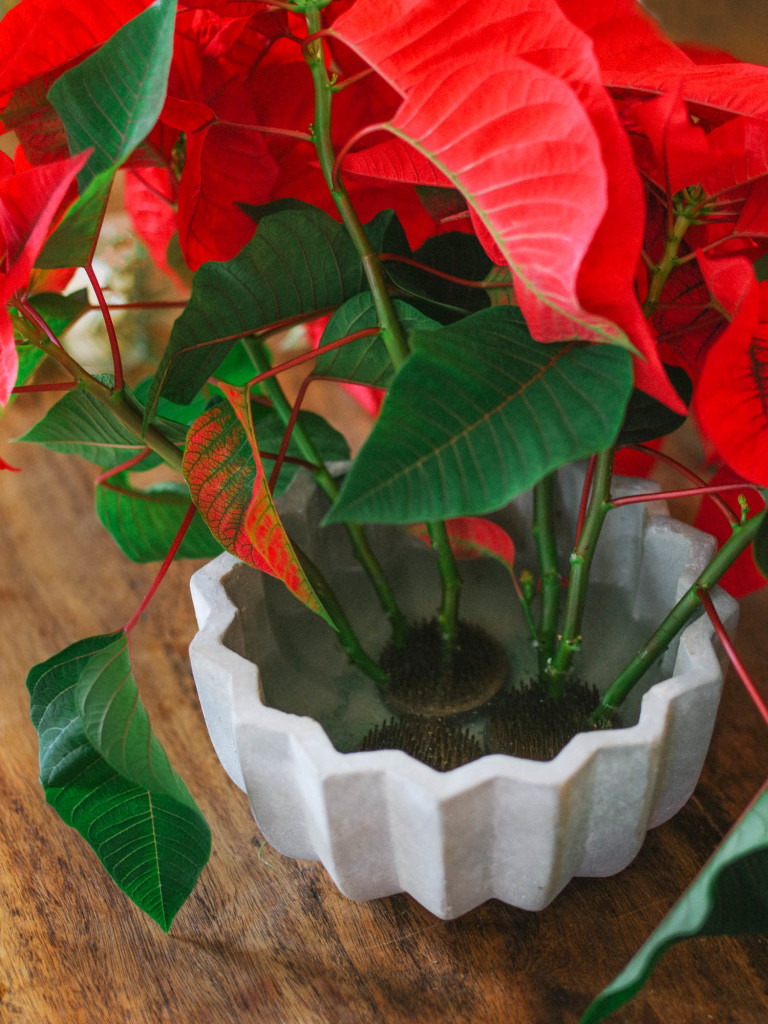
You’ll need “frogs” to support the cut stems. These can be purchased at craft or floral supply stores. They are actually quite handy and good to have on hand for any floral project.

Tara Guerard holiday by Lucy Cuneo

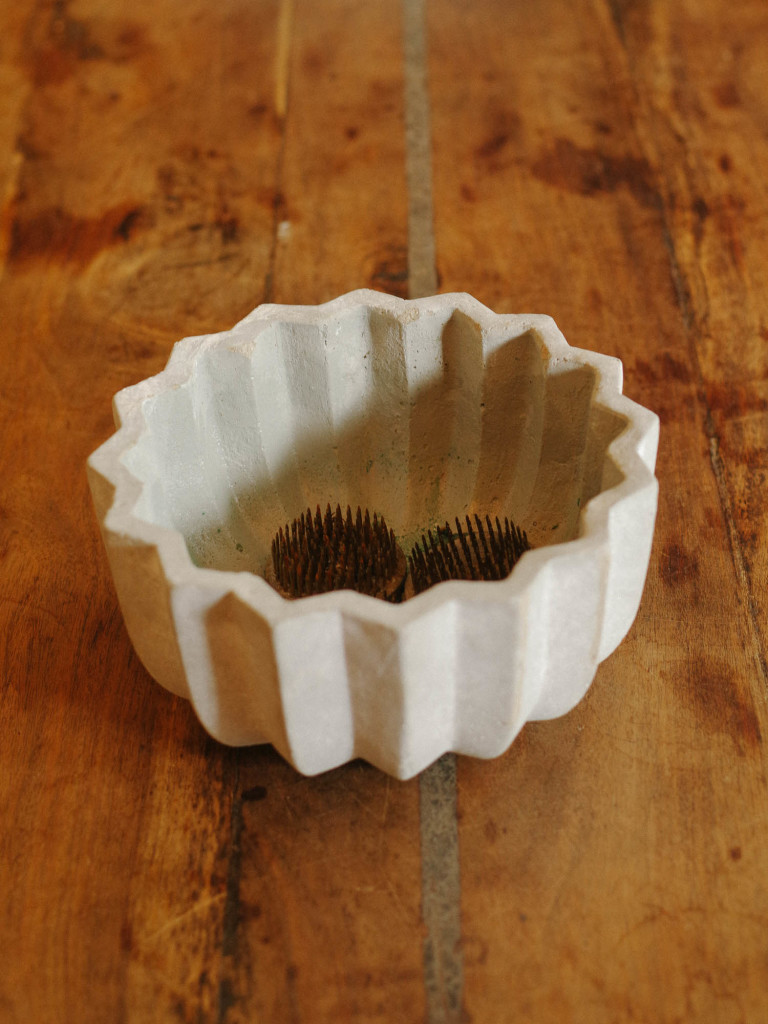
Grab whatever vessel you’re using- could be a sterling silver bowl to a piece of pottery, or even a crystal bowl (put some moss in it to hide the frogs and stems), and place the frogs in the bottom. I needed 4 for this particular bowl. I do suggest keeping it a lower container since the stems, even after trimming, are a larger bloom.

Tara Guerard holiday by Lucy Cuneo

Trim from the plant the fullest blooms or the ones with the nicest leaves and sturdiest stems. Be careful while trimming, as the stems do emit a white milky like substance, but this will stop after a minute or so after cutting. I do like to leave some of the top leaves on the stem, but strip many off them off towards the bottom.

Tara Guerard holiday by Lucy Cuneo

Tara Guerard holiday by Lucy Cuneo

Stick the stems into the frog prongs to keep them upright. Careful not to push too hard, as you’ll bend the stems and will cause a limp. I started with some of the smaller branches around the edges and then filled in the center with the taller more full stems.  Make sure to have some water in the bottom to keep the stems wet.

Tara Guerard holiday by Lucy Cuneo

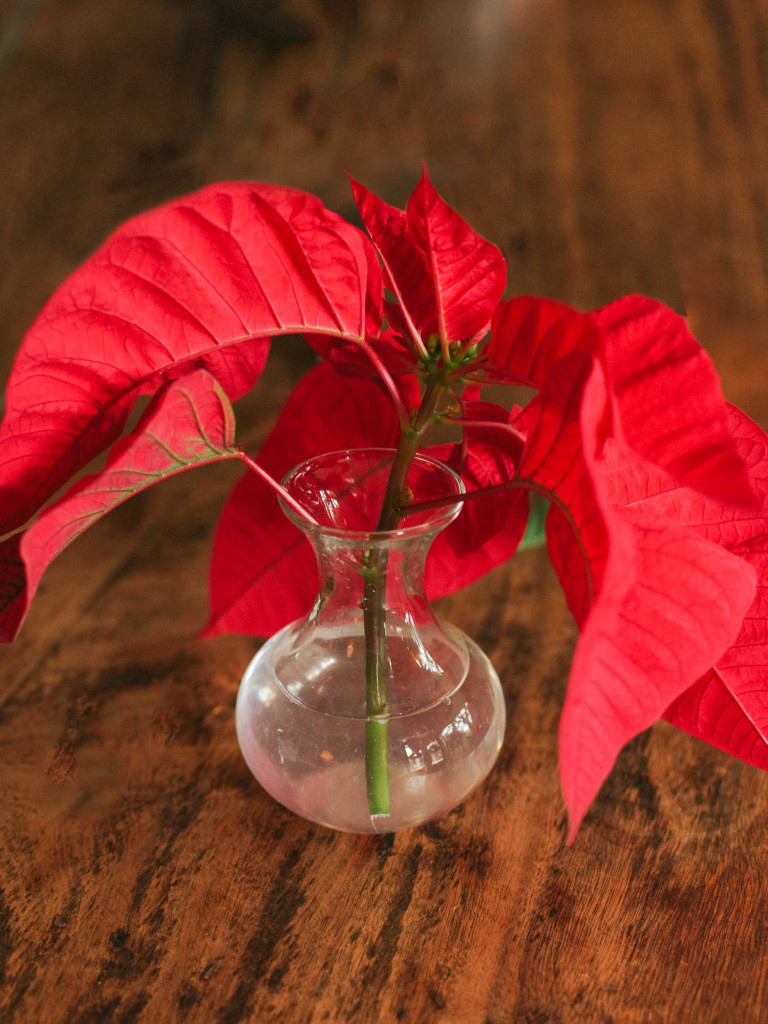
If you are doing a buffet or longer table piece, or are looking for a little bit more decor to add to your placesettings, I suggest saving the smaller leaves/branches and using small bud vases or vases of varying heights and sizes with just a simple stem in water to add some other arrangements.

Tara Guerard holiday by Lucy Cuneo

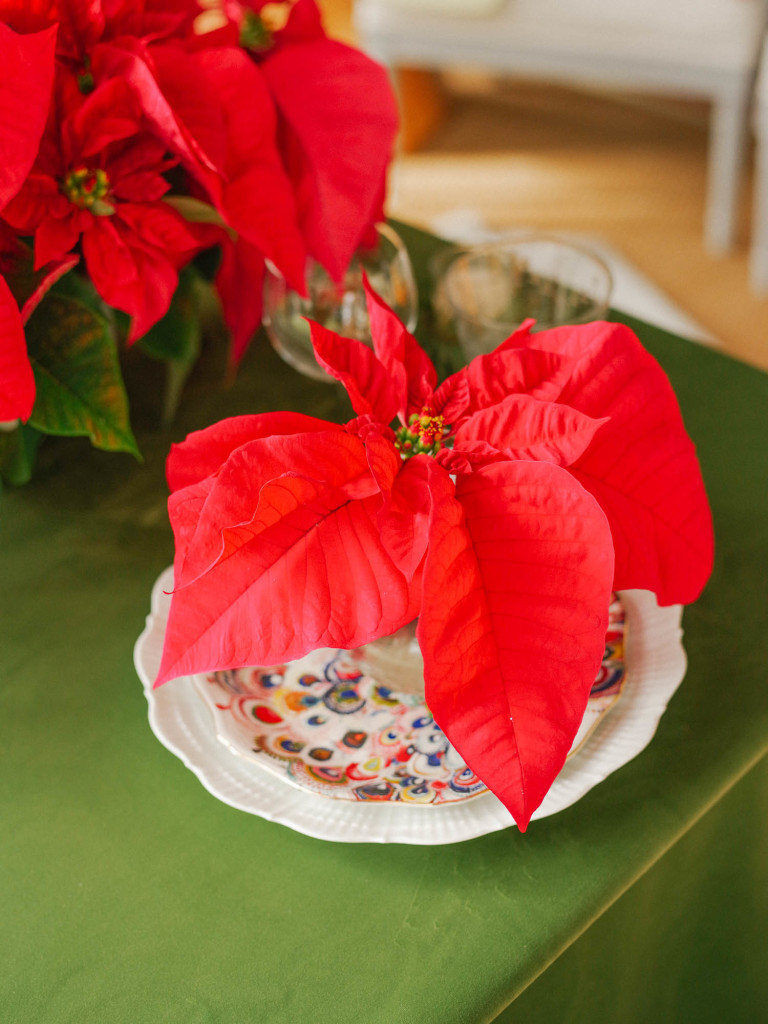
Here we placed on each place setting for a nice greeting as guests found their seats.

Thank you to Lucy Cuneo Photography.

12.21.15   |   TARA GUÉRARD
Entertaining, Event Design, Flowers, Parties, Uncategorized | Comments >>